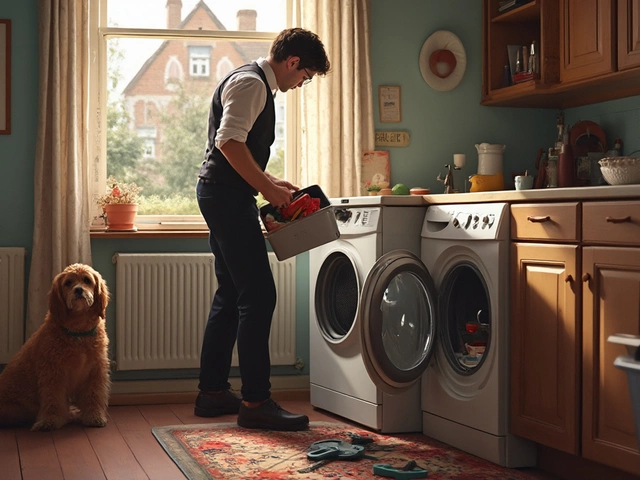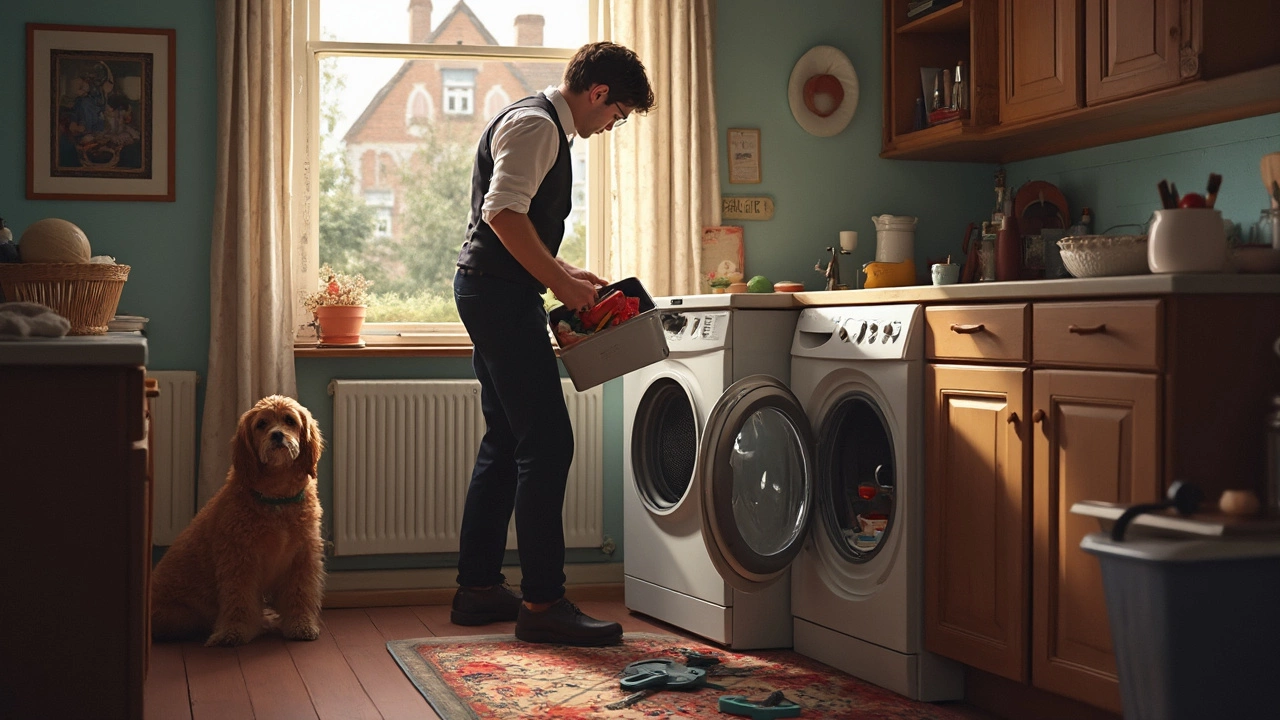
So, your dryer isn't working as it should. Annoying, right? But before you panic and call in the pros, you might want to take a shot at fixing it yourself. Why? Well, many dryer problems are surprisingly simple to solve with a bit of know-how and elbow grease.
Let’s face it, dryers are pretty straightforward machines. Half the issues can be solved with a screwdriver in one hand and a bit of YouTube magic in the other. Think about it – how many times have you found that the problem is just a clogged lint filter or a tripped thermostat? More often than we'd care to admit!
Before you start, make sure you've got the right tools on hand. A basic toolkit with screwdrivers, pliers, and a multimeter will usually do the trick. And don’t forget safety goggles – looking cool is always a bonus, but safety first! Let's dive in to see what you can fix yourself, and when it's time to call in the big guns.
- Understanding Common Dryer Issues
- Tools You'll Need
- Safety First: Precautions Before You Start
- Step-by-Step Troubleshooting
- When to Call a Professional
- Maintenance Tips to Avoid Future Problems
Understanding Common Dryer Issues
Ever put on a load of laundry, only to find your clothes still damp after what felt like an eternity? You're not alone. Most of us face issues with our dryer at some point. Let's go over a few common problems you might encounter and simple ways to tackle them.
Clothes Not Drying Properly
The number one complaint: clothes come out wet. Often, this isn't due to a faulty machine, but rather a clogged lint filter. A blocked filter can limit airflow, causing clothes to remain soggy. So, remember to clean it out regularly. And yeah, check the vent hose too – it can be another major culprit.
Dryer Won't Start
Pressed the button a hundred times and still no dice? First, ensure it's plugged in (it happens to the best of us). Next, check the door switch. If it’s faulty, the dryer won't start. Luckily, switches are easy enough to replace with minimal effort.
Strange Noises or Vibrations
Hear a weird sound like a pair of sneakers banging around? It might not be sneakers. Rollers and glides in dryers can wear out over time, causing odd noises. Also, sometimes it's just a matter of a loose coin or button. Give the drum a spin by hand to check for any rattling.
Overheating
If your dryer is running hot, it might be a clogged vent or a faulty thermostat. Overheating isn't just an annoyance—it’s a safety hazard. Clean those vents, folks! And if you’re still having issues, replacing the thermostat can do wonders.
| Problem | Solution |
|---|---|
| Not drying properly | Clean lint filter & vent |
| Won't start | Check power & door switch |
| Strange noises | Inspect rollers & glides |
| Overheating | Clean vent & replace thermostat |
Sorting out these issues can save you from headaches and extra costs down the line. Yet, if everything you've tried doesn’t work, it might be time to get help from a professional.
Tools You'll Need
Before diving into any dryer repair, gather your tools. Having everything on hand makes the job smoother and saves you those frustrating mid-repair trips to the hardware store. So, what do you need?
Basic Toolkit
Start with a basic toolkit—a lot goes a long way here. Ensure you've got:
- Screwdrivers: Both flathead and Phillips are essential. Dryers have a mix of these screws.
- Pliers
- Adjustable Wrench
- Multimeter: For measuring the electrical current, which is crucial to diagnose any electrical problems.
Safety Gear
Don’t neglect safety. People often skip this, but trust me, it's not worth risking injury over a fix-it job:
- Safety Goggles: Keep your eyes protected from debris and dust.
- Protective Gloves: These keep your hands safe from sharp parts and give a solid grip on tools.
Additional Items
You might encounter screws or nuts that require more specialized tools:
- Nut Drivers: Useful for removing machine nuts and might be needed for some models.
- Flashlight: Dryers can have dark nooks—this shines light on the problem, literally.
Did You Know?
Here’s an interesting fact: According to a home appliance survey in 2023, about 40% of homeowners already have these essential tools in their garage, but fewer have tools like a multimeter.
Remember, having a DIY dryer fix approach pays off when you're well-prepared. Don't skimp on this step, and you'll find most repairs aren't as tricky as they seem!
Safety First: Precautions Before You Start
So, you're ready to tackle your dryer repair. Hold on a second, safety first! Before diving into any DIY fix, it's crucial to take some precautions. Trust me; you don't want a shocking surprise along the way.
Unplug Before You Tinker
First up, make sure your dryer is unplugged. It's a basic step, but you'd be surprised how often it's overlooked. No electricity means no accidents waiting to happen. Pull that plug and keep your fingers safe!
Read the Manual
Grab your dryer's manual – yup, that book with all the tiny text. It's your best ally in understanding how your particular model works. Knowing your appliance inside out can save you a headache or two.
Dress for the Job
Wear the right gear. Think safety goggles, especially if you're dealing with any sharp objects or debris. A pair of gloves can protect your hands from cuts and scrapes, not to mention keeping things a bit tidier.
Test the Waters
Before checking any electric components, make sure you’ve got a trusty multimeter. This gadget will let you test if parts are carrying electrical current. Better to be safe than sorry, right?
Secure Your Space
Lastly, ensure your workspace is safe and clutter-free. A stray sock or box can trip you up and cause a spill or worse. Keep the area well-lit and organized.
Know Your Limits
Not every repair is a DIY job. If you're ever unsure, don't hesitate to call a professional. It's not worth risking your safety.
By ticking off these steps, you're on the right path. Tackle that dryer repair with confidence, safety goggles on, and peace of mind intact!
Step-by-Step Troubleshooting
Dealing with a troublesome dryer isn't anyone's idea of fun. But tackling the issue yourself can save you a fair bit of cash and hassle. Here's a down-to-earth guide to help you fix common dryer repair problems.
1. Dryer Won't Turn On
Before opening up the toolbox, make sure the power's still flowing. Check the breaker box; sometimes a simple flip of the switch will bring it back to life. If that's not the issue, it might be a faulty door switch. Open the dryer door and press the switch—if you hear a click, it's usually fine. No sound? It's time to replace it.
2. No Heat
Sometimes, the dryer decides to go on strike and dry things cold. First, inspect the lint filter and exhaust vent for blockages—poor airflow is the usual suspect. Next, consider the thermal fuse; a dead fuse means no heat. A quick test with a multimeter will tell you if it's the problem.
3. Drum Not Spinning
A drum that stays put won't get clothes dry. This often points to a broken belt. Unplug the dryer and open the back panel—look for a snapped or loose belt. Replacing the belt is a bit fiddly, but there are plenty of guides online to help you.
4. Strange Noises
Got a dryer that sounds like it's being haunted? Rattles and clangs usually mean something's loose. It might be worn bearings or loose screws. Tighten 'em up where needed or swap out those bearings if they're wobbly. Use your screwdriver wisely.
5. Overheating
If your dryer's acting like a sauna, you might have an airflow issue or a busted thermostat. Once again, check for lint build-up in the vents. If that's not the cause, test the thermostat using your trusty multimeter.
Common Dryer Troubleshooting Stats
| Problem | Percentage of Issues |
|---|---|
| No heat | 35% |
| Won't turn on | 20% |
| No spin | 25% |
| Strange noises | 15% |
| Overheating | 5% |
Remember, when in doubt, check the manual for your specific dryer model. They're packed with insights and troubleshooting tips tailored just for your machine. A few smart moves can sort out the problem, but if things still aren't running smooth, maybe it's time to bring in a pro before you wreck anything beyond repair.
When to Call a Professional
Okay, you've given it your best shot, but sometimes those pesky dryer repair tasks can get a bit over your head. So, when should you throw in the towel and call a pro?
Electrical Issues
If your dryer refuses to turn on or frequently trips the circuit breaker, it's time to step aside. Electrical issues can be tricky and potentially dangerous. A trained technician will have the tools and know-how to safely diagnose and fix the problem.
Strange Noises and Vibrations
If your dryer sounds like it's auditioning for a heavy-metal band, there could be serious internal issues. Grinding or rumbling noises often point to problems with the drum rollers or motor. It's best not to mess with these parts unless you're completely confident in your skills.
Hot Surfaces
You might notice that your dryer's exterior is hot to touch, even after it's been off for a while. This could indicate overheating – something you definitely don't want to ignore. An overheating dryer is a fire hazard waiting to happen.
Complex Component Replacements
Let's say your troubleshooting points to a component like the heating element or the timer needing replacement. Sure, these can technically be DIY projects, but fiddling with them involves a fair bit of teardown and technical understanding. If you're not comfortable with that, a professional is the way to go.
While doing the repairs yourself can be a rewarding challenge, there’s no shame in knowing your limits. If your attempts to fix my dryer myself haven't panned out, it’s probably time to call in someone who deals with these every day. Remember, a pro's expertise not only fixes the issue but offers peace of mind!
Maintenance Tips to Avoid Future Problems
Keeping your dryer in top shape isn't just about fixing issues when they pop up. A little bit of regular tender loving care can spare you from major headaches down the road. Plus, it can save you some cash! Here’s how to keep your dryer running smoothly.
Clean the Lint Filter
Let's start with a no-brainer: clean your lint filter after every load. Believe it or not, a clogged screen is often the culprit behind a malfunctioning dryer. A clogged filter not only reduces efficiency but can also pose a fire risk. So, make it a habit.
Inspect the Vent System
Your dryer vent carries hot air to the outside. It's important to ensure that this pathway is free from blockages. At least once a year, check and clean the dryer vent to prevent build-up and ensure proper airflow.
Check the Drum Seals
Worn drum seals can lead to clothes getting caught, noise, or even heat escaping. Every few months, take a peek inside your dryer to ensure the seals are tight and not damaged.
Keep an Eye on the Belt
The dryer belt helps drum clothes through a cycle. If it’s starting to look worn or frayed, it might be on its last legs. Replacing it before it breaks completely can save you from unexpected downtime.
Watch for Overloading
I get it; it’s tempting to throw everything in at once to save time. But, stuffing your dryer too full can stress the motor and other components, shortening its lifespan. Try smaller loads for better efficiency and longevity.
Periodically Inspect Electrical Connections
Check the power cords and outlets for any signs of wear, fraying, or damage. A safe and sound connection helps prevent unexpected shutdowns and prolongs the life of your appliance.
Keeping up with these simple maintenance tips will help you sidestep common dryer problems and maintain efficient operation. When it comes to dryer repair, prevention is definitely better than cure!