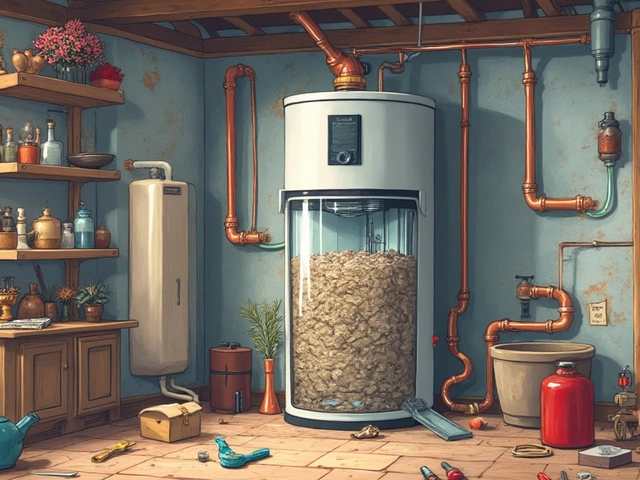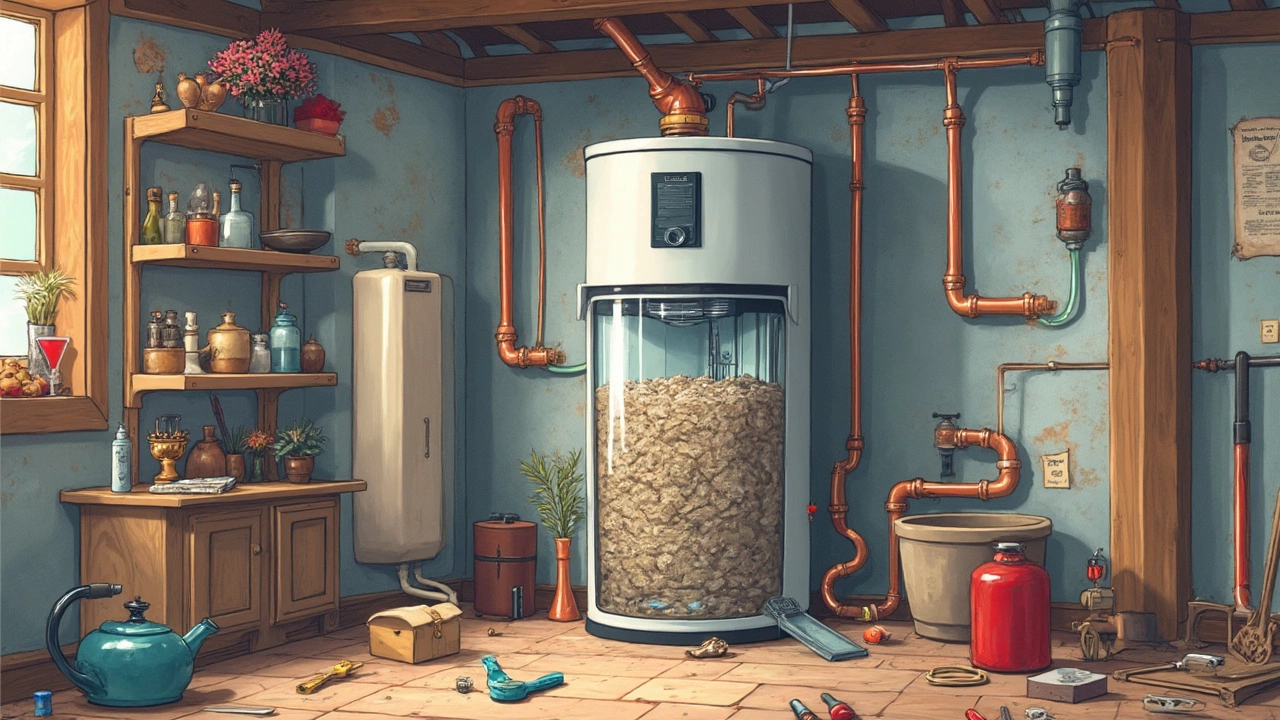
If you're sick of surprise cold showers and skyrocketing energy bills, it might be time to show your water heater some love. Imagine years of hard work, tirelessly providing you with warm water day in and day out. But all this effort can lead to sediment buildup at the bottom of the tank, making your heater grumble and your water less hot.
Flushing your water heater might sound like an overwhelming chore, but it's really not that scary. And get this: doing it yourself not only saves money but keeps things running smoothly. Most manufacturers suggest flushing out the tank every six months to optimize efficiency and prolong the lifespan of your unit. Consider it the oil change for your water heater.
Before you roll up your sleeves, make sure you arm yourself with the right tools and knowledge. You wouldn't want a mini indoor flood, right? A simple hose, a bucket, and some patience are your trusty sidekicks in this mission. In the following sections, I'll walk you through the must-knows, ensuring you feel confident and prepared to tackle this DIY project.
- Understanding the Importance of Flushing
- Tools You'll Need
- Step-by-Step Flushing Guide
- Safety Precautions
- Troubleshooting Common Issues
- Maintaining Your Water Heater Post-Flushing
Understanding the Importance of Flushing
Imagine this: your water heater has been chugging along for years, dishing out hot water without a hitch. But under the surface, there's a silent enemy building up—sediment. This gritty mix of minerals like calcium and magnesium finds its way into your tank from the water supply. Over time, it can form a thick layer at the bottom of your tank, causing some real headaches.
Why should you care about this sediment? Well, first off, it makes your heater work extra hard to heat the water. This extra effort means more energy consumption, leading to those annoyingly high energy bills. Also, it can reduce the amount of available hot water, cutting your shower time short (and let's be real, no one likes an unexpected rinse in cold water).
Flushing is like giving your water heater a refreshing cleanse. By draining the tank and washing out this buildup, you help restore the system to its prime. Plus, it can prevent other issues like clogged drain valves or, worse, the elements overheating and damaging the heater.
Now, you might be wondering if there's any hard evidence behind this. According to industry surveys, regularly maintained water heaters can last up to 30% longer than neglected ones. Skipping this simple maintenance task could be the difference between a happy water heater and a costly replacement long before you're ready.
- Improved efficiency: Sediment-free tanks heat water more efficiently.
- Longer lifespan: Regular water heater maintenance can extend its life.
- Reduced energy bills: Less energy wasted means more savings.
- Avoid damage: Prevents overheating and clogs, sparing you from expensive repairs.
By making DIY water heater maintenance like flushing a routine, you keep your water reliable, your bills lower, and your heater in it for the long haul. So, next time you think flushing is just a fuss, remember it’s the TLC your water heater deserves.
Tools You'll Need
Alright, before you jump into this DIY adventure, let's talk gear. Having the right tools makes all the difference when it comes to flushing your water heater smoothly and safely. Don't worry, you won't need anything fancy, and you might already have most of these lying around your garage or kitchen.
- Garden Hose: You'll need this to attach to the drain valve of your water heater. A standard hose will do just fine. Make sure it's long enough to reach a nearby drain or appropriate disposal area.
- Bucket: A sturdy bucket is handy to catch any water that might spill, especially when you're disconnecting the hose.
- Gloves: For protection. If you've ever spilled hot water on your hands, you'll know why.
- Flathead Screwdriver: This is useful for opening the drain valve, depending on your specific model.
- Towels or Rags: To mop up any drips or small spills. You'll be glad to have these nearby to avoid slipping.
- Safety Glasses: Not always necessary, but they provide a bit of extra protection against any unexpected splashes.
Having these basic tools will set you up for success. The good news is you don't need an engineer's toolbox—just some common household items to help you tackle this water heater maintenance. With these supplies ready, nothing's stopping you from keeping your water heater in tip-top shape!
Step-by-Step Flushing Guide
So, you're ready to flush your water heater and take charge of your home maintenance. No worries, I've got your back. Here's how you can do it yourself, step by step. Let's get you that crisp, hot shower again!
- Turn Off the Power and Water Supply: First, ensure safety by turning off the power. If you're using an electric water heater, switch off the circuit breaker. For a gas heater, turn the gas control to the pilot setting. Don't forget to shut off the cold water supply to the tank.
- Attach a Hose to the Drain Valve: Grab a standard garden hose and connect it to the drain valve located at the bottom of the heater. Run the hose to a floor drain, driveway, or any suitable area where the water can safely flow out.
- Open the Drain Valve: Time to release that sediment buildup. Open the drain valve using a wrench or manually if possible. Let the water run through until it slows down. Don't be alarmed by the bits of sediment coming out; that's what we want!
- Flush with Cold Water: To ensure thorough flushing, reopen the cold water supply momentarily to stir up any remaining sediment. Let it flow out until the water runs clear. This step ensures your DIY water heater maintenance is effective.
- Close Valves and Detach the Hose: Once you're satisfied, close the drain valve and detach the hose. Be sure to also close the temperature-pressure relief valve, if you opened it.
- Refill the Tank: Fully open the cold water supply to refill the tank. When you hear water starting to fill up, open a hot water faucet somewhere in your house to release any trapped air from the tank – this'll avoid any hear-trapping air bubbles.
- Restart the Heater: Once the tank is full and you get a steady flow from the opened faucet, go ahead and turn the power back on. In the case of a gas heater, switch that gas control knob to 'on'.
That’s it! You've done it. By following these steps, you've not only improved your home water heater care but also likely extended the life of your heater. Cheers to controllable hot showers!

Safety Precautions
Before you dive into flushing your water heater, safety has to be top of mind. It's all fun and home improvement until something goes wrong, and trust me, you don't want to be mopping up gallons of hot water or worse, dealing with a burn.
First things first, always turn off your water heater completely. If you've got an electric unit, flip the breaker. For gas heaters, turn the thermostat to the 'pilot' setting. This ensures you're not dealing with hot water that's ready to scald anyone who gets in its way.
Next up, let the water cool down. Sure, it takes a bit of patience, but waiting a couple of hours can save you from painful accidents. Once that's settled, cut off the water supply. Turning off the cold water valve on top of the heater halts the flow.
Now, prepare for the grand drain. Pop a garden hose onto the tank's drain valve, and aim the other end somewhere the water can splash out safely, like a driveway or a drain. Trust me, the last thing you want is a flooded basement or slippery floors.
For extra precaution, check the temperature and pressure relief valve. It prevents your tank from overheating or having too much pressure, acting like a safety net. While you’re at it, keep kids and pets out of the area to avoid any mishaps.
Finally, don’t forget to wear some protective gear yourself, like gloves and goggles. It might feel like you're suiting up for a mini battle, but it's better to be safe than sorry. With these measures, you're not just protecting your home, but also making sure your DIY mission remains hassle-free.
Troubleshooting Common Issues
Alright, you've started flushing your water heater, and then... something goes rogue. No worries! Here's a quick guide to tackle some sticky spots you might hit during your DIY adventure.
Low Hot Water Pressure
If you notice a drop in water pressure after the flush, it could be due to debris clogging up the aerators or showerheads. Simply unscrew these fixtures and rinse out the gunk. It’s like cleaning out that kitchen sink strainer but way more satisfying because you get your nice warm shower back.
Leaky Drain Valve
Sometimes, after you’ve opened the drain valve, it just doesn’t wanna seal back properly. If it’s dripping, try tightening it just a bit more. But if that doesn't do the trick, you might need a valve cap as a temporary fix until you can replace the valve.
Noisy Pipes
If your water heater pipes start doing a mini snare drum impression,
Maintaining Your Water Heater Post-Flushing
So, you've successfully flushed your water heater, and you're feeling pretty pleased with yourself. Great job! Now, let’s make sure it stays in tip-top shape so you don’t have to deal with cold showers or expensive fixes anytime soon.
First off, regular checks are your new best friend. After flushing, make a habit of inspecting the tank and surrounding area for any signs of rust, leaks, or corrosion. A quick glance every month or so can save you from a bigger headache down the road.
Scheduling another water heater flushing every six months is smart, but here's another trick: keep an eye on that temperature setting. The sweet spot is around 120 degrees Fahrenheit. Too hot, and you're wasting energy and risking burns; too cold, and you’re not killing potential bacteria effectively.
Here's a handy table comparing energy savings with different temperature settings:
| Temperature (°F) | Potential Energy Savings |
|---|---|
| 120 | 5-10% Savings |
| 140 | No Savings |
| 160 | Increased Consumption |
If it’s been a while since you checked the anode rod (that little sacrificial rod inside your heater that slows down corrosion), now’s the time. Replacing it before it’s completely worn out could extend the life of your unit by years.
Finally, always listen to your water heater. If it’s making weird noises like popping or cracking, it might be crying out for another clean. Remember, taking tiny preventative steps now keeps your system happy and means more long, relaxing showers for you without the unexpected issues. Cheers to being energy-efficient and water-smart!