
It’s kind of a shock to step into the shower, only to get blasted with water cold enough to make you question every decision in your life. When your hot water heater suddenly stops doing its one job, it’s tempting to panic or call the plumber right away. But in tons of cases, finding the cause isn’t wizardry—it’s about knowing what to check first and maybe saving yourself a headache and a pile of money.
Understanding How Your Hot Water Heater Works
Let’s clear up what’s actually happening behind that tank-shaped mystery in your basement or garage. A residential hot water heater is basically a storage tank that keeps water hot until you need it. There are gas and electric models—the basics are the same, but their guts look different. Electric heaters work with two heating elements and thermostats that sense and maintain the temperature you set. Gas versions use burners and a thermostat, plus a pilot light or electric ignition. When you use hot water, cold water refills the tank, the system senses the drop and goes to work heating up more.
Ever see that yellow label with numbers? That’s the EnergyGuide sticker. On average, hot water heating gobbles about 20% of a home's energy bill, according to the U.S. Department of Energy. Many folks run their water heaters hotter than needed, over 120°F (49°C); that cranks up costs and can make problems (like scaling or failing parts) happen sooner. Knowing what style of heater you have makes troubleshooting way less intimidating. For example, gas heaters often run into vent or pilot issues, while electric ones more commonly struggle with blown fuses or busted elements.
Also, modern water heaters rarely just drop dead out of nowhere. More often, they hint at trouble: odd noises, leaks around the base, or water getting less hot over time. Being aware of those early warning signs can help you jump on an easy fix instead of shelling out for a replacement.
The Quick Checklist When There's No Hot Water
So, your taps spit out nothing but icy water—now what? Go through a quick checklist before you even think about replacing the whole thing. Start with the power or gas supply because, honestly, it gets overlooked more than you’d believe. By law, most electric heaters must have a dedicated circuit breaker. Check it at the panel—did it trip? Flip it off, then on. For gas, is the gas control valve set to “on”? If the gas is off at the meter, appliances won’t work anywhere in the house.
Next up: is the pilot light on? For older gas models, look for the tiny flame. If it’s out, directions for relighting should be printed on the tank. Newer units may have piezo ignition buttons or digital readouts—so never poke around with a match. For electric heaters, look for a small reset button, sometimes behind a panel. Press firmly. If you hear any clicking or the unit restarts, you’re in luck.
If nothing’s changed and it’s still ice cold, take a look at the thermostat’s setting (typically behind a small metal panel). Sometimes people change it without realizing. The recommended sweet spot is 120°F. Anything higher is risky—scalds happen in seconds above 130°F.
| Problem | Possible Cause | What to Check |
|---|---|---|
| No hot water (electric) | Tripped breaker, faulty element | Circuit panel, reset button, element continuity |
| No hot water (gas) | Pilot out, thermostat, thermocouple | Pilot status, control knob, thermocouple connection |
| Tepid water | Failed element, high water usage | Upper/lower elements, recent hot water use spike |
| Leaky tank | Broken valve, corrosion | Relief valve, bottom of tank, rust stains |
Still nothing? A final quick test is to try more than one tap—if hot water is gone everywhere, it’s the heater itself, not just a specific faucet. That checks a big item off the list right away.

Spotting Common Hot Water Heater Problems
Skipping some obvious issues can cost you. Leaks, strange noises, and fluctuating temperatures are the classic signs. Let’s dig into what they usually mean. For instance, hearing popping or rumbling? That’s mineral build-up (scale) on the tank bottom—super common in hard-water areas. The National Ground Water Association rates 85% of homes in the U.S. as having hard water. That extra scale acts like insulation, making the heater work harder, use more power, and sometimes overheat. Flushing the tank can help, especially if you do it once or twice a year.
Leaks need your full attention, fast. Water pooling under the heater might mean a leaking pressure relief valve or loose fittings, but it could also be tank failure. To spot leaks, start at the top: are the supply pipes dry? Is there water around the valves or where pipes join the tank? Check the drain valve at the base too—sometimes sediment inside stops it from closing tightly. If you see rust or white sediment streaks, it usually means the tank is corroding inside. Once the glass lining corrodes away, there’s not much that will stop a full-on tank rupture besides replacing it.
If hot water runs out shockingly fast, the dip tube might be broken—it’s a plastic tube inside the tank that guides incoming cold water to the bottom. A failed dip tube lets cold water mix right at the top, so showers go cold halfway through. Advice on this: if your heater is from the late 1990s (the “bad batch” era for dip tubes), that defective part is a likely culprit. For gas units, if water isn’t hot enough, it can also be a clogged burner or a failing thermostat. Electric heaters might have a bad upper element (controls initial heating)—test them with a multimeter if you’re handy.
How to Troubleshoot and Test Key Heater Components
This is where you break out the basic tools—not a full toolkit, just a screwdriver, flashlight, maybe a multimeter. Start with simple things. Is the thermostat actually making contact? For electric models, turn off power at the main breaker (safety first). Remove the access panels and insulation. Are there burnt-looking wires or a melted thermostat? That’s a sign it needs replacement.
Check continuity on the heating elements if you have a multimeter. Look for about 10–16 ohms; infinite or zero means an element’s cooked. Elements are pretty affordable and straightforward to swap, but you need the right size and must drain the tank first. For gas models, the thermocouple (a skinny copper tube) keeps the gas valve open when the pilot is lit. If it’s loose, corroded, or broken, your pilot keeps going out or the burner doesn’t light. Swapping one is cheap—a ten dollar fix, often.
If your unit has a digital control board, it might show error codes. Manufacturers' websites often have troubleshooting charts online, so you don’t have to guess what “E1” means.
Test the temperature-pressure relief valve by carefully lifting its lever—water should flow, then stop cleanly when released. If it keeps dripping, swap the valve. This piece is a crucial safety barrier; don’t just ignore a bad one.
- Always, always shut off the power or gas before poking inside the tank.
- Wear gloves, because sharp sheet metal edges are everywhere.
- If the relief valve or drain leaks after you fiddle with it, try operating it again—sometimes grit jams the mechanism. If it still leaks, time for a replacement.
- For older heaters, parts get unreliable. The average tank lasts about 8-12 years. Serial numbers often show the date code. If yours is older than your high schooler, think about a new one instead of chasing endless repairs.
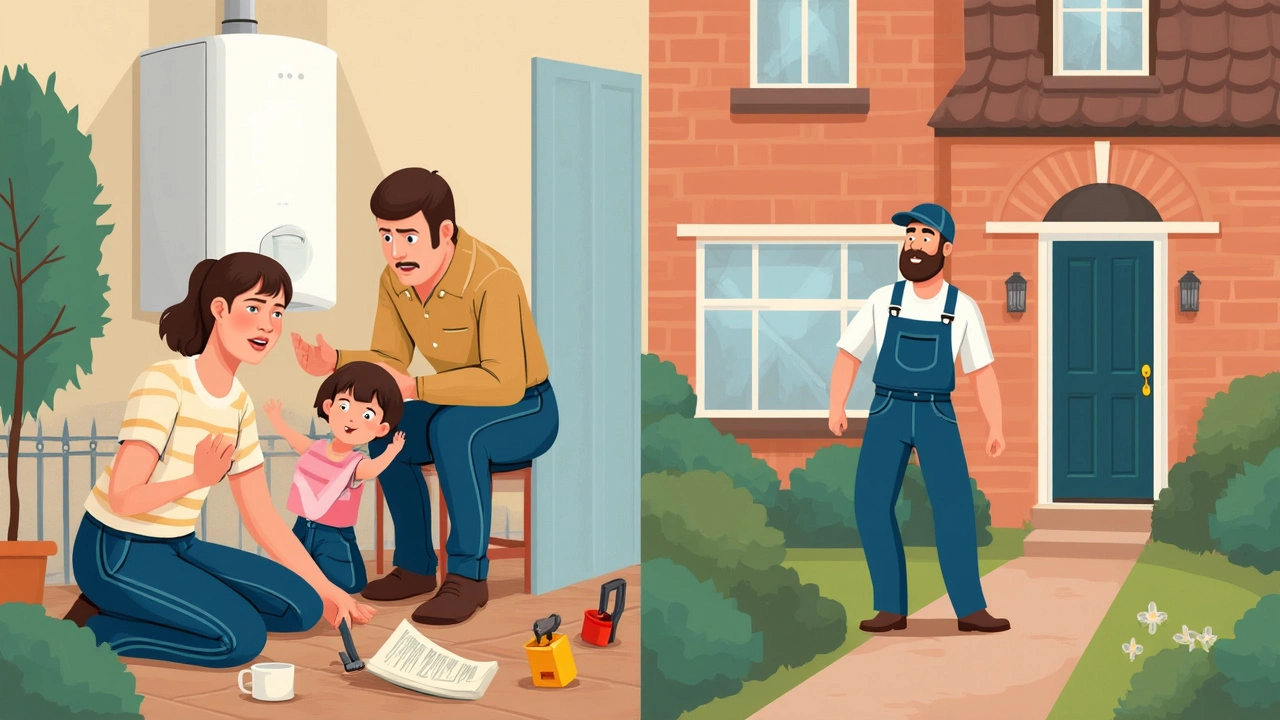
When It’s Time to Call a Pro (and What to Expect)
Some fixes just aren’t worth DIY. If you see water around electrical parts, rusted-through tanks, visible flames outside the combustion chamber, or the smell of gas, step back and get on the horn to a licensed technician. Gas leaks and electrical faults are risky. The best plumbers and HVAC folks will show up with the right diagnostic gear, run checks efficiently, and offer up-front prices—don’t tolerate vague “it depends” quotes.
If the repair estimate comes close to half the price of a new heater (usually $800–$2000 for mid-range models, depending on types and capacity), replacing makes sense. Sometimes utility companies offer rebates for switching to high-efficiency heaters, so ask before pulling the trigger—those savings can stack up.
Don’t forget about local codes. Some cities require a permit to install (or even replace) a hot water heater, and it’s easy for a do-it-yourselfer to miss hidden rules or venting requirements. Licensed pros know these in their sleep, so you don’t risk failing a home inspection or having to do it over. Want to avoid future breakdowns? Consider annual maintenance visits—pro flushes and inspections usually run around $100–$200 and can double your heater’s life.
If you do need a new heater, think about going tankless or hybrid; they cost more upfront but can chop 25% or more off your water heating bill year after year. It’s worth asking a pro which fits your home best, since sizing and fit have a big impact on how well your showers and laundry days run.