Electric Oven Element: How to Fix a Hot‑Plate That Won’t Heat
Ever opened your oven and felt that cold air where the heat should be? Chances are the electric oven element has given up. The element is the metal coil that glows red and cooks your food, so when it quits, dinner plans go sideways. The good news? Most people can diagnose the problem and even replace the part without calling a pro. Below you’ll find the tell‑tale signs of a bad element, step‑by‑step replacement tips, and a few safety pointers to keep you out of trouble.
Common Signs Your Oven Element Is Gone Bad
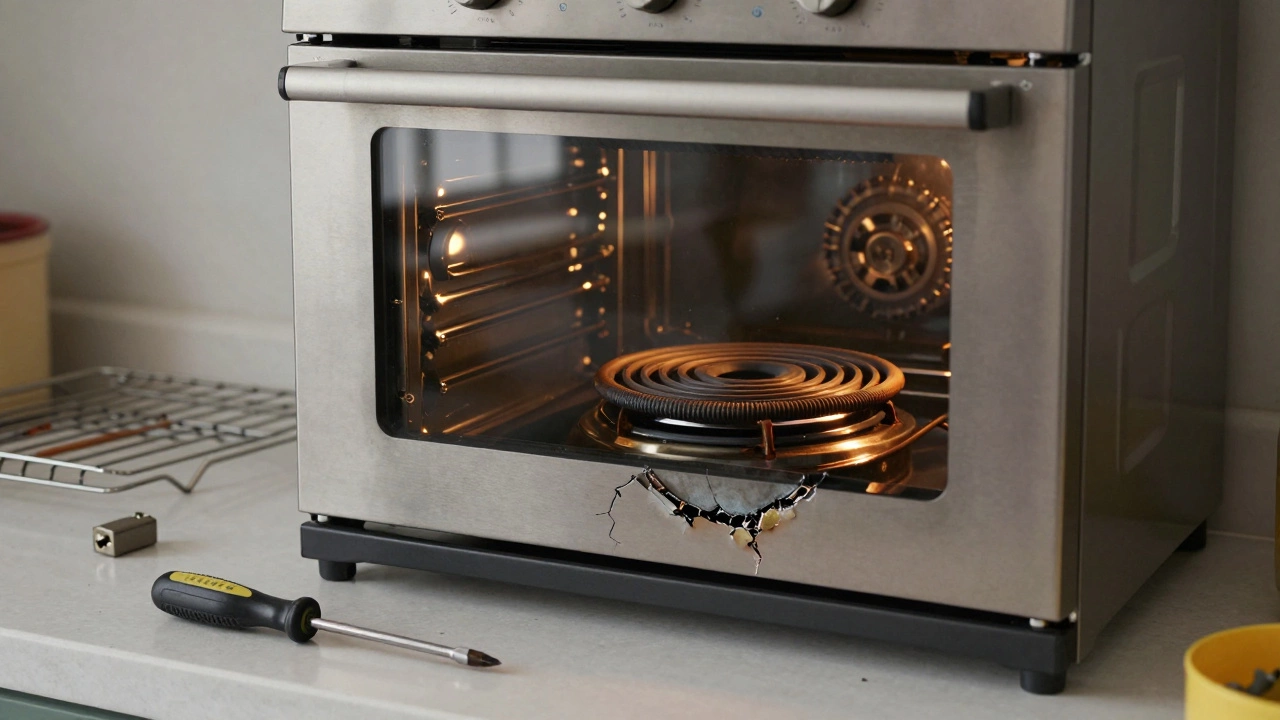
First, you need to know what to look for. The most obvious clue is an oven that won’t heat at all, even though the controls are set correctly. If you hear the fan running but the temperature stays at room level, the element is probably dead. A second warning sign is uneven cooking – one part of the oven gets hot while the other stays cool. In many cases, you’ll also see visible damage: the coil may be cracked, blistered, or have a broken connection where the wires attach.
Another subtle hint is a tripped circuit breaker each time you try to bake. The element draws a lot of power, so a short inside the coil can trip the breaker. If resetting the breaker works for a minute and then trips again, that’s a strong indicator the element needs swapping. Finally, some ovens emit a faint burning smell before the element fails completely – a burnt‑out coil is trying to work but can’t.
How to Replace an Electric Oven Element
Got the signs? Great, let’s get to the fix. You’ll need a few tools: a screwdriver, a nut driver (usually 10 mm), a multimeter, and the correct replacement element for your oven model. Always start by unplugging the oven or switching off the dedicated circuit at the breaker – electricity and metal don’t mix.
Next, remove the rear panel or the lower front access panel, depending on your oven’s design. This gives you access to the element’s mounting brackets and the wiring harness. Carefully disconnect the wires; they’re usually held by a simple push‑in connector, but note which wire goes where for re‑assembly. Use the multimeter to double‑check the element is truly dead – set it to ohms and you should see little to no resistance.
With the old element out, slide the new one into place and secure it with the brackets. Re‑attach the wiring, making sure the connections click firmly. Replace the panel, restore power, and run a quick test by setting the oven to a low temperature. If the element glows and the oven heats, you’ve nailed it.
While you’re at it, give the oven interior a quick clean. Grease buildup can cause future element failures, so a wipe‑down with a mild cleaner helps extend the life of the new part. If anything feels off during the test – uneven heat or a breaker trip – stop and call a qualified technician. Better safe than sorry.
Replacing an electric oven element is one of the few appliance repairs most DIY‑savvy homeowners can handle. It saves you a call‑out fee, gets your kitchen back in action fast, and gives you confidence in tackling other small fixes. Keep the tips above handy, and next time your oven won’t heat, you’ll know exactly what to do.
Replacing an oven heating element typically costs $150-$350 in New Zealand, including parts and labour. DIY options cut costs to under $120. Learn what affects pricing and when to repair vs replace.
Wondering if your electric oven element is on the fritz can be frustrating. Identifying a faulty oven element isn’t rocket science if you know what signs to look for. This article guides you through the telltale signs of a bad oven element and offers practical tips for troubleshooting. Learn how to spot issues early before they lead to a more significant problem. Ensure your oven continues baking reliably with these straightforward solutions.