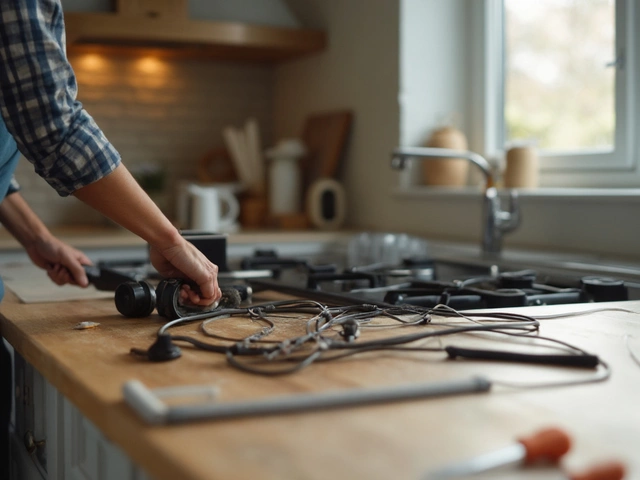
So, you've noticed your extractor fan isn't doing its job like it used to. Maybe it's making a racket, or perhaps it's just given up altogether. Either way, you might be thinking about replacing it yourself. Good news: it's not as tricky as it sounds, and with a bit of patience, you can get it done without having to hire someone.
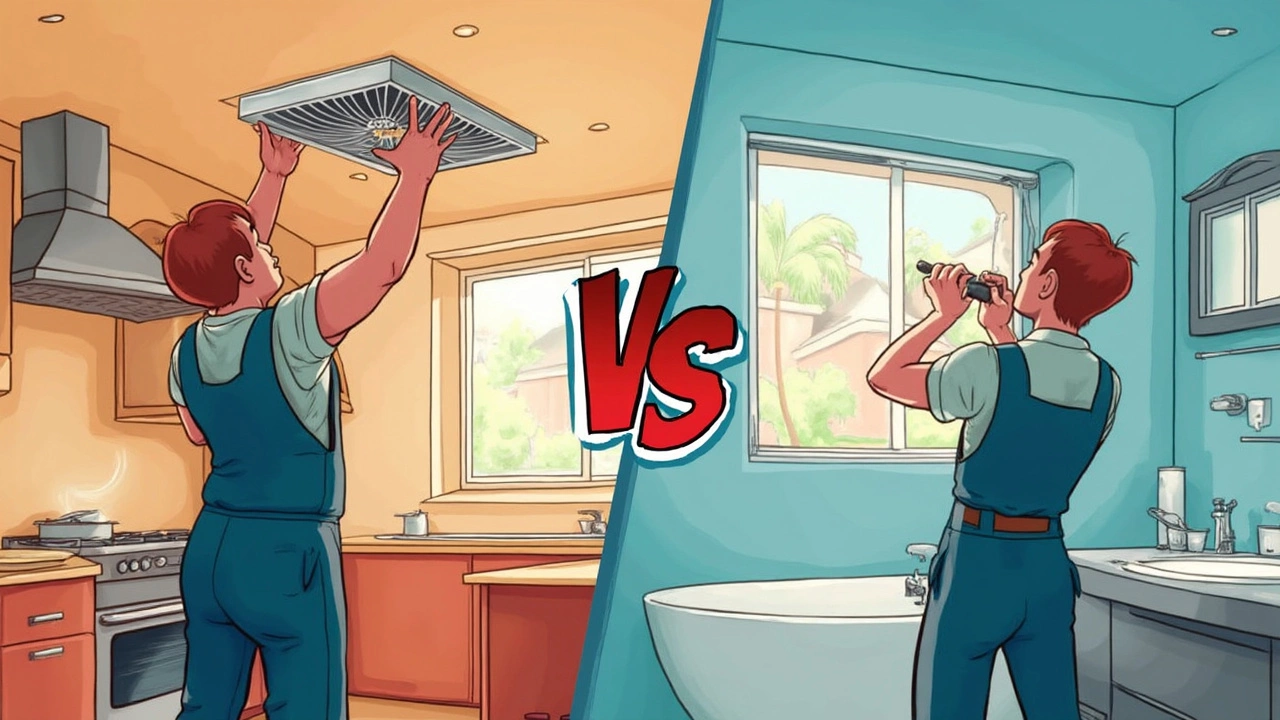
First, you'll want to make sure you understand what you're dealing with. Extractor fans come in various types and sizes, depending on where they're used—kitchens, bathrooms, you name it. They're designed to get rid of moisture, odors, and even smoke, keeping your home fresh and airy.
Before diving into the replacement, you’ll need some basic tools. A screwdriver, a voltage tester, and maybe a stepladder should do the trick. You don't need a toolbox the size of Mount Everest—just the essentials.
Safety is key here. Make sure the power is turned off at the circuit breaker before you start fiddling with anything. Trust me; the last thing you want is a shock out of the blue.
- Understanding Extractor Fans
- Gathering the Right Tools
- Safety Precautions
- Step-by-Step Replacement Guide
- When to Call a Professional
Understanding Extractor Fans
Extractor fans are like the unsung heroes of our kitchens and bathrooms. They're the ones getting rid of all those unwanted odors, steam, and smoke. But before you jump into replacing one, it's crucial to get a good grasp of what these devices are all about.
The primary types of extractor fans you'll come across are axial fans and centrifugal fans. Axial fans are the most common ones—ideal for homes with short duct runs to the outside. They're perfect for bathrooms and small kitchens. On the flip side, centrifugal fans are more powerful, often used in areas that require longer duct runs. They've got more oomph when it comes to pushing air through ducts.
"Proper ventilation in homes is essential not just for comfort, but for health," says the Energy Efficiency and Conservation Authority (EECA) of New Zealand.
Now, you might wonder, why bother knowing all this? Well, picking the right fan depends on where you're placing it and the specific requirements of that space. For instance, using an axial fan in a spot that needs a centrifugal might leave you with lingering smells and excessive moisture. Extractor fan replacement isn't just a switcheroo; it's matching the right tool to the job.
Most fans today also come with energy ratings, which can save a few bucks on your bill and, let's be honest, every little bit helps! Keep an eye out for models that balance between performance and energy consumption.
Here's a quick breakdown of how they compare:
| Fan Type | Ideal Use | Noise Level | Energy Efficiency |
|---|---|---|---|
| Axial Fans | Short ducts | Moderate | Usually high |
| Centrifugal Fans | Long ducts | Quiet | Varies |
So, getting to know the ins and outs of these fans not only demystifies the whole process but ensures you're making the best choice for your home improvement project.
Gathering the Right Tools
Before you start turning screws and prying out the old fan, you'll need to have the right gear on hand. This part is critical, because having the proper tools can make all the difference between a smooth DIY job and a hair-pulling saga.
Here's a handy list of what you'll need for your extractor fan replacement:
- Screwdriver Set: A good, reliable set of screwdrivers is a must. Most extractor fans are held in place with screws that can vary in size, so having both flathead and Phillips options will keep you covered.
- Voltage Tester: Safety first! Before you touch anything electrical, use a voltage tester to make absolutely sure there's no live current. These gadgets are easy to use and crucial for avoiding nasty shocks.
- Stepladder: Unless your home boasts the ceilings of a hobbit hole, reaching the fan will likely require a boost. A stable, non-wobbly stepladder is your friend here.
- Wire Cutters/Strippers: Once you've got the old fan loose, you'll need wire cutters or strippers to safely remove and prepare the electrical wiring. Make sure they're in good shape—dull cutters can be a hassle.
- Cordless Drill (Optional): If your extractor fan needs a little extra persuasion, having a cordless drill can speed things up, especially for mounting screws.
With these tools at your side, you’ll be prepped for a swift and uneventful installation. If you’re missing something, consider borrowing from a neighbor or even renting from a local hardware store. Having everything ready before you start ensures the process goes smoothly, letting you focus on the task rather than scavenging for gear halfway through.
Safety Precautions
Before rolling up your sleeves and diving into replacing your extractor fan, let's talk safety. No one wants to turn a simple DIY project into an emergency room visit. So, here are some key precautions to keep in mind.
First and foremost, switch off the power. Head over to your electrical panel and turn off the breaker that controls your fan. If you're not sure which one it is, play it safe and turn off the main power. A voltage tester is handy here—double-check there's no current flowing to the fan before touching any wires.
Next up, take a moment to inspect your workspace. Make sure your stepladder is stable on a flat surface. You don't want it wobbling under you as you reach for tools. If you're in a bathroom or kitchen, ensure the floor isn't slippery or cluttered with stuff that'll trip you up.
Wearing the right gear makes a difference too. Some basic protective gear—a pair of safety glasses and some gloves—can protect you from dust and any sharp edges. Keep a mask handy if you're dealing with a lot of dust or debris, especially in older buildings where asbestos might be an issue.
Now, let's talk about tools. Always use insulated tools when working with electrical fixtures. This adds an extra layer of safety just in case. And, if at any point you're feeling uncertain, it's perfectly okay to pause and call in a professional for help. Better safe than sorry.
Here's a quick checklist to keep things on track:
- Switch off power at the breaker panel.
- Use a voltage tester to confirm there's no power.
- Ensure stable positioning of your stepladder.
- Wear safety glasses, gloves, and a mask if needed.
- Use insulated tools to handle electrical components.
- Don't hesitate to call a pro if you're unsure.
Stick to these safety tips, and you're already halfway to a successful DIY fan repair. Now you can move on with confidence, knowing you're doing things the right way.
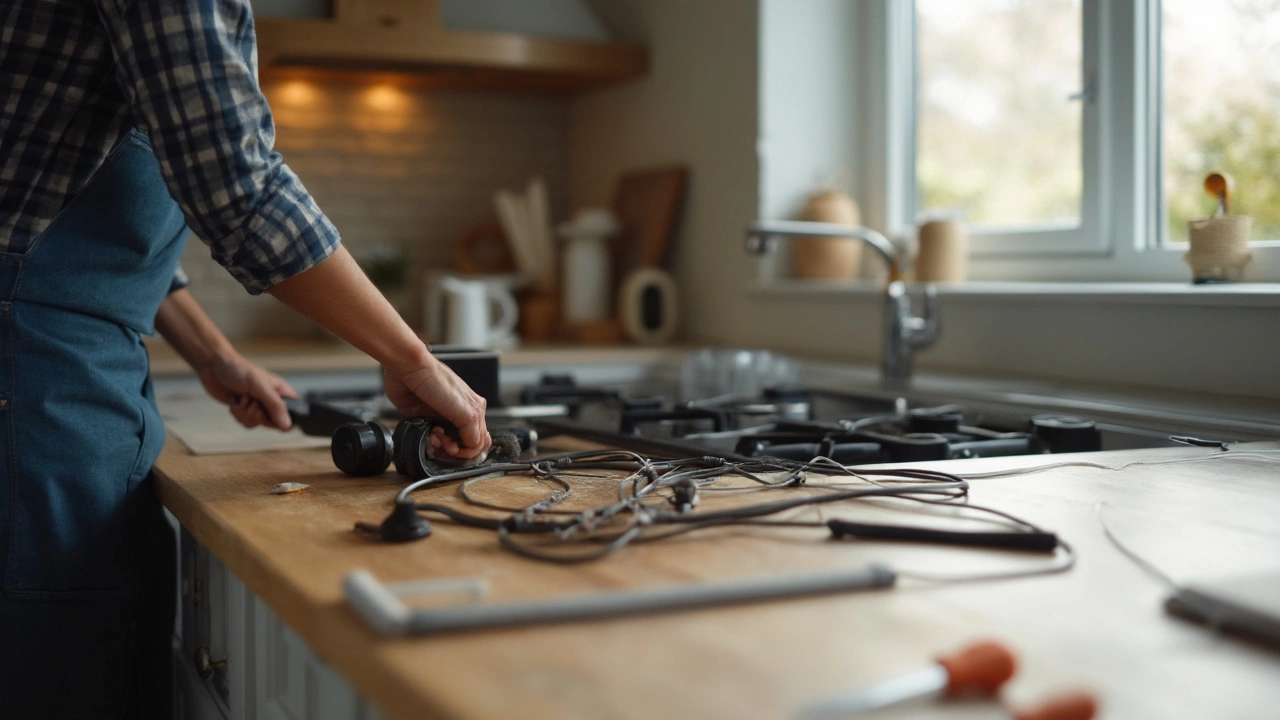
Step-by-Step Replacement Guide
If you're ready to tackle the extractor fan replacement, here's a straightforward plan to follow. These steps should help you replace your fan and get back to fresher air in no time.
- Turn Off the Power: Head over to your home's circuit breaker and cut off the power to the fan. Double-check with a voltage tester to make sure there's no juice flowing. Safety first!
- Remove the Old Fan: Grab that trusty screwdriver and start by taking off the fan cover. Usually, a few screws are holding it in place. Once that's off, you should see more screws or maybe some metal clips securing the fan itself.
- Disconnect the Wires: Carefully detach the wires from the old fan. It might be helpful to take a pic with your phone as a reference for later. You'll typically see three wires: one for power, one neutral, and one ground.
- Install the New Fan: Take your new fan and secure it where the old one used to be. Make sure it aligns with the existing ductwork—that's crucial for proper ventilation. Use the existing brackets or screws to hold it in place. If you're switching brands or models, check the instructions for any specific mounting requirements.
- Reconnect the Wiring: Match the wires from the new fan to the ones from the ceiling. This is where your earlier phone pic might come in handy. Twist the wires together and cap them securely. Tug gently to make sure they're snug.
- Test It Out: Before tidying up, flip the breaker back on and flick the fan switch. If it whirs to life, you’re golden. If not, double-check the wiring steps or refer to your fan's manual for troubleshooting.
- Finish Up: With everything running smoothly, screw the cover back on, and you're done. Don't forget to clean up any dust or bits lying around.
By following these steps, your DIY fan repair project should be a cinch. But hey, if at any point you feel out of your depth, there's no shame in calling a pro. It's better to be safe than sorry, right?
When to Call a Professional
Okay, so maybe you're not feeling super confident about this whole DIY thing, and that's perfectly fine! Sometimes calling in a pro is the smarter choice, especially if things get a bit hairy.
If you're dealing with complex electrical setups, it's best to let a professional handle it. Messing around with wiring, especially in older houses where surprises lurk behind walls, can be risky. A trained electrician will have the know-how to deal with these situations safely.
Next, if your extractor fan replacement involves accessing difficult-to-reach spots or you're working at height, safety becomes a major concern. Professionals have the right equipment and experience to work safely without the risk of falls.
Let's talk about issues related to ventilation systems that connect to other parts of your home. If the ducts are damaged or blocked, or if you're uncertain how to properly reconnect everything, a professional's expertise can be invaluable in ensuring the system functions correctly.
And then there's time. We all have busy lives, and if wrestling with a fan replacement isn't your idea of a good weekend, hiring someone can save you a bunch of hassle. Plus, with a pro, the job is typically done faster and often comes with a warranty, giving you peace of mind.
Here's a little stat that might interest you: professionally installed extractor fans tend to last longer because they're set up just right. So while it might seem like an extra cost upfront, in the long run, it could save you both time and money.
In short, if you’re running into uncertainties or feeling overwhelmed, don't hesitate to reach out for expert help. After all, it's about getting the job done safely and effectively.