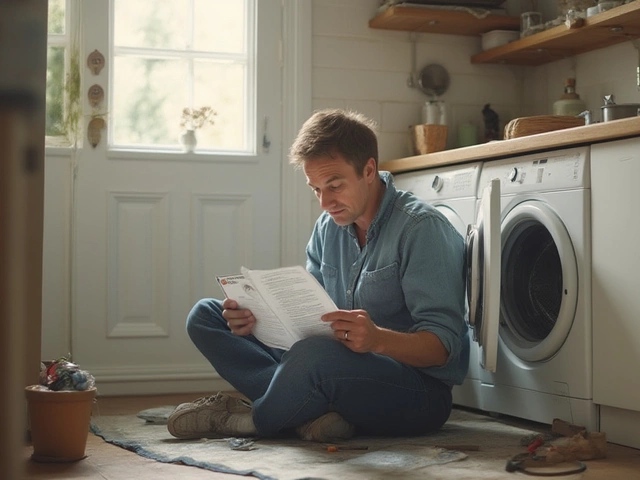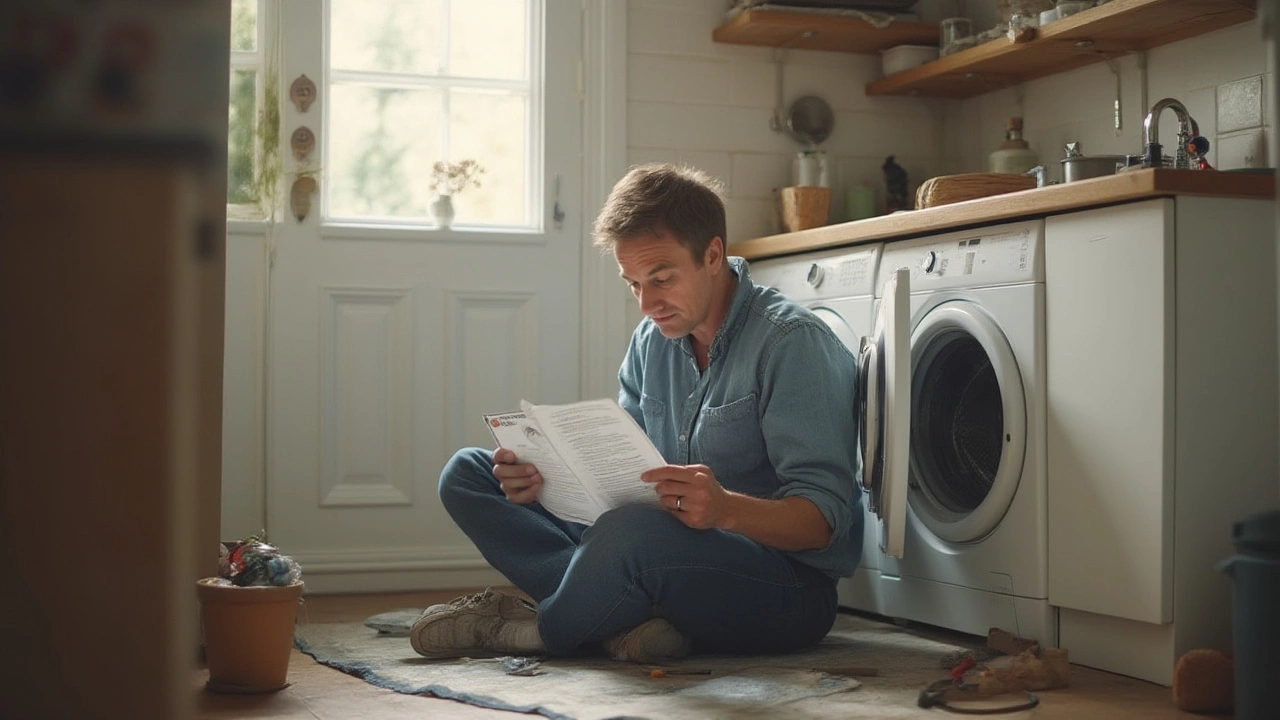
Ever stared at a washing machine with a sinking feeling as water collected at the bottom or it refused to spin your gym gear? Makes you wish you could just grab a wrench and become the hero your laundry needs. But is it actually possible to repair a washing machine yourself, or is that just something DIY blogs want you to believe? Let’s get real about what you can handle, when to put your tools down, and how not to end up with wet socks and a bigger mess.
Common Washing Machine Problems and What Causes Them
Washing machines aren’t the complicated monsters manufacturers sometimes make them out to be. Honestly, most problems boil down to just a handful of issues. If your washer won’t start, it’s tempting to panic. But nine times out of ten, the cause is either a tripped breaker, a loose plug, or a door that's not closed tight enough. Did you know many newer models have a small switch in the lid or door? If it isn’t engaged, nothing happens, no matter how many times you hit ‘Start.’ Been there. My dog Charlie once hit my front loader so hard chasing a ball, it actually popped the door open.
Next, there’s the classic: “Why won’t my washer drain?” If you find standing water at the end of a cycle, the most likely culprit is a clogged pump or blockage in the drain hose. Socks, pet hair (thanks, Luna), coins, or even a rogue Lego can block the flow. In fact, a study from Home Appliance Repairs UK reported that 37% of washing machine issues sent to their workshops were due to simple clogs. Sometimes, the washer goes out of balance—especially if you try stuffing all your bedding in at once—and this can trip safety features that halt the machine entirely. Unbalanced loads can even break the shock absorbers. Decoding weird noises? Grinding usually means a foreign object is lodged somewhere (coins, always coins!), while squeaking can point to worn bearings or belt problems. Not spinning? Problems with the lid switch, belt, or the drive motor could be behind it.
Beyond these common headaches, there’s leaking—surprisingly often just from a loose hose or a degraded door gasket. Sometimes the fix is as basic as tightening a clamp or cleaning old detergent out of the dispenser. From mysterious odors (mold and bacteria love wet rubber seals) to water that never heats up (usually a bad heating element), most issues don’t require an engineering degree to figure out—just a bit of patience and elbow grease.
When Can You Repair Your Washing Machine Yourself?
Here’s the truth no appliance tech will admit: a lot of fixes are safe and simple if you use your head. Start with zero cost moves: unplug the machine for a minute to reset it—like control-alt-delete, but for your laundry. When that doesn’t work, go old-school with visual checks. Are hoses kinked behind the unit? Is there water on the floor? If it looks obvious, it usually is.
For problems like clogs, leaks, or replacing parts like the door seal, drain pump, or hoses, you absolutely can fix these yourself. You’ll need a screwdriver, adjustable wrench, pliers, and a flashlight. I always keep an old towel handy because water spills are basically mandatory. Manuals help—Google your exact model number for a free PDF. Brands like Whirlpool, LG, and Samsung even put troubleshooting steps in their manuals.
Check out this handy table with the most common DIY fixes, estimated time, and the tools you’ll need:
| Issue | DIY Solution | Time Needed | Tools |
|---|---|---|---|
| Washer won’t start | Check power, plug, door/lid switch | 5 min | None |
| Doesn’t drain | Clean filter, check drain hose | 15-30 min | Screwdriver, towel, bucket |
| Leaking water | Tighten hose clamps, replace door seal | 20-40 min | Screwdriver, pliers |
| Loud noises | Remove objects from drum, level legs | 15 min | Flashlight, wrench |
| Bad smells | Clean door seal, run hot cycle with cleaner | 30 min | Cleaner, cloth |
There are some cool tricks the pros use, too. If the washer shakes violently, put a bubble level on the lid. Adjust the feet underneath so it sits perfectly flat. For smelly washers (a real problem for people with pets that shed), use a cup of white vinegar and baking soda in an empty hot wash. Want to avoid future clogs? Get in the habit of checking all pockets before dumping clothes in (especially if you have little kids or forgetful spouses around). Cleaning the filter once a month, just like you clean out Luna’s litter box, makes a world of difference.
But—and here’s the big BUT—never work on anything while the machine is plugged in. Electricity and water don’t mix, and you don’t want your next DIY session to involve a trip to the ER. Always unplug and, if you’re working on wiring, know how to safely discharge any capacitors.
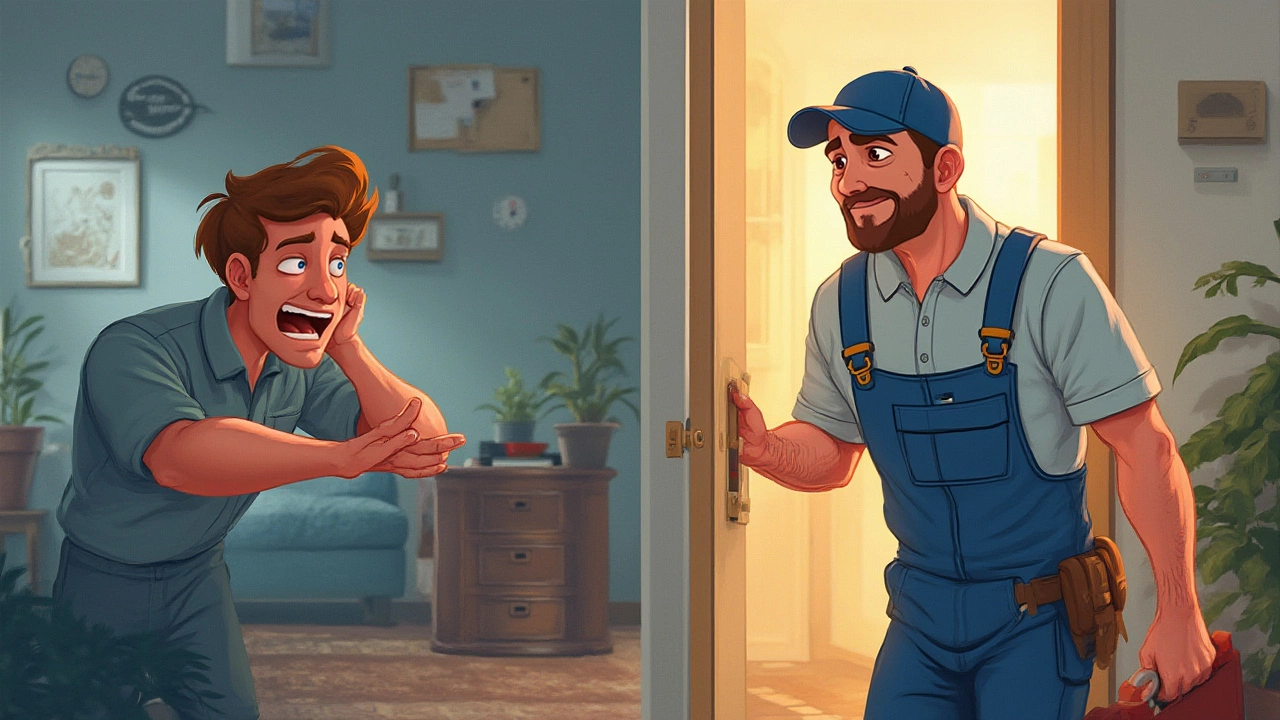
When Should You Call a Professional?
Some repairs, while technically possible, are not worth the stress and risk unless you’re pretty handy and have lots of free time. Anything involving the main control board, actual wiring replacement, or big internal parts like the transmission or drive motor is better off handled by someone who does this for a living. These jobs require diagnosing electrical circuits with a multimeter, and I don’t know about you, but I don’t trust myself with wires unless there’s a YouTube video walking me through every flick of the wrist—with a pause button.
Modern washers pack a ton of electronics, especially smart features: Wi-Fi, automatic dosing, sensors for everything from water levels to whether you added enough detergent. Mess up a repair here, and you could end up frying the whole board. Replacing a main control board can cost more than half the price of a brand-new machine. And don’t mess with the sealed tub if it starts showing leaks or you hear bearings grinding. Shops have press and specialty tools; trying this at home is a good way to end up on a fail video compilation.
Here’s a quick list of when to stop and call for help:
- You smell burning or see smoke coming from the unit.
- The machine trips your circuit breaker as soon as you start it (could be a shorted motor or faulty power board).
- There’s a serious leak coming from the drum area (not just the hose).
- Drum won’t turn, despite resetting and checking belts (could be the motor or transmission).
- You’ve tried the basic fixes and nothing changed.
Fun fact: the National Association of Home Builders released a survey in 2023 that found 89% of “wasn’t worth it” appliance DIYs involved washers, especially on anything involving a control board or advanced electronics. So for the big stuff, like diagnosing weird electrical faults or swapping out control boards, it’s usually a safer (and even cheaper) bet to call a pro. And if your appliance is still within warranty, trying a DIY repair might void it. Always double check—sometimes a service call and a small part replacement is cheaper than dealing with a bigger headache down the road.
Tips and Safety Steps for DIY Washing Machine Repair
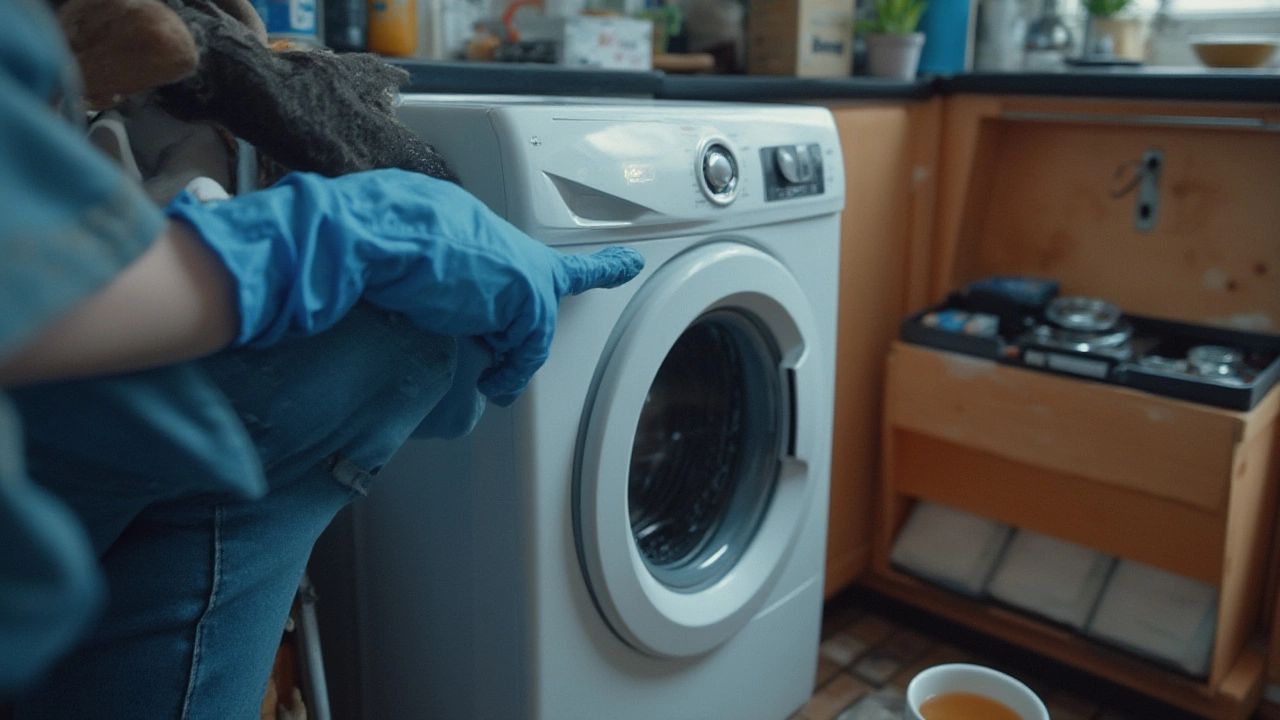
Before you tear into anything, slow down and get the basics right. The first is safety. Unplug the machine. If you need to turn off the water supply, know where those valves are (usually behind the machine—mine are basically a dust bunny hideout). Keep kids and pets (Charlie and Luna, I’m looking at you) well away if you’re working. You’d be amazed how fast a cat can sneak into an open drum or how quick a dog can steal a dropped hose clamp.
Take pictures with your phone before you disconnect anything. Seriously, you’ll forget which way the hoses or wires go otherwise. Label stuff with masking tape if you’re removing more than one or two wires or hoses. Keep all the screws in a cup (magnetic bowls work wonders), so you don’t end up crawling around later. Set up plenty of light—you want to see exactly what you’re doing. Use kneepads or a soft pad if you’re going to be reaching around the back or leaning down for long periods.
If you’re cleaning the filter or pump, go slow. Sometimes it’ll be packed with gunk, coins, hairpins, even lost jewelry. Keep a small container for all those surprises. When reassembling, take the extra minute to double-check every connection. It's way easier to fix something before the water is turned back on than after you find a new puddle on your floor. Some pros keep pet hair rollers on hand to keep loose fur out of gaskets and hoses—especially important if you share your house with furry friends.
Troubleshooting tip: if your washer has a digital display, write down or snap a quick photo of the error code. Each code points to something specific, and you can usually find the meaning online. Many brands have online troubleshooting guides based on error codes. Always try to use official replacement parts; knock-offs look tempting but might not last—and things could get worse.
If you’re not sure what part you need, there’s no shame in calling the manufacturer’s help line. They're usually pretty helpful if you have the model number ready. And one more tip—sometimes, the most annoying problems come from soft water making too many suds. Stick to the recommended detergent amount (High Efficiency, if required), and run a cleaning cycle every month or so to avoid build-up.
How to Prevent Issues and Keep Your Washing Machine Running Smoothly
A bit of maintenance makes repair less likely in the first place. Start with easy stuff: always check pockets for coins, screws, or wrappers. Clean the filter monthly—if your model has one—using manufacturer instructions. For front loaders, wipe down the rubber door gasket after each wash, and leave the door ajar so air can circulate. That keeps musty smells away. Run a drum clean cycle or a hot wash with a cup of white vinegar and a tablespoon of baking soda once a month to flush out grimy build-up. Luna once climbed into the washer, so, trust me, close the door when you aren’t using it if you’ve got pets around.
Keep the outside clean, too. Dust or fur on the backside can end up sucked into vents or drain hoses. I use a vacuum with a small nozzle to clear under and behind the washer every couple of weeks. Peek at the hoses every now and then—if you spot cracks or bulges, time for new ones. Stainless braided hoses last longer and can save you from water disasters down the line.
Here's a maintenance schedule:
| Task | Frequency | Comments |
|---|---|---|
| Check filter and drain | Monthly | Prevents blockages and odors |
| Run hot cleaning cycle | Monthly | Fights mold and detergent buildup |
| Inspect hoses | Every 3 months | Look for wear or bulges |
| Clean door seal | After every wash | Stops mold and bad smells |
| Vacuum around washer | Monthly | Keeps dust and fur at bay |
For anyone with kids, pets, or roommates who never empty their pockets, put a small basket above the washer for “pocket findings.” You’ll be amazed at the weird little treasures (or hazards) this saves your filter from.
Final tip: if your washing machine is eight years old or more and needs a major part replaced, sometimes it’s smarter to upgrade than to spend big money on a repair. New machines use half as much water and energy as those from a decade ago and often pay for themselves in just a couple of years in lower bills. But for most routine headaches, a willingness to get your hands a little dirty, a few basic tools, and a healthy dose of common sense go a long way.
So, can you repair a washing machine yourself? Most of the time, yes, especially for everyday issues like clogs, leaks, or bad smells. When things get electronic or the guts are involved, it might be time to hand it off. It’s kind of like trimming your own hair—great for little fixes, but let the pros handle anything drastic!