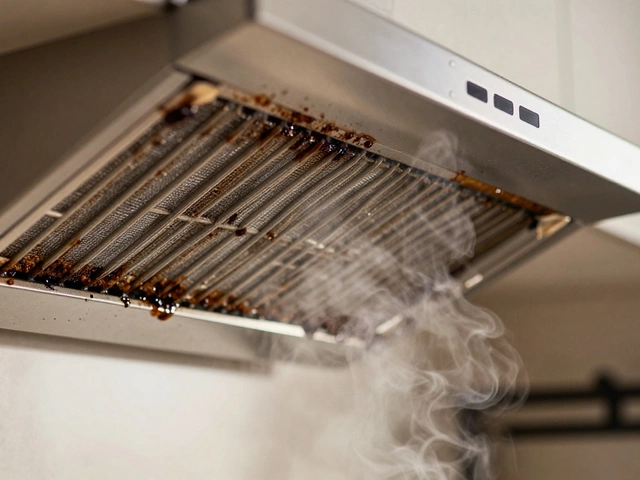
Your extractor fan goes dead just when you need it—steam flooding the kitchen, smells creeping through the bathroom, windows fogging up fast. Annoying, right? This fan’s not just a convenience. It’s your home’s silent hero, kicking out moisture, smoke, and bad air. When it stops working, you notice. Pipelines clog with grease, humidity climbs, and, guess what? Mould starts to sneak in. So what do you do when that loyal extractor fan suddenly gives up the ghost?
Spotting the Signs: Is Your Extractor Fan Really Broken?
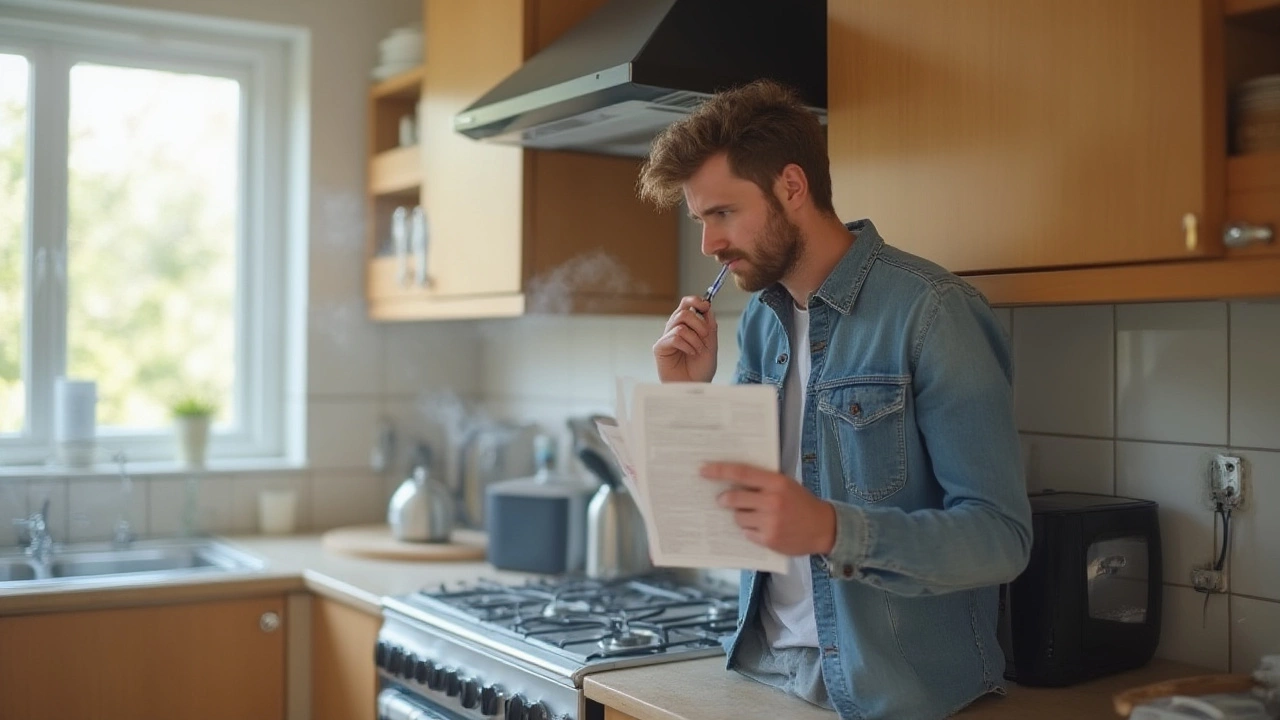
That moment your extractor fan stays silent or spins but does nothing, it’s tempting to panic. Let’s pause and pick up on what your fan is trying to tell you. Does it hum? Spin slowly? Not turn on at all? Sometimes it’s dead as a doornail, but other times it’s the weird rattle, the low buzz, or the lack of suction that gives the real clue. Check if there’s any power at all; flick the switch, and listen—silence means there’s a bigger issue. Steam hanging in the air or smells lingering after cooking means your fan isn’t pulling its weight.
Sometimes it’s just an easy fix. I remember a particularly muggy summer Sunday when our kitchen extractor didn’t even try to start, right as I was making curry. Checked the isolator switch—yup, Adele had switched it off when she wiped behind the microwave. A quick flick and it roared to life. Before diving into repairs, confirm the fuse or breaker is okay, and double-check the isolator switch. If you’re lucky, it’s something as simple as that.
But if it’s making a weird noise? That could point to a build-up of gunk, a cheap fan blade rattling in its bracket, or the motor struggling to turn. And if the fan’s getting power but still refuses to move, you might have a wiring issue, a dead motor, or even a blocked vent. Most kitchen and bathroom extractor fans these days are powered off lighting circuits, so if your bathroom fan isn’t working but the lights are, the problem is inside the fan or with its wiring, not the main power supply.
The difference between a fan not spinning and one not pulling air is important. Sometimes a fan spins but does not extract because the duct is blocked, or the external vent cover is jammed shut by debris or a bird nest—sounds unlikely, but it happens more than you’d think in the UK. So, don’t assume your fan’s broken just because there’s no airflow. Check for vent blockages and see if the fan itself is dirty or clogged.
Basic Checks You Can Do Before Calling in Help
Before shelling out for a pro or splurging on a new fan, there’s plenty you can check yourself—no electrician’s badge required. First, flip the fan’s power switch on and off, then inspect the circuit breaker or fuse. Extractor fans usually have their own isolator switch somewhere nearby, sometimes tucked above a cupboard, sometimes beside the bathroom door. Flick it both ways and listen for any humming or clicking from the fan. If that doesn’t work, look at the fuse in the switch or the connector plate. Fuses blow all the time, especially if there’s a power spike or sudden overload.
Here’s a trick I often use: plug in something else to the same power source, like a phone charger or a lamp. If that works, the fan’s the problem. If not, the issue’s further down the line. Next, remove the fan’s cover (unplug or turn off the power first!) and wipe away any dust or grease that’s built up around the blades—gunk gets in the way fast, especially if you love frying or steaming food.
Give the fan blades a gentle spin with your finger. Do they move freely or seem jammed? If they stick, you might have a seized bearing or motor—very common if there’s been moisture in the air for weeks or months. Bathroom fans especially get bogged down with dust and lint. A soft brush or a gentle vacuum can clear that away. Sometimes, all it takes is a thorough cleaning to get the thing working again.
Don’t forget to check if the external vent is open. Britain’s weather turns outside vent covers into sticky flaps using dust, spiderwebs, or sneaky moss. Plus, old flaps and louvres can get bent or stuck. Climb a safe ladder, peek outside, and make sure nothing’s blocking the outside grill. Birds love nesting in bathroom vents. If you find a bunch of twigs or leaves jammed up there, gently clear it out and watch the airflow improve.
If you’ve tried all these steps and the fan still won’t budge, then it’s time to dig a little deeper before giving in and ringing an expert.

Digging Deeper: Common Causes of Extractor Fan Failure
After you’ve covered those basic checks, sometimes things get a bit more interesting. The most common failure? Fan motors giving up after years of shifting humid air. Especially cheap models—anything under £20 that you grab at big box stores—tend to last three to five years max. The average extractor fan in a British home sees some serious action, with the kitchen fan often doubling as a humidity controller for the whole house.
One sneaky culprit is a faulty timer. Many modern extractor fans come with a built-in timer that keeps the fan spinning for a few minutes after you switch off the bathroom light. If the timer circuit fails, your fan won’t get the starting voltage or it’ll shut down after just a second. You might hear a click or hum, then nothing. Timer modules cost under a tenner on Amazon or at B&Q if you’re handy with a screwdriver.
Another classic cause is blown wiring. Old homes sometimes have crumbly insulation behind bathroom tiles or kitchen walls—if the extractor cable is ancient, it might have corroded or snapped. You’ll see this if there’s blackened insulation or whiffs of burning plastic. If you spot that, stop poking around and call an electrician. Electricity’s no joke.
We can’t skip talking about grease. In kitchens, extractor fans double as grease traps. Over the years, even with regular cleaning, greasy mist coats the blades, gums up the motor, and eventually creates a drag that can burn out the whole fan. I’ve dismantled fans where the blades were so sticky, it was like trying to spin a toffee apple. Regularly soaking the cover and blades in soapy water seriously extends fan life.
Kitchen and bathroom fans aren’t universal. Some use pull cords, others are switched, and some are linked to the lighting circuit or humidity sensors. If your fan is humidity triggered, check if the sensor’s covered in dust or limescale—a quick wipe can bring it back to life. If you’ve heard beeping, clicking, or noticed the LED light on your fan going out, it’s probably a sign that the sensor or circuit board is on the blink.
Finally, look for signs of overheating or power surges. If your fan runs for hours in a steamy shower, the tiny motor might be cooked—literally. Most fans are only designed for 20-30 minutes of run time before needing a break. If you hear a grinding or metallic whine, don’t keep running it—you’ll only make things worse and possibly start a small fire.
Step-by-Step Guide to Fixing Your Extractor Fan
You’re ready for action? Roll up your sleeves and tackle that extractor fan with a practical mindset. First, ensure your safety. Power must go off at the wall and, better still, at the circuit breaker. Don’t risk getting a shock from a still-live wire. Let anyone at home know what you’re doing—nobody likes an unexpected blackout.
- Remove the cover: Most extractor fans have a removable plastic grill. These either snap off or are held by a couple of screws. Gently pry it off or unscrew as needed.
- Check and clean: Use a soft brush to dust blades and wipe any obvious grease or grime with a damp cloth. For stubborn grease (kitchen fans especially), a dab of washing-up liquid works wonders.
- Spin the blades: Give the blades a gentle flick. If they rotate freely, move on; if stiff or jammed, try to see what’s jamming them. Sometimes small food particles or bits of insulation drop inside.
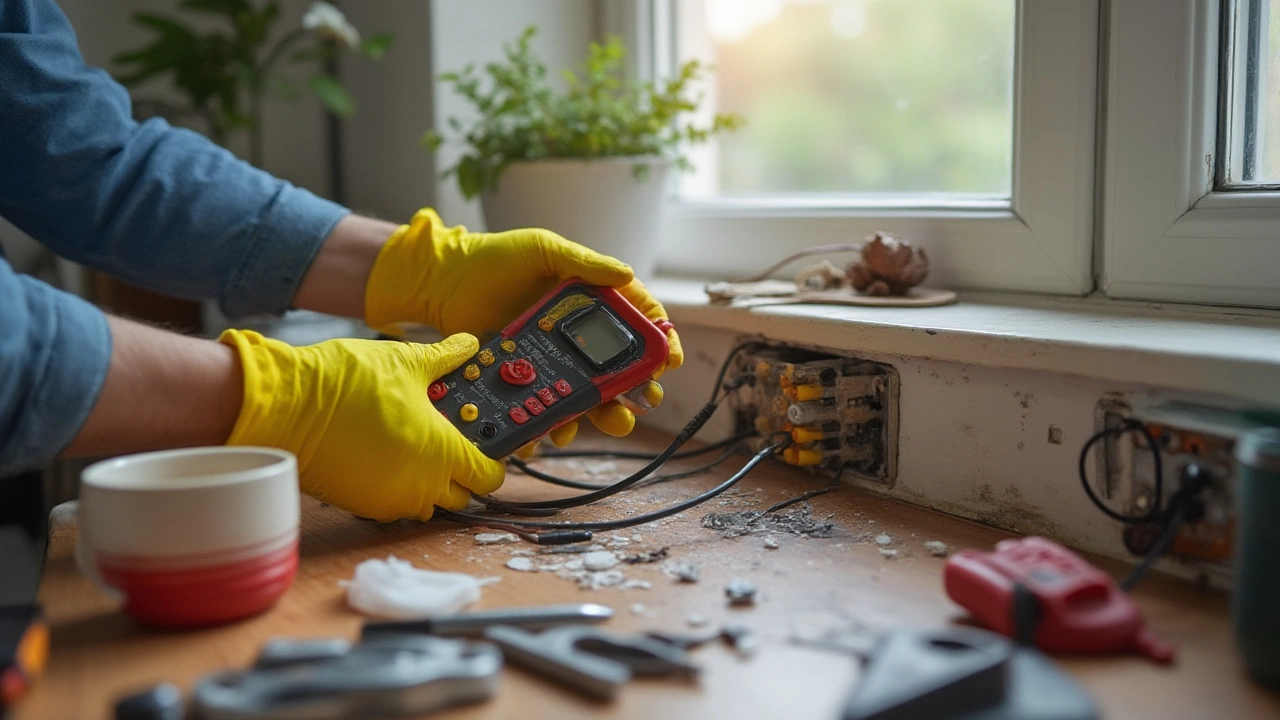
- Test the wiring: For switched fans, gently tug connections. Any loose wires? Disconnected terminals? If you’re not comfortable with wiring, it's time to get an electrician.
- Replace the fuse: Find the fused spur (usually a white switch nearby with a fuse inside) and swap the fuse for a 3A one. Blown fuses are cheap fixes.
- Try the switch: With power back on, try the isolator and main switch. If the fan spins up, put the cover back on. If not, power off again and keep looking.
- Inspect the ducting: Pull a vacuum hose or a stick (not your hand!) through the duct to check for blockages. Lots of kitchens use either rigid or flexible ducting; flexible collects dust balls and even insects. Birds nest in roof vents all the time, especially in spring.
- Check the timer or sensor: If your fan’s wired to stay on with the light off (in bathrooms), try resetting the timer or humidity sensor. Many fans have a small dial under the cover to adjust delay or sensitivity. A quick twist can fix weird behavior.
- Swap out the motor: If all else fails and you’re handy, extractor fan motors aren’t expensive—usually £10-30 for standard UK models. Unscrew the old motor, disconnect the wires (noting which goes where), and swap in the new unit. But, again, only if you’re sure what you’re doing with electrics.
- Call a pro: If sparks fly, things smell burnt, or wires seem wrong, call a qualified electrician. Better a small bill than a big shock or a fire.
After you finish, test the fan with steam or a lit match (hold it near the vent and see if the smoke pulls in). A working fan clears steam within minutes and leaves no fog on mirrors or windows.
Should You Repair or Replace a Broken Extractor Fan?
Here’s the million-pound question: when is it time to stop poking around and just buy a new extractor fan? Honestly, most fans are cheap to replace—standard bathroom models cost £20 to £50, with premium kitchen versions starting around £60. But if your home is full of custom ducting, fancy humidity sensors, or smart controls, it can get pricier. If your fan is over a decade old, or the repair needs specialist parts, replacement usually wins.
Look at the age. Set on repair if the fan is less than five years old or is a high-end model; otherwise, it’s safe to assume wear and tear have taken their toll. Repairing a broken or seized motor can take time, and parts aren’t always available for old makes or models—many manufacturers stop supplying spares after just a few years. Motor failures, burnt circuits, or persistent clogging tend to signal it’s time to invest in something new.
Don’t forget energy use. Modern extractor fans come with better motors, make less noise, and often draw less power. Some even run so quietly you barely notice them, which is a game-changer if your bathroom or kitchen connects to a bedroom. Look for models with high extraction rates (over 90m³/hour for bathrooms, over 220m³/hour for kitchens) and noise ratings under 30db if you care about peace and quiet.
The only time repair truly makes sense is for cosmetic damage (snapped covers, loose screws) or when it’s an easy wiring issue you can sort at home. Parts are cheap, but expert time isn’t—call out fees add up fast. In our house, even Adele agrees: if the fan’s gone more than a few years, I head online for a shiny new one rather than fussing with old motors and plastic bits.
Some UK councils offer grants or support for better ventilation in older homes, especially if you’ve got health issues made worse by mould. So if you constantly battle condensation, it’s worth checking if you qualify for free upgrades or professional help.
Here’s something most folks miss: if you get a new extractor, keep the paperwork. Guarantees often last two years or more, and installing it yourself can void the warranty if you muck up the wiring. Always check before hacking into plasterboard and fixing brackets.
Whether you’re repairing or replacing, remember to check the manufacturer’s manual online—almost all popular brands have full diagrams and instructions available, saving you time and guesswork. And if you need inspiration, there are tons of YouTube guides by fellow home tinkerers who swear by their own repair hacks if you want to see a step by step in real life.