Extractor Fan Repair Time Estimator
Find Your Repair Time Estimate
Select your fan issue and service preferences to get an estimated repair time.
When an Extractor fan is a ventilation device that pulls moisture, odors, and heat out of kitchens or bathrooms, any slowdown or silence can feel like a major inconvenience. Homeowners often wonder: extractor fan repair time - is it a quick tweak or a day‑long project? This guide breaks down every step, from diagnosing the problem to estimating how long a DIY fix or a professional call will take.
Quick Takeaways
- Simple issues (loose blade, clogged duct) usually take 30‑60 minutes.
- Electrical faults or motor failures often require 1‑3 hours for a pro.
- Full fan replacement, including wiring, can extend to 4‑6 hours.
- Preparation (turning off power, cleaning access) can shave 15‑20 minutes off any job.
- Hiring a qualified technician adds travel time but guarantees safety and warranty compliance.
Core Components of an Extractor Fan
Understanding what you’re dealing with makes timing predictions easier. The main parts are:
- Motor drives the fan blades and determines airflow speed
- Fan blade - the physical propeller that moves air.
- Housing - the outer case that protects internal parts.
- Ductwork - the channel that carries the extracted air outside.
- Switch or sensor - controls when the fan turns on.
- Wiring - delivers power from the circuit breaker to the fan.
- Capacitor (in some models) - gives the motor an extra boost at start‑up.
Common Issues That Trigger Repairs
Most homeowner calls stem from a handful of frequent problems:
- Noise or vibration - often caused by a loose blade or worn bearings.
- Reduced airflow - usually due to a clogged duct or dirty filter.
- Fan won’t start - could be a motor failure, faulty capacitor, or broken wiring.
- Intermittent operation - often linked to a bad switch or moisture‑damaged connections.
- Overheating - sign of motor stress or inadequate ventilation.
Identifying the symptom narrows down the likely component and, consequently, the time needed.
Typical Timeframes for DIY Fixes
If you’re comfortable with a screwdriver and can safely turn off the power, many issues can be solved in under an hour. Below is a practical breakdown:
| Issue | DIY Time | Professional Time |
|---|---|---|
| Clean duct or replace filter | 15‑30 min | 30‑45 min |
| Tighten or replace fan blade | 20‑40 min | 30‑60 min |
| Swap a faulty switch | 30‑45 min | 45‑60 min |
| Replace motor or capacitor | 90‑150 min | 60‑180 min |
| Full fan unit replacement | 180‑240 min | 120‑360 min |
Key to a swift DIY job is preparation: gather tools (screwdrivers, multimeter, ladder), read the manual, and ensure the circuit breaker is off.
Professional Service Time Estimates
When you call a licensed technician, the clock starts ticking from the moment they arrive on site. Here’s how the timeline usually unfolds:
- Travel & setup (15‑30 min): Technicians factor in distance, parking, and the time it takes to set up safety gear.
- Diagnosis (10‑20 min): Using a multimeter and visual inspection, they pinpoint the faulty part.
- Repair or replacement (30‑180 min): Simple fixes like cleaning ducts are quick; motor swaps can be longer.
- Testing & cleanup (10‑15 min): They verify airflow, listen for noise, and leave the area tidy.
Overall, a typical service call lasts between 1 hour (minor issues) and 4 hours (full unit replacement). Emergency or after‑hours calls can add an extra 30‑60 minutes for premium rates.
Factors That Can Speed Up or Slow Down Repairs
Not every job follows the average. Several variables can push the clock forward or hold it back:
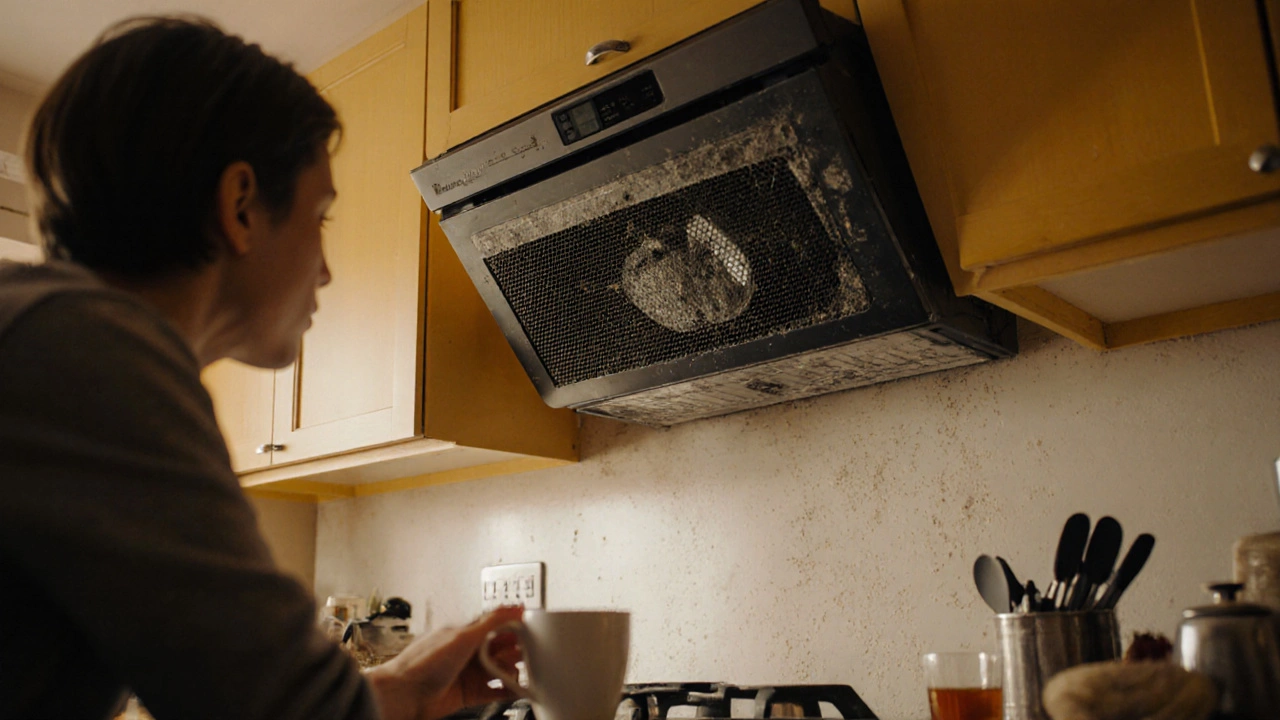
- Fan location: Ceiling‑mounted fans require ladder work, while wall‑mounted units are easier to access.
- Age of the fan: Older models may have corrosion or worn seals, complicating disassembly.
- Accessibility of wiring: Exposed wiring behind a removable panel saves time; hidden wiring inside walls adds complexity.
- Availability of replacement parts: Having the exact motor or capacitor on hand prevents overnight delays.
- Seasonal demand: Summer spikes for kitchen fans can lead to longer scheduling windows.
- Safety considerations: If there’s any sign of water damage or electrical fire risk, the technician will pause and address safety first, extending the job.
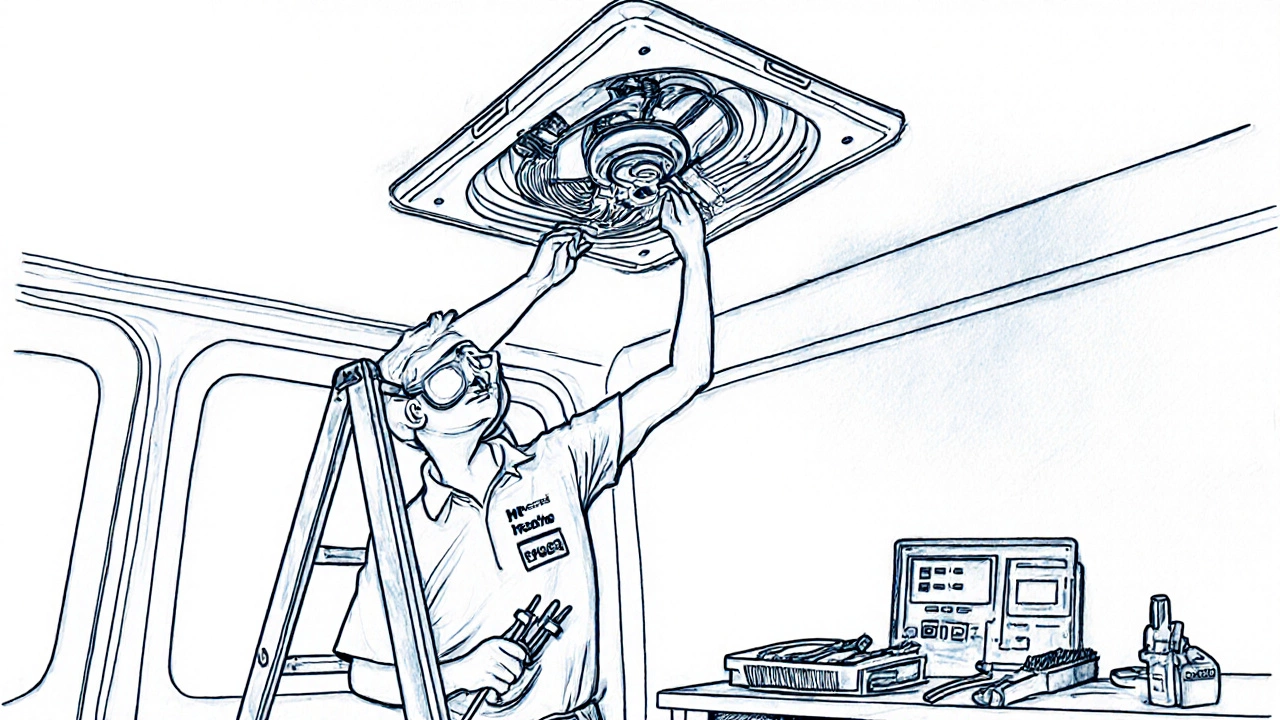
Checklist Before Calling a Technician
Running through this short list can cut down on back‑and‑forth communication and may even solve the problem yourself:
- Turn off the circuit breaker that powers the fan.
- Visually inspect the fan housing for dust buildup or obvious damage.
- Remove the grill and clean the blade and motor area.
- Check the duct for blockages; use a flexible brush if needed.
- Listen for humming when you briefly turn the power back on - a silent fan points to motor or capacitor issues.
- Note the fan’s make, model, and serial number (usually on the back plate).
- Gather any warranty information; many manufacturers cover motor failures for 2‑5 years.
Providing this info to the service provider lets them bring the right parts and tools, often cutting the on‑site time by 15‑30 minutes.
When to DIY vs. Hire a Pro
Use the following decision tree to decide your next move:
- If the issue is cleaning‑related (duct, filter, blade), DIY in under 30 minutes.
- If the problem involves electrical components (switch, wiring, capacitor) and you lack a multimeter, call a professional.
- For a motor failure or complete fan replacement, a licensed technician is safest - the job can stretch beyond 2 hours and may require building permits in some regions.
- When the fan is under warranty, contact the manufacturer’s service line first; they often have authorized repair partners.
Mini‑FAQ
How long does a simple duct cleaning take?
A straightforward clean, using a brush or vacuum, usually finishes in 15‑30 minutes. The key is to remove any debris that blocks airflow.
What safety steps should I take before opening the fan?
Always switch off the dedicated circuit at the breaker, double‑check with a voltage tester, and use insulated tools. If the fan is installed near a water source, dry the area thoroughly.
Can I replace the motor myself?
Yes, if you have basic electrical knowledge and the correct replacement motor. Expect 1‑2 hours for removal, installation, and testing.
Why does my fan make a rattling sound?
Rattling usually means a loose blade, worn bearings, or debris caught in the fan. Tightening the screws or cleaning the interior often resolves it within 20 minutes.
How much does a professional repair typically cost?
Labor ranges from $80‑$120 per hour, plus parts. A simple switch replacement might be $150 total, while motor replacement can hit $300‑$450.
Whether you’re planning a quick DIY tidy‑up or scheduling a technician, knowing the typical extractor fan repair time helps you set realistic expectations and avoid surprise delays.

