Burning food on your electric hob happens to the best of us. Maybe you walked away for a minute—or got caught up showing off your latest dance move in the kitchen. Now you’ve got ugly burn marks or, worse, your hob has stopped working altogether. If your electric hob just gave up after a burnout, don't panic. You don’t need to rush out and buy a new one right away or wait days for an expensive repair service.
The key here is to figure out what’s really wrong. Sometimes it’s just stuck gunk or light scorching on the surface. Other times, the damage runs deeper—like a busted heating element or melted wire. The good news? In a lot of cases, you can clean or repair a burnt electric hob yourself. You just need to follow the right steps, stay safe, and use the right tools.
Before you grab any screwdrivers, always disconnect your hob from the power. This is non-negotiable; electric shocks aren’t fun. If you’re dealing with a ceramic hob, pay extra attention—you don’t want to crack the smooth glass top. If you’ve got the old-school coil type, things might get a bit messier but the fixes can be more straightforward. Either way, let’s break down some real fixes that actually work, so you can get your hob back to sizzling in no time.
- Spotting the Signs of a Burnt Hob
- Quick Safety Steps Before You Start
- What Causes Electric Hobs to Burn Out?
- Deep Cleaning a Burnt Hob
- Fixing or Replacing the Burnt Elements
- Tips to Prevent Future Burnouts
Spotting the Signs of a Burnt Hob
Just because something smells smoky in your kitchen doesn’t always mean your burnt electric hob is broken beyond repair. But trust your senses—burnt smells, stubborn stains, and weird noises all give you clues about what’s going on under the hood.
- Burn marks and discoloration: These often show up as black, brown, or rainbow-colored spots on the hob's surface or coils. Ceramic hobs might have “ghost stains” that don’t wipe off with regular cleaner.
- Crackling or popping sounds: If you hear strange noises while the hob runs, especially right after burning happened, there’s a good chance the element or wiring took a hit.
- Uneven heating: Are some parts of the hob way hotter than others? If so, a burnt heating element is a likely culprit.
- Flickering lights or error messages: Modern hobs sometimes flash error codes or indicator lights after burning out—like “E6” or a blinking red dot. Check your manual or look them up online for specifics.
- No heat-up or tripped breakers: If your food stubbornly stays cold or your circuit breaker keeps popping, a burnt hob element or shorted connection might be the problem.
| Symptom | What It Likely Means |
|---|---|
| Burn Marks/Discoloration | Surface residue, burnt element, or damaged wiring |
| No Heat | Blown element, melted connection, or tripped breaker |
| Pop or Crackle Noises | Short circuit or element breakdown |
| Error Codes/Flashing | Built-in diagnostics flagging a problem |
| Persistent Smell | Burnt residue or hidden electrical fault |
If you spot more than one of these issues, it’s almost certain your hob needs attention. Don’t ignore odd smells or sudden changes—these aren’t just cosmetic problems. Catching problems early means less hassle and a quicker fix, which is always good news for dinner plans.
Quick Safety Steps Before You Start
Before tackling a burnt electric hob, you want to keep yourself—and your kitchen—safe. Electric hobs pack serious voltage and can cause injuries if you’re careless. Nearly 30% of home appliance injuries are linked to mishandling power sources, according to safety reports. So, don’t skip these simple precautions.
- Unplug or switch off the mains: Find your hob’s switch at the wall or trip switch in the circuit breaker box. Double-check it's really off—no humming, buzzing, or glowing lights.
- Let it cool all the way down: Even if you’re in a hurry, hot elements or glass can burn skin. Wait until it feels completely cool to the touch. A glass hob can stay hot for up to 30 minutes after turning off.
- Clear the area: Move away pots, pans, and especially anything flammable, like kitchen towels or paper. You want space to work and no chance of accidental fires.
- Wear rubber gloves: These add a layer of protection if you touch anything electrical or sharp. Also, eye protection helps if something pops or fragments while you’re cleaning or opening parts.
- Keep a fire extinguisher close but never use water: If things go wrong, a small kitchen fire extinguisher can make a difference. Water and electrical fires do not mix—foam or powder types only.
Wondering why this matters? Here’s a handy table about the most common hob-related accidents and their causes:
| Accident Type | Root Cause | Prevention Tip |
|---|---|---|
| Electric Shock | Working while plugged in | Always unplug or switch off mains first |
| Burns | Touching hot elements | Wait for complete cool-down |
| Fire | Nearby flammable items | Clear workspace completely |
Taking ten minutes for these steps saves headaches and keeps you out of the emergency room. Once you know the area is safe, you’re good to move on with hands-on repairs and cleaning.
What Causes Electric Hobs to Burn Out?
If you’ve ever had a burnt electric hob, you know how frustrating it is—and it usually happens for a reason. One of the most common causes is just plain old overheating. If you crank your hob up high and let it run for too long (like when you forget something on the stove), the heating elements can take a real beating and might fail over time.
Another major culprit is food spills. When stuff like soup, milk, or oil boils over and gets onto the elements, it can burn onto the metal or glass, causing hot spots. That stuck-on gunk acts like insulation, pushing the element to work harder. Eventually, it can snap or short-circuit.
Loose or damaged wiring is a sneaky problem that can seriously fry your hob. Wires can get brittle, work themselves loose from the connectors, or melt if the hob’s been overheating. When that happens, you might see sparks, smell burning plastic, or watch your hob die on the spot.
There’s also the issue of old or faulty parts. Most electric hobs last a few years with normal use, but if a component like a temperature sensor or the control switch goes bad, it can make the element stay on too long or heat unevenly. The result? Something’s going to burn out sooner than it should.
- Overheating from high settings or forgetting to turn off the hob
- Spilled food or grease burning onto the hob surface
- Deteriorated or damaged wiring under the hob
- Worn-out heating elements or failed parts inside the unit
- Poor-quality replacement parts used in past repairs
Knowing what went wrong is half the battle. When you spot a problem early—like a dark patch that won’t scrub off, or a burner that’s acting up—you can save yourself a lot of hassle and maybe even skip a complete replacement.

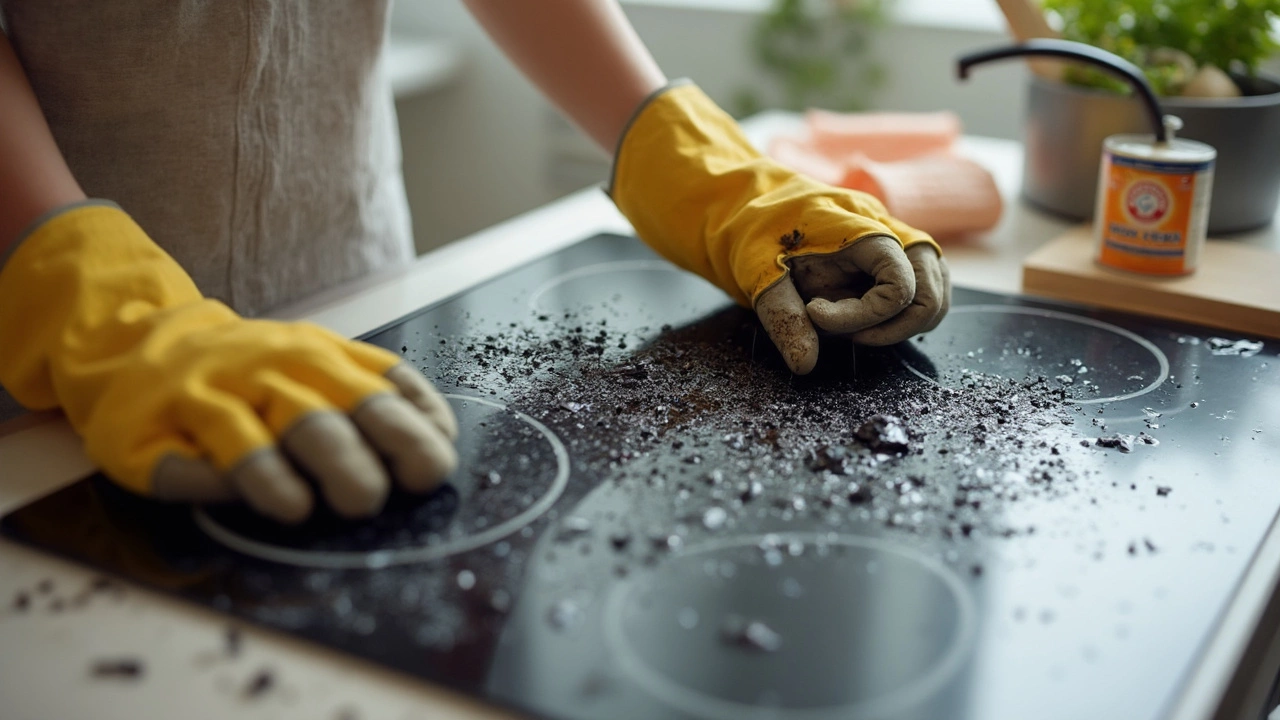
Deep Cleaning a Burnt Hob
Stuck-on food and scorch marks make cooking less fun and, if bad enough, can even hurt how your burnt electric hob heats up. Whether you’ve got a ceramic glass top or classic coils, deep cleaning is doable at home and doesn’t have to eat up your whole day.
Don’t go straight for harsh chemicals—a lot of those can damage your hob’s finish or leave weird smells. Start simple and work up if needed. Always let your hob cool completely before touching it, of course.
- Wipe Loose Debris: Use a soft damp sponge and a bit of dish soap. It won’t get the burnt stuff, but it’ll clear crumbs and oil splatters out of the way.
- Baking Soda Paste: Mix 2 tablespoons of baking soda with enough water to form a thick paste. Spread it over any burnt-on marks. Let it sit for 15–20 minutes. This helps loosen grime without scratching surfaces.
- Scrape—Gently: For ceramic hobs, use a plastic scraper held at a 45-degree angle, gently pushing off burnt residue. Metal scrapers can scratch. For coil hobs, remove the coil (after unplugging or switching off the hob) and then scrub gently with a non-abrasive pad.
- Tough Spots: Sticky, stubborn bits? Soak a cloth in white vinegar, lay it over the area for 10 minutes, then try scraping again. Vinegar cuts through a lot of burnt residue.
- Finishing Up: Wipe with a clean damp cloth. Dry with a microfiber towel to avoid streaks and spots.
If you’re curious how most people stumble here, check out this quick stat table from a UK home survey in 2023:
| Common Burn Cause | Percentage |
|---|---|
| Forgotten pans or leaving hob unattended | 38% |
| Spilled sugar or syrup | 20% |
| High heat with oil/fat | 14% |
| Cooking sauces boiling over | 28% |
If your hob is still stained after all this, don’t reach for steel wool. Try a specialised hob cleaner—these are designed for stubborn marks and will say so on the bottle. They’re a little more expensive, but a small bottle lasts ages.
Keeping your hob spotless after each use saves you way more cleaning trouble in the long run. If you live with someone as accident-prone as my wife Adele, just agree to deal with splatters right away—trust me, your next meal will thank you.
Fixing or Replacing the Burnt Elements
If cleaning didn’t solve the issue, you’re probably staring at a deeper problem—like a faulty heating element or wiring. Let’s get straight to the nuts and bolts: if your electric hob has burnt out and won’t heat up, odds are the heating element has had enough. Don’t worry, it’s often possible to swap the bad part without having to replace the whole hob.
Start by unplugging or switching off the power. Remove any knobs and unscrew the hob so you can lift the surface or coils. You’ll usually spot the burnt element—it may be discolored, warped, or have obvious damage. For ceramic hobs, you might need to access internals via screws underneath or at the back.
- Identify the culprit: A broken element won’t have visible resistance when you press down on it, and a multimeter can confirm if it’s dead. Just place the leads on either end of the element terminals. No reading? Time to replace.
- Order the right replacement: Match model numbers or bring the old part to a shop. Most manufacturers have replacement parts available, especially for popular brands like Bosch, Hotpoint, or Electrolux.
- Swap it out: Unscrew the terminals (take a photo first so you don’t forget where the wires go) and remove the bad element. Pop the new one in, secure the wires, and make sure the element sits flat in place.
With coil hobs, the process is a bit more forgiving—you just unplug the element and plug in the new one. Ceramic hob elements need a steadier hand, since you don’t want to crack the glass. If the wiring is burnt or melted, snip out the damaged part and use proper connectors or a short length of high-heat cable.
Don’t close everything up just yet. Double check that all wires are tight and the new element is secure. Now you can put the hob back together and switch the power on. Test your fix by turning the dial and feeling for even heat or watching for glowing coils. If the burnt electric hob still isn’t heating up, you could be dealing with a broken control switch, fuse, or even a dud replacement part. At that point, it’s smarter to call in a pro rather than keep guessing.
Tips to Prevent Future Burnouts
If you’ve just spent an afternoon cleaning and fixing your hob, the last thing you want is for it to fry again next week. Keeping your electric hob working right boils down to simple habits and regular check-ups.
- burnt electric hob issues are often caused by food spills and grease getting cooked onto the surface. Wipe down your hob every time you finish cooking, even if it looks clean at first glance. Old food bits can carbonize fast and cause smoke or even damage the heating element.
- Check the pans you use. Flat-bottomed pans make the best contact and keep heat even. Warped or undersized pans force the hob to work harder, so it burns out sooner.
- Never run your hob on the highest setting for ages unless you really need to. Long periods on max heat stress the elements and can lead to early burnout. Bring it up to temp, then turn it lower once the pan’s hot enough.
- If you spot discoloration or hot spots on the surface, give it a rest and clean it. Odd marks can be a first sign of hidden problems.
- Make sure the vent holes under your hob (if yours has them) are open and aren’t clogged with dust or food. Overheating from blocked vents is a real thing.
Another big tip? Don’t ignore warning signs. If you notice the hob takes longer to heat up, trips the electric, or some rings work but others don’t, deal with it right away. Waiting just makes things worse—trust me, I learned that the hard way years ago when I turned a cheap fix into a pricey replacement because I kept putting it off.
One last nugget: if your user manual says to check certain parts every few months, actually do it. A little maintenance beats blowing your budget on repairs or new appliances.