Having trouble with your oven? It might be the control board acting up. You know, that little component that basically acts as the brain of your oven? If it’s on the fritz, it’s not long before your trusty appliance starts misbehaving. So, how much does it really cost to swap that out? Let's break it down.
First things first, replacing a control board isn't always cheap. Depending on your oven's make and model, parts alone can be anywhere from $100 to $500. That’s right, those little circuit boards don’t come bargain-bin priced! Now, if you’re calling in a pro, toss in labor costs, and you’re looking at an added range of about $150 to $400. It adds up, doesn’t it?
Before you panic, let’s dive into why knowing the signs of a faulty control board can save you a headache (and maybe some cash). If your oven’s temperature’s all over the place like a seesaw or buttons have become decorative, it’s time to think repairs. But hey, don't fret just yet. There’s more to it if you’re up for a bit of DIY action or even just being a bit smarter about getting help. It’s easier than you think once you know what you’re dealing with!
- Understanding the Control Board
- Common Symptoms of a Faulty Control Board
- DIY Replacement: What You’ll Need
- Professional Repair Costs
- Tips to Prolong Your Oven’s Life
Understanding the Control Board
The control board in your oven is like the command center of a spaceship, only more grounded and less sci-fi. It’s this nifty piece of tech that makes your oven perform its various tasks, from heating just right to ensuring that beep is always on time. Checking your oven control board should be your go-to when things start acting funny.
So, what's inside this little box of wonders? It's jam-packed with circuits that manage different functions. Think of it as your oven's nervous system. When you set a temperature, it’s the control board that tells the heating elements to obey your orders.
But why and how does it fail? Well, over time, several things can take a toll. Power surges, heat, and even normal wear and tear can lead to connection issues or complete shutdowns. Sometimes a visible sign like a burnt spot or a smell can tip you off that something's not right.
Many newer models also have digital displays—if those start flashing error codes, it’s like your oven's way of texting SOS. These errors aren't just random; they’re clues to what’s gone awry. Pay attention to them!
Here's a quick look at what can happen when the control board starts having issues:
- Oven isn’t heating correctly or at all
- Display screen is blank or faulty
- Buttons aren’t responsive
- Timing functions start going haywire
Understanding your electric oven repair starts with knowing your control board. This can help you figure out whether a simple reset will fix things or if it’s time to call in backup. Being informed gives you the power to make smart decisions and potentially save on hefty repair bills down the line!
Common Symptoms of a Faulty Control Board
So you think your oven's control board might be acting up? Let's see what red flags to watch for. It's not like your oven shouts, 'Hey, I'm broken!'
First up, if your oven stops responding to controls like it's on strike, that's a big hint. Those pesky buttons or digital displays might freeze up or give a quirky, cryptic message when the control board is misbehaving.
Another sign is temperature drama. Your dinner might come out cold, or the oven temps go rogue, like trying to bake cookies and getting charcoal briquettes instead. It's as if your oven has its own temperature agenda, ignoring what you've set.
Check to see if the oven doesn't heat up at all or heats unevenly. If one side of your pizza is burnt and the other is not done, that’s more than just a bad day in the kitchen—your control board could be the culprit.
Unusual smells and noises can also point to control board issues. It's not baking perfumes we're talking here; it's more like electrical burning or strange buzzing sounds that make you cringe.
Making sure you're not dealing with power supply issues first is important. If the oven's plugged in, but nothing's working, and the circuit breaker is fine, that's another clue.
Here’s a quick checklist to make it easier:
- Unresponsive buttons or display
- Incorrect oven temperatures
- Uneven heating
- Unusual smells or noises
- Complete power failure
If you spot one or more of these symptoms, it's time to think about that oven control board replacement. Don’t worry, diagnosing the issue is the first step to a solution!
DIY Replacement: What You’ll Need
So, you're thinking of tackling this oven control board replacement on your own? Kudos to you! But before you get started, make sure you have the right tools and parts lined up. Otherwise, you might find yourself mid-project and heading back to the hardware store. Let's set you up for success.
First things first, you'll need the right control board. That means matching it to your specific oven brand and model. You can usually find your model number on the oven door frame or inside the oven on the side or bottom.
Next up, here’s what you’ll need in your toolkit:
- Screwdriver set: Both Phillips and flat-head screwdrivers are essential for removing and reinstalling the oven’s panels.
- Multimeter: Handy for checking if your new control board is receiving power. This ensures you're not replacing a perfectly good board.
- Needle-nose pliers: Great for handling those tiny screws and wires in tight spots.
- Voltage tester: No surprises here; it’s crucial to confirm the oven is safely unplugged.
Got tools? Lets dive into some advice. As John Roberts, a well-respected repair guru, says:
"The best DIY repairs start with safety checks. Always turn off and unplug your oven before you even think about popping that panel off.”Wise words, right?
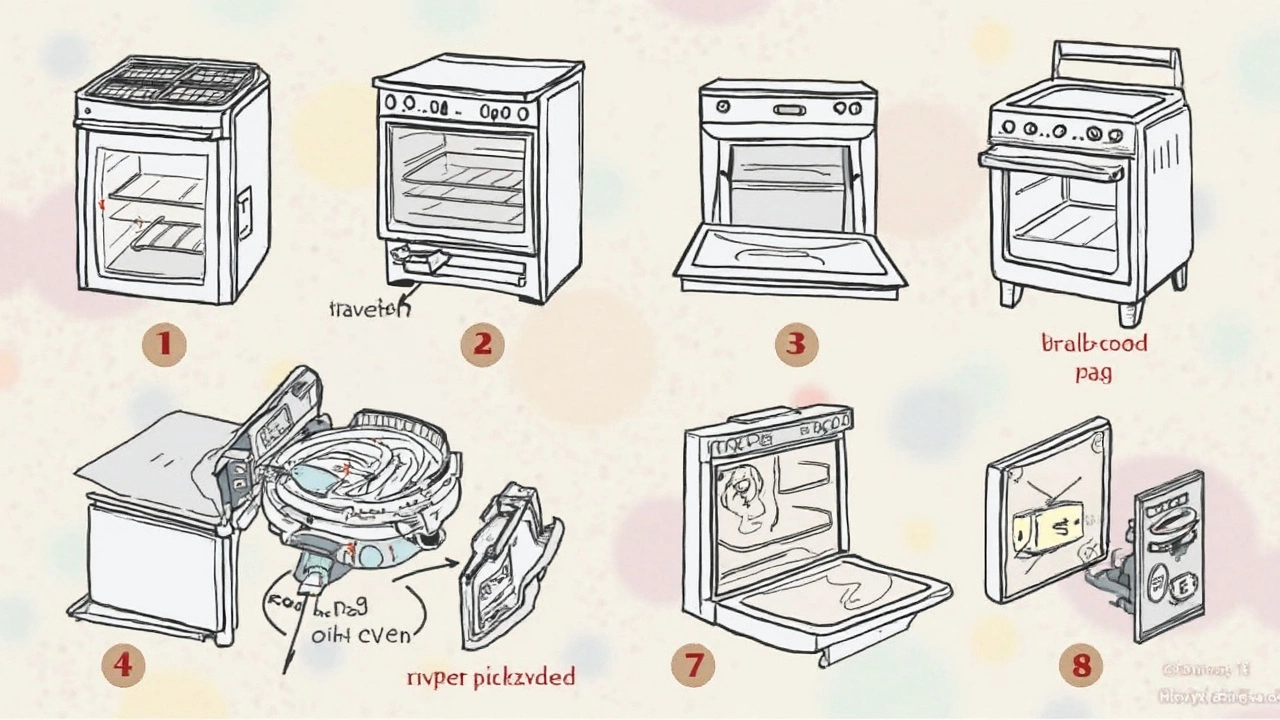
And just to make life a bit easier, here’s a simple step-by-step to get you going:
- Unplug the oven and give it a moment to cool down completely.
- Remove the rear panel to access the control board. Those screws can be pesky, so keep them organized.
- Take a picture of the wiring before you disconnect anything—trust me, you'll want that reference later.
- Carefully disconnect the wires using your pliers. Label them if that helps.
- Remove the old control board and pop the new one in. Follow the same process in reverse, using your snap from earlier as a guide for the wiring.
- Screw everything back together and plug it in to check if everything's good to go. Your oven should now work like a charm!
Just remember, while this might save you some cash, it requires a good bit of patience and perhaps a pinch of bravery. But hey, who doesn't love a good DIY challenge?
And as a bonus, here’s a quick glance at some average costs, in case you’re curious:
| Part/Tool | Average Cost (USD) |
|---|---|
| Control Board | $100 - $500 |
| Basic Tool Kit | $20 - $50 |
| Multimeter | $15 - $40 |
| Voltage Tester | $10 - $25 |
Being prepared and having a plan makes all the difference, and who knows, this could even become your new favorite weekend project!
Professional Repair Costs
So, you're thinking about calling a pro for your oven issue? That's a solid choice if you want it done without the hassle of DIY. But let’s get down to the nitty-gritty—what’s this going to cost you?
The cost of a professional repair mainly hinges on two things: the brand of your oven and the labor charges in your area. Typically, you might see labor costs ranging from $150 to $400. However, if you live in a big city, be prepared to fork over a bit more. It's kind of like how housing prices vary—it depends on where you are!
Now, have you thought about the control board itself? Depending on the brand and model, you're looking at anywhere from $100 to $500 for the part alone. Ouch, right? High-end brands can really dent the wallet, but sometimes quality parts are worth it in the long run.
Here’s a little tip: get multiple quotes. Seriously, it’s as simple as calling a few repair shops and asking for estimates. Some might even offer you a bundle deal if you need other fixes too. Just make sure they’re legit and have good reviews. Nobody wants a repeat visit a few months later.
Here's a short rundown of typical costs:
| Part Type | Cost Range |
|---|---|
| Control Board | $100 - $500 |
| Labor | $150 - $400 |
Factor these numbers together, and you’re potentially looking at a range from $250 up to $900 total. It might sting, but having an operational oven without getting your hands dirty? Sometimes that’s priceless.
And hey, keep in mind, a good repair isn’t just about fixing the problem today. It’s about keeping that oven running smoothly for years to come. So, it’s an investment in peace of mind too!

Tips to Prolong Your Oven’s Life
Your oven's like any other friend—it needs a little TLC to keep it around for the long haul. You don’t want to shell out for costly oven repair too often, right? Let’s talk about some straightforward tips to keep it in shape.
First off, keep it tidy. A clean oven doesn’t just look good; it works better. Grease and food bits can mess with its parts and efficiency. Regular cleaning, about every three months, should do the trick. And don’t forget to clean the control board—just make sure your oven's unplugged first!
Next, give that door seal a look. A worn-out seal means heat’s escaping, which can make your oven work harder (and who likes extra work?). Just get in the habit of checking it every few months to see if it’s cracked or worn out.
Finally, be mindful of how you cook. Avoid putting foils or baking sheets on the bottom of the oven. They can block airflow and that’s bad news for your trusty appliance.
"Regular maintenance can extend the life of your oven by 10 to 15 years," says home appliance expert, Jane Simmons.
So there you go, some simple ways to keep your electric oven running smoothly. Following these tips not only prolongs the life of your oven but can save you from that dreaded call to the repairman.