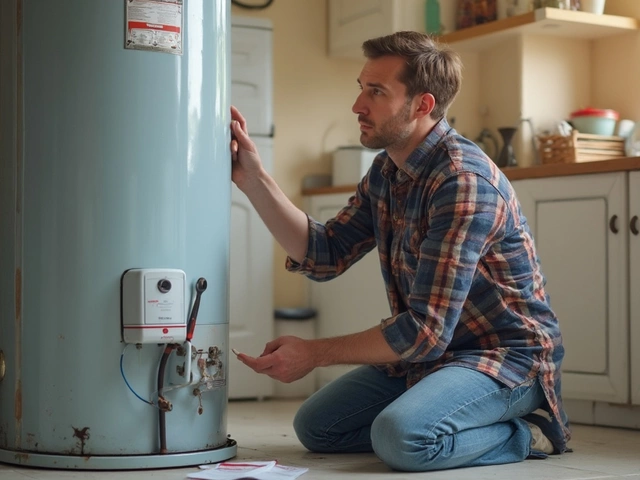
Water heater leaks don’t usually show up where you’d expect. Most people think it’s always about a rusty tank, but leaks can start from way more places than just the big metal cylinder. If you’re seeing puddles, drips, or water stains around your unit, it’s way beyond just a messy inconvenience—left alone, the problem will chew through your wallet fast.
The most common places for leaks? Start with the bottom of the tank. Sediment builds up over time, eats away at the metal, and you get a slow, hidden leak. Another sneaky spot is the cold and hot water inlet and outlet connections at the top. These fittings loosen, corrode, or crack, making it easy for water to escape. Don’t forget about the temperature and pressure relief valve—the so-called T&P valve. If you see water pooling right below it or notice a damp discharge pipe, that’s a clear sign the valve isn’t sealing properly or there’s too much pressure in the tank.
Then there’s the drain valve near the base, used for routine tank flushing. Just because you don’t touch it much doesn’t mean it’s immune—its seal gets old and starts dripping, usually going unnoticed until your feet are wet. Checking these areas regularly doesn’t take much time, but it can save you a headache if you catch a leak while it’s tiny.
- Spotting Common Leak Zones
- Top Reasons Leaks Start
- How to Prevent Water Heater Leaks
- When to Fix It Yourself or Call a Pro
Spotting Common Leak Zones
Figuring out where your water heater is leaking from isn’t rocket science, but it can save a lot of money if you’re quick to notice. Most leaks show up in a handful of spots—and these are no coincidence. Some areas are weak points by design, and they just wear out faster. Knowing exactly where to look is half the battle.
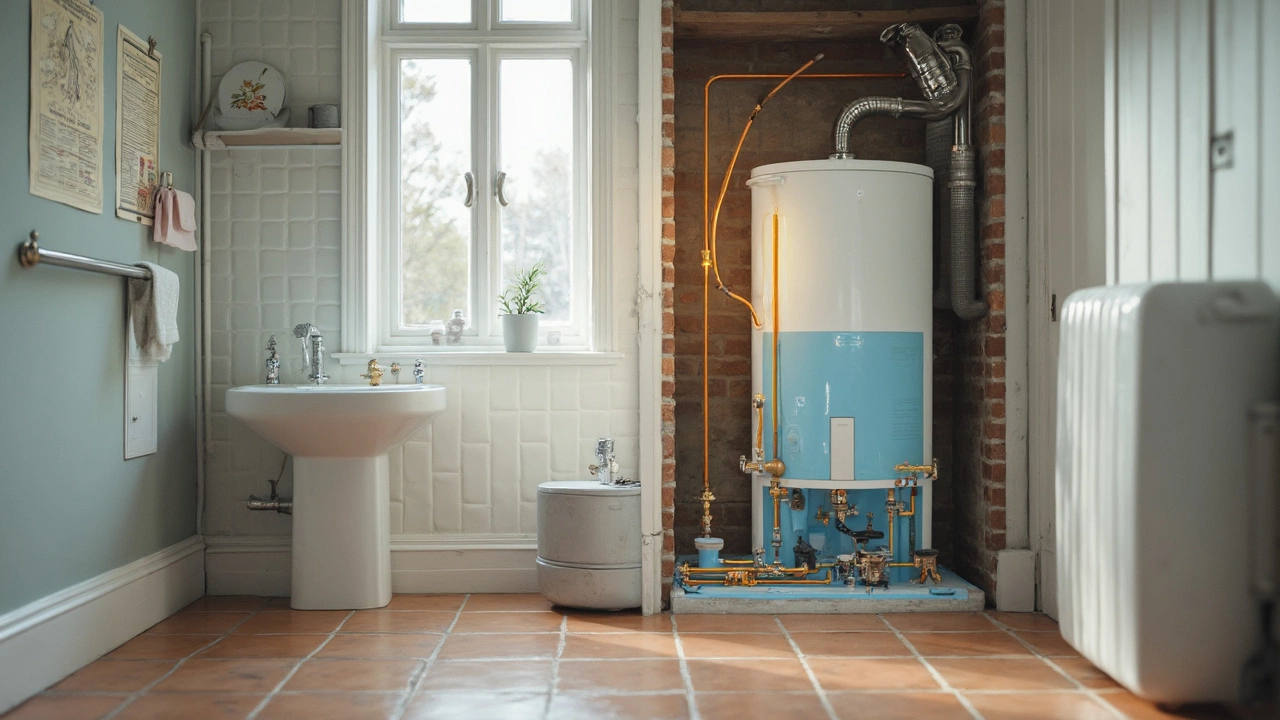
- Bottom of the Tank: This is leak central. Over time, minerals and sediment in hard water gather at the bottom, corroding the metal from the inside out. Even a pinhole here means it’s probably time for a new unit, since internal rust won’t go away on its own.
- Top Connections: The cold water inlet and hot water outlet pipes are attached right at the top of the tank. These fittings get loose as the tank expands and contracts with heat cycles. A bit of water around these pipes isn’t normal—it means the connection or the pipe’s threads need tightening or maybe a new seal.
- Temperature & Pressure Relief Valve: This valve is a safety feature found on the side or sometimes top of the tank. When it fails, you’ll often see water running from the valve down its discharge pipe, or a puddle right below. Sometimes, it’s just doing its job—relieving pressure—but if it’s happening often, that’s not good.
- Drain Valve: Usually located near the bottom, it’s used for flushing the tank. If you spot drips from here, the valve’s washers or threads could be shot. Not all leaks are huge floods—many start as annoying drips you won’t notice until a water bill jumps or you get water damage.
About 70% of water heater leaks start at the bottom, according to a home inspection report from 2023. Here’s a quick look at where leaks happen most often:
| Leak Location | Chance of Leak (%) |
|---|---|
| Tank Bottom | 70 |
| Top Connections | 15 |
| Pressure Relief Valve | 10 |
| Drain Valve | 5 |
Grab a flashlight, check these spots, and run your hand along the pipes and base of the unit. If you ever spot wet spots or feel a drip, act fast. Catching a water heater leak while it’s small can save you from a complete failure and a huge repair bill.
Top Reasons Leaks Start
Water heaters aren't complicated, but a few troublemakers pop up again and again. Most leaks have a surprisingly short list of usual suspects.
Water heater leak issues often come from good old corrosion. Over time, minerals and debris settle in the bottom of the tank. This gunk eats away at the inside walls. Once the lining gets thin or wears out, pinhole leaks form and let water escape. No shock here—hard water is a tank’s worst enemy.
Second, those inlet and outlet connections up top aren’t immune to wear. They face pressure changes, temperature swings, and sometimes just lousy tightening. If the fittings get loose or corroded, water sneaks out.
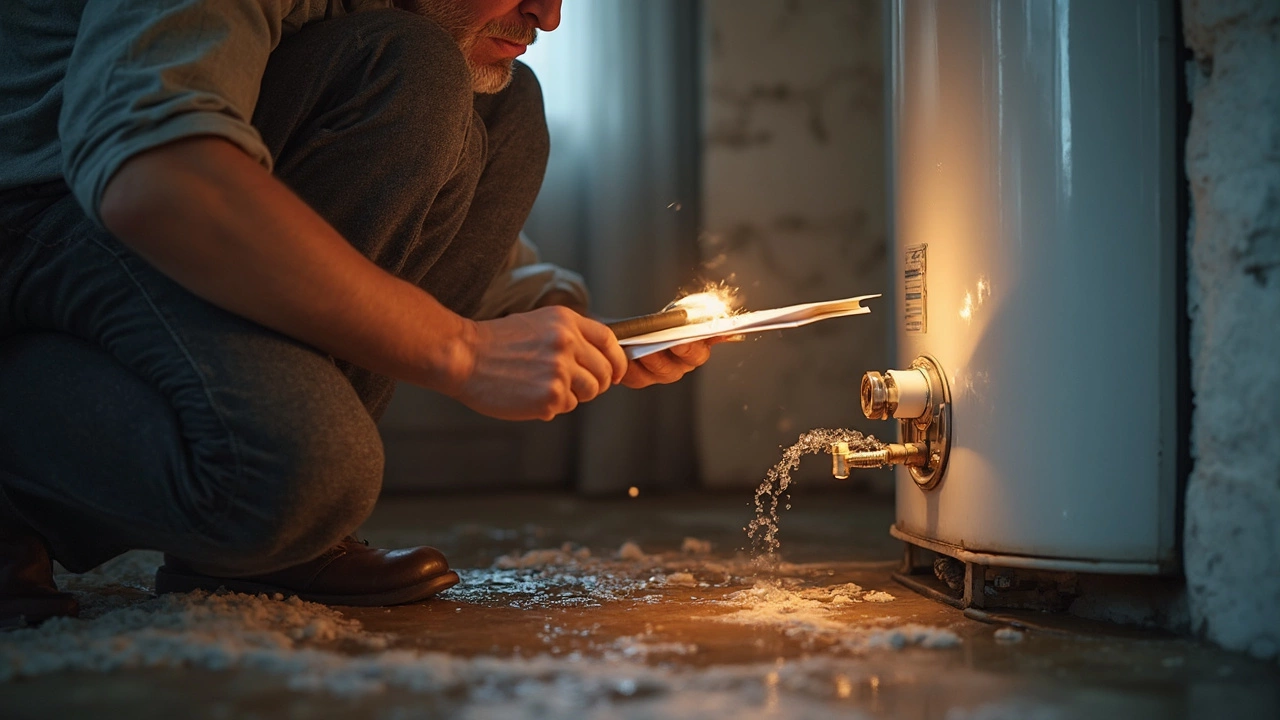
Another top reason: a bum T&P relief valve. That part is basically a safety release, so if it’s letting out water, it could be a sign the tank has too much pressure or heat. Statistically, faulty valves and excess pressure rack up plenty of leak complaints. As the experts at Family Handyman put it:
“If the pressure relief valve is leaking, there could be a dangerous buildup of pressure inside the tank, and the valve is just doing its job. Ignoring it could have bigger consequences.”
The drain valve is another leak-prone part. It might only get used once a year (if at all), but its washer and threads wear down, too. Even a slow drip there can add up to gallons lost in a month.
- Sediment buildup inside the tank causes tiny leaks as it wears down the tank's lining.
- Loose or rusted fittings on water lines are quick pathways for escaping water.
- Faulty temperature and pressure relief (T&P) valves release water if something’s wrong with the tank pressure or temperature.
- Worn-out drain valves randomly start leaking, especially if they’re old plastic types found on budget heaters.
If you notice repeated leaks, the problem usually goes back to one of these core issues. Keeping an eye on them is half the battle.
How to Prevent Water Heater Leaks
If your goal is to avoid leaks, you can’t just install a water heater and forget about it. Maintenance keeps the unit working well and helps you spot any warning signs before you end up with a soaked floor or major repair bill. Here’s what actually works to keep leaks at bay:
- Flush the tank at least once a year. Sediment builds up at the bottom, especially if you’ve got hard water, chewing through the metal and causing leaks. Flushing removes the gunk so it can’t do as much damage.
- Check fittings and pipes regularly. The area where pipes meet the tank is a classic trouble spot. If you catch a loose, corroded, or damp connection early, you can tighten or swap the part before it gets worse.
- Test your temperature and pressure relief (T&P) valve. Flip the lever to make sure water flows out and stops when you release it. If the valve leaks or drips when you’re not testing it, it’s time for a replacement.
- Keep an eye on the anode rod. This is the part that sacrifices itself to rust instead of your tank. If it’s less than half an inch thick or covered in crud, replace it—this little guy is cheap compared to a whole new tank.
- Keep water pressure in check. Too much pressure can force water out of weak spots. Most home plumbing works best below 80 PSI. High pressure can cause leaks and even damage home appliances.
Just doing these basics can make your water heater last years longer and help you dodge emergency repairs. Here’s a snapshot of some key water heater stats to keep in mind:
| Task | Recommended Frequency | Impact on Leak Risk |
|---|---|---|
| Flush tank | Once per year | Reduces sediment buildup |
| Check T&P valve | Annually | Prevents overpressure leaks |
| Inspect anode rod | Every 2-3 years | Protects tank from corrosion |
| Monitor water pressure | Ongoing | Prevents stress leaks |
| Inspect fittings | Every 6 months | Catches early signs of leaks |
Staying on top of these steps isn’t complicated, but it’s the easiest way to protect your home and your wallet from water heater leaks. Regular checks can mean the difference between a quick ten-minute fix and a disaster in your basement.
When to Fix It Yourself or Call a Pro
Not every water heater leak means you need to call in backup. Some things you can absolutely handle on your own, even if you aren’t a plumber. But other times, doing it yourself can make things worse—or even dangerous. Here’s the breakdown so you aren’t left guessing.
If the leak is coming from the fittings at the top or a loose drain valve at the bottom, grab a wrench and tighten things up. Sometimes it’s just a matter of a worn-out washer or a bit of thread seal tape needed on connections. These quick fixes don’t require specialized tools or deep plumbing knowledge. For example, the drain valve can easily be replaced for less than $20 and a visit to your local hardware store.
Now, let’s say the water heater leak is persistent at the tank itself—think water seeping from underneath or rust spots showing up. If that’s the case, you’re probably dealing with a corroded tank, and patching won’t help. You’ll need a pro, because at that point, replacement is usually the only safe move.
Electrical issues? That’s a no-go for a DIY job unless you know your way around breakers and high voltage. Mixing water with electricity is flat-out risky. Same goes for gas-powered heaters—if you spot water near the gas burner or smell rotten eggs (which means a possible gas leak), don’t mess with it. Turn everything off and call an expert right away.
- Leaky T&P valve? If tightening or flushing doesn’t stop the drip, it needs a tech’s attention. It’s a safety device for a reason.
- Tank sweating? Sometimes it’s just condensation, but if you see it dripping continuously, check for leaks often and call a pro if it doesn’t stop.
- Unsure what’s wrong? Most plumbers offer a flat-rate inspection, usually around $75–$125, which beats the cost of dealing with major water damage later.
Here’s a quick comparison to make it easy:
| Problem | DIY? | Call a Pro? |
|---|---|---|
| Loose fittings | ✔️ | |
| Drain valve replace | ✔️ | |
| Tank corrosion/rust | ✔️ | |
| T&P valve non-stop leak | ✔️ | |
| Electrical/gas issues | ✔️ |
Don’t try to save a buck if it means risking a flood or your safety. If you’re not totally sure, it’s worth calling in a pro instead of learning the hard way.