So, your freezer has decided to take an impromptu nap, and you're left wondering what to do next. It's no fun watching your grocery stash teeter on the brink of disaster. But don’t worry, there’s a way to handle this without losing your cool—or your food. First things first: make sure the freezer is plugged in and the outlet hasn’t gone on strike. A simple power trip or an unplugged cord might just be the culprit.
If that’s all good, take a peek at the temperature settings. Sometimes, they get accidentally bumped, especially if you’ve been reaching in there to snag some ice cream. Turn the knob to a colder setting and see if that kicks it back into gear. Meanwhile, keep the freezer door shut as much as possible to lock in the cold air.
- Immediate Steps When Your Freezer Stops
- Assessing Power and Electrical Issues
- Checking Temperature Settings
- Temporary Food Storage Solutions
- When to DIY and When to Call a Pro
- Preventing Future Breakdowns
Immediate Steps When Your Freezer Stops
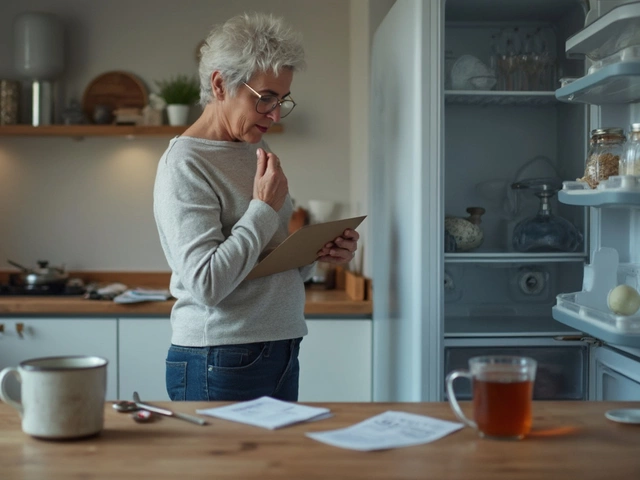
When your freezer calls it quits, the clock is ticking to save your valuable frozen treats. Here’s your playbook for action. First, don't panic. It's easy to get stressed, but you need to check a few things calmly and methodically.
Start with the power supply. Is your freezer plugged in securely? Check the outlet by plugging in something else, like a lamp, to make sure there's power. Sometimes the solution is as simple as realizing a power strip got switched off by accident.
Next, take a look at the circuit breaker. If it’s tripped, flip it back on. A power surge could have caused it to trip, and resetting it might bring your freezer back to life.
Once the power is assured, focus on the temperature settings. It’s a common mishap for settings to get bumped, especially if you’ve had a busy freezer shuffle. Adjust to the appropriate temperature; ideally, your freezer should be set to about 0°F (-18°C).
If none of these seem to work, remember that food can stay frozen for about 48 hours if the freezer is left shut. Meanwhile, you might want to consolidate items and fill gaps with bags of ice to keep things colder longer.
For a clearer picture on what to do and when, consider this quick guide:
- Check if the freezer is still plugged in.
- Test the outlet for power with another device.
- Reset any tripped circuit breakers.
- Adjust temperature settings back to 0°F.
- Keep the door shut as much as possible to trap cold air.
- Add ice bags to keep food colder longer, if practical.
These handy steps not only help troubleshoot the issue but also set you down a path to figuring out whether a DIY freezer repair is in order, or if it's time to call in reinforcements.
Assessing Power and Electrical Issues
Before jumping to conclusions that your freezer is beyond repair, let's tackle the basics: power and electricity. Sometimes, these things are just about as quirky as a toddler's bedtime routine. Check if the appliance is properly plugged in. Yeah, it sounds silly, but you'd be surprised how often a loose plug is to blame.
Next, head over to the circuit breaker panel. Locate the breaker assigned to your kitchen or specifically to appliances, and see if it has tripped. Freezer not working? A tripped breaker might be the obvious, but hidden villain. Flip it off and on again. It’s like rebooting a frozen computer.
Testing the outlet with another device, like a phone charger or lamp, can also tell you if the issue is with the outlet itself. If it turns out the outlet isn't delivering any juice, you may have a faulty electrical circuit that a professional needs to look into.
"A large percentage of appliance failures can often be traced back to issues with power sources," notes Sam Roberts, an appliance repair technician with over 20 years of experience.
If you suspect the power cord is damaged, inspect it for any visible wear and tear. Rodents and pets sometimes chew on these cables when you're not looking. A fresh power cord can sometimes do wonders.
- Check for loose or broken wiring behind the freezer.
- Try plugging the freezer into a different outlet using an extension cord temporarily.
- If you see sparks or the outlet feels warm, stop and call an electrician.
Checking Temperature Settings
You've checked the power and everything's plugged in right, but your freezer's still on strike. The next step? Time to see if those temperature settings are to blame. Sometimes, accidental nudges or even just curious hands can mess around with these controls. Let's make sure everything's set properly to get your freezer back on track.
Start by opening your freezer and locating the control panel. It's usually a dial or a digital readout. If it's a dial, it might be numbered from 1 to 7, with 7 being the coldest. For digital panels, you'll often see an ideal temperature displayed. Make sure the setting is somewhere between 0°F and 5°F (-18°C to -15°C) for a typical household freezer. These are the temperatures that keep your food icy and safe.
- Turn the dial to a colder setting if it's not already on the higher end. Give it a few hours to see if your freezer starts showing positive signs of frost.
- If there's a digital display, ensure it's showing "0°F." Tweak the settings if needed and let it adjust for a while.
If you've recently been in and out of the freezer a lot, or filled it with a bunch of fresh groceries, it might seem warmer just because it’s working hard. In that case, give it some time to stabilize. Don't panic, just keep an eye on it and limit the door openings.
Oh, and don’t forget to check that nothing's blocking the fans or vents inside. Proper airflow is key, so make sure those are clear.
If none of these tweaks get things chilling properly again, then it might be time to consider other issues, or even bring in a pro. But hey, count this as a step closer to figuring out what's going on!
Temporary Food Storage Solutions
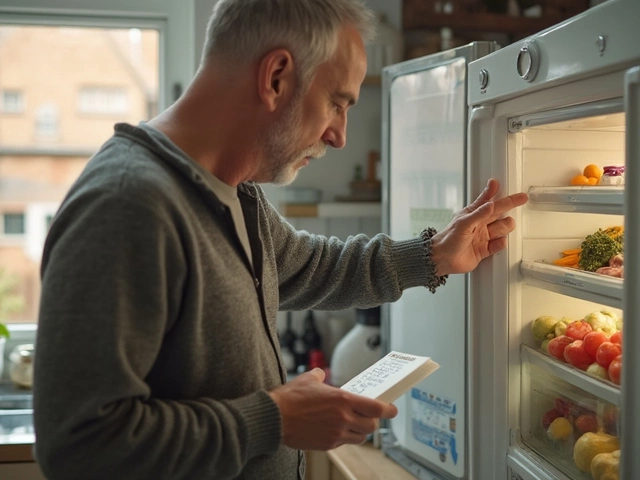
When your freezer unexpectedly decides to take a break, it’s crucial to think about how to save your precious frozen treasures. Here are some handy tips to keep your food safe and sound.
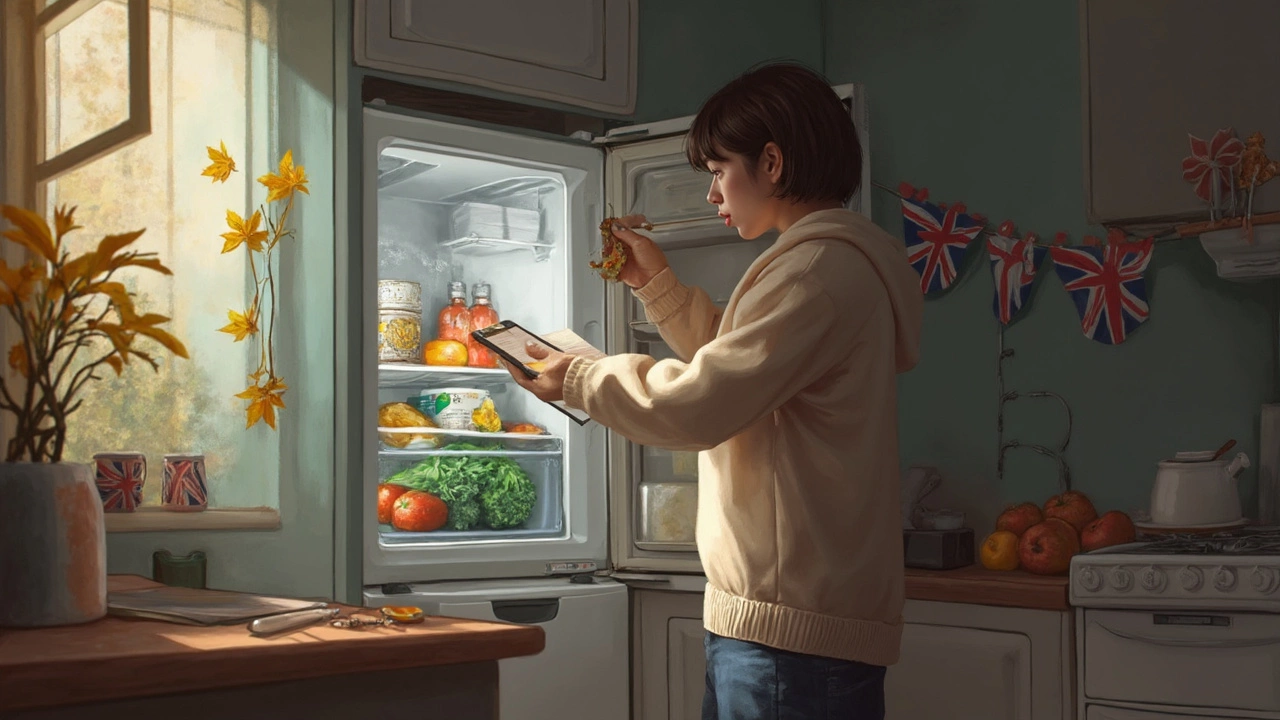
First up, gather what you have. Scan through the contents of the freezer and make a list of perishables and essentials. This helps you prioritize what needs immediate attention. There might be items you can cook or consume right away, reducing waste and clearing space.
If you have a cooler, it's time to put it to work. Pack the cooler with those items, starting with meats and other essential frozen goods. To keep things chilly, surround your items with ice packs or bagged ice, filling up any empty space. This will help maintain the cold temperature for a longer period.
Don’t have a cooler at home? No worries! You can use any insulated bag or container instead. Line it with ice packs or frozen water bottles for added cooling power. Just remember to keep the container closed as much as you can. The less you open it, the longer the cold air stays trapped inside.
And if there’s no space in your cooler, ask a neighbor. Got a friendly one nearby? Reach out and see if they have some extra room in their freezer. A little neighborhood teamwork can go a long way in saving your food.
If you’re pressed for time and running low on cooling supplies, try reaching out to local grocery stores or supermarkets. Some places might offer short-term storage for a small fee, especially if explained your situation politely.
Remember, freezing food acts like a time buffer, so most items (especially meats) can survive a few hours without spoiling if kept cold. The quickest action you can take is often the most valuable, so don’t delay. As soon as you notice the problem, start executing your temporary storage plan to minimize food loss.
When to DIY and When to Call a Pro
Tackling a freezer not working situation yourself can feel empowering, but sometimes bringing in the experts is the smarter play. How do you know which route to take? Let’s break it down.
DIY Freezer Fixes are great if you’re dealing with minor issues. Say your freezer isn’t cooling like it used to; before dialing a technician, try a few handy tricks:
- Check the gasket, that rubber seal around the door. If it's damaged or dirty, air might be leaking out. Give it a clean or replace it.
- Ensure the coils are clean. Dusty coils can cause overheating. Simply vacuum or brush them off.
- If the unit seems noisy, it might be time to level the appliance. Adjust the feet until it's steady.
All these tasks are quite safe and don’t require much tool-wielding expertise. But let’s face it, if you’ve ever ended up with leftover pieces after putting together a piece of furniture, you might want to keep things simple.
When to Call in the Pros: If you've tried the basic fixes and your appliance issues persist, it’s time to reach for the phone. Pro time! Electric components or refrigerant problems aren’t worth the risk and often require special equipment and know-how.
Here are some signs that it's best left to the professionals:
- Your freezer frequently trips the circuit breaker.
- There's excessive frost build-up despite defrosting.
- Strange noises persist after leveling or occur during operation.
- Unusual smells indicate possible electrical issues or refrigerant leaks.
Sure, hiring a professional might cost a bit upfront, but it saves you from turning a small repair into a major expense down the road. Plus, many pros offer guarantees, giving you peace of mind that your freezer repair will last.
Preventing Future Breakdowns
Nobody wants their freezer to quit again, so let's chat about keeping it in tip-top shape. The good news? A little maintenance can go a long way! Start with cleaning the coils, which are usually at the back or bottom of the appliance. These bad boys can get dusty, causing the freezer to work overtime. Unplug the unit, grab a vacuum or a coil brush, and give them a good clean at least twice a year.
Next up, check the door seals. If they're not tight, cold air escapes, and your freezer tries too hard to keep everything frozen. Sometimes, a simple visual check reveals gaps or tears. An easy test is to close the door on a sheet of paper. If you can pull it out without any resistance, it’s a hint that you need to replace the seals.
Now let’s talk about organization—a well-organized freezer not only means easier access but also better air circulation. Remember, less is more. Keep space between items to allow the cold air to flow freely, keeping everything at an even temperature.
While these tips help maintain your freezer, also be kind to your appliance by giving it the right spot. Avoid putting the freezer next to heat-generating appliances or in direct sunlight which makes it work harder. If possible, keep it in a spot where it can breathe with some room around the sides and back.
Little adjustments can make a huge difference. By implementing these simple steps, you're upping your chances of not needing any major freezer repair services and keeping those frozen goods safe and sound.