Oven Circuit Compatibility Checker
This tool checks if your home's electrical circuit meets the minimum safety requirements for installing a standard electric oven. New Zealand homes typically require a 32-amp dedicated circuit for electric ovens.
Please select your circuit breaker amperage and click "Check Compatibility" to see if it's suitable for a standard electric oven installation.
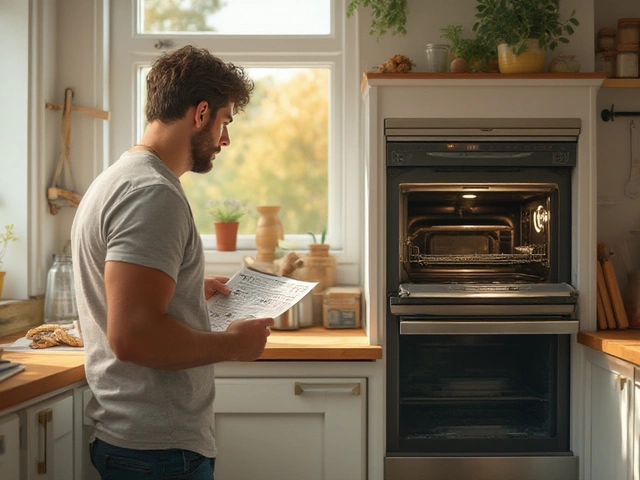
Replacing an electric oven isn’t like swapping out a light bulb. It’s heavy, it’s wired into your home’s power system, and one mistake can leave you with a broken appliance, a tripped breaker, or worse-a fire. But if you’ve got basic tools, a steady hand, and respect for electricity, you can do it yourself. Thousands of homeowners in Auckland and beyond have done it without calling a pro. The question isn’t whether it’s possible-it’s whether you’re ready.
Is replacing an electric oven even safe for a homeowner?
Yes, but only if you treat electricity like a wild animal: respect it, don’t mess with it unless you know how, and never assume it’s off just because the switch is flipped. Most electric ovens run on 240 volts-twice the voltage of a standard outlet. That’s enough to stop your heart. The good news? You don’t need to be an electrician. You just need to follow a clear, step-by-step process and never skip safety checks.
Before you start, ask yourself: Do you know where your main circuit breaker is? Have you ever used a multimeter? Do you feel comfortable lifting 60 kilograms? If you answered no to any of these, stop. Call a licensed electrician. If you said yes, keep reading.
What tools and materials do you actually need?
You don’t need a full toolbox. Just these essentials:
- Flathead and Phillips screwdrivers
- Adjustable wrench
- Voltage tester or multimeter
- Work gloves and safety glasses
- Slide-out oven rack or dolly (for moving the old unit)
- New electric oven (make sure it matches the old one’s dimensions and power rating)
- Electrical tape and wire nuts (if rewiring)
Don’t buy a new oven without checking the cutout size. Old ovens were often 60 cm wide. New ones might be 59.5 cm or 61 cm. Even a half-centimeter mismatch can mean it won’t fit. Measure the width, height, and depth of the cavity. Also check the back panel-some models have rear vents that need clearance. If the new oven doesn’t match, you’ll need to modify the cabinetry or return the unit.
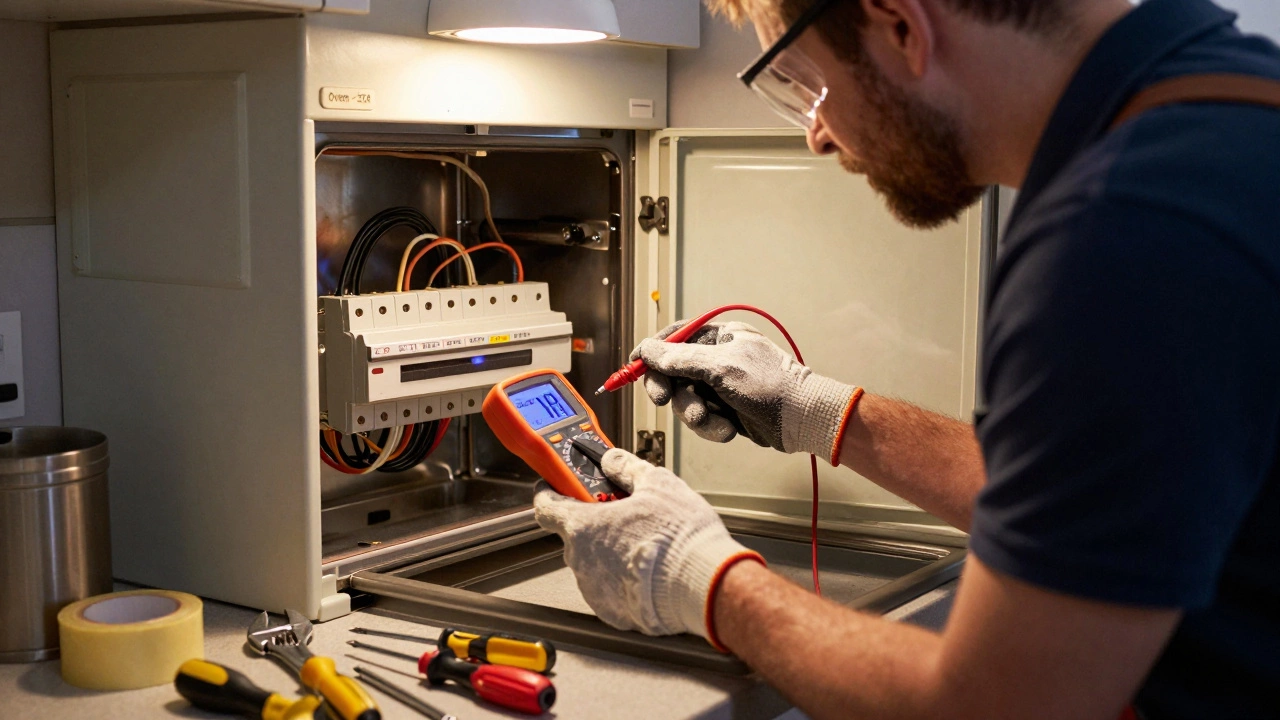
Step 1: Turn off the power-really turn it off
This is the most critical step. Don’t just turn off the oven’s circuit. Go to your main switchboard and flip the breaker that powers the oven. In most New Zealand homes, this will be a 32-amp double-pole breaker labeled "Oven" or "Cooktop". If it’s not labeled, you’ll need to test each one.
Use your voltage tester on the oven’s terminal block behind the access panel. Touch one probe to the live wire (usually red or black) and the other to the neutral (blue) or earth (green/yellow). If the tester lights up or beeps, the power is still on. Keep looking until it doesn’t. Then, flip the breaker again for good measure. Tape a note over the breaker: "DO NOT TURN ON-OVEN REPLACEMENT IN PROGRESS". This isn’t paranoia-it’s standard practice.
Step 2: Remove the old oven
Empty the oven completely. Remove racks, shelves, and any trays. Take off the door if it’s detachable-most have hinges that release with a simple pull or twist. This makes the unit lighter and easier to handle.
Locate the mounting screws on the top or sides of the oven cavity. These hold the oven in place. Unscrew them. Then, pull the oven out slowly. You’ll feel resistance-that’s the power cable. Don’t yank it. Gently slide the oven forward until you can access the back panel.
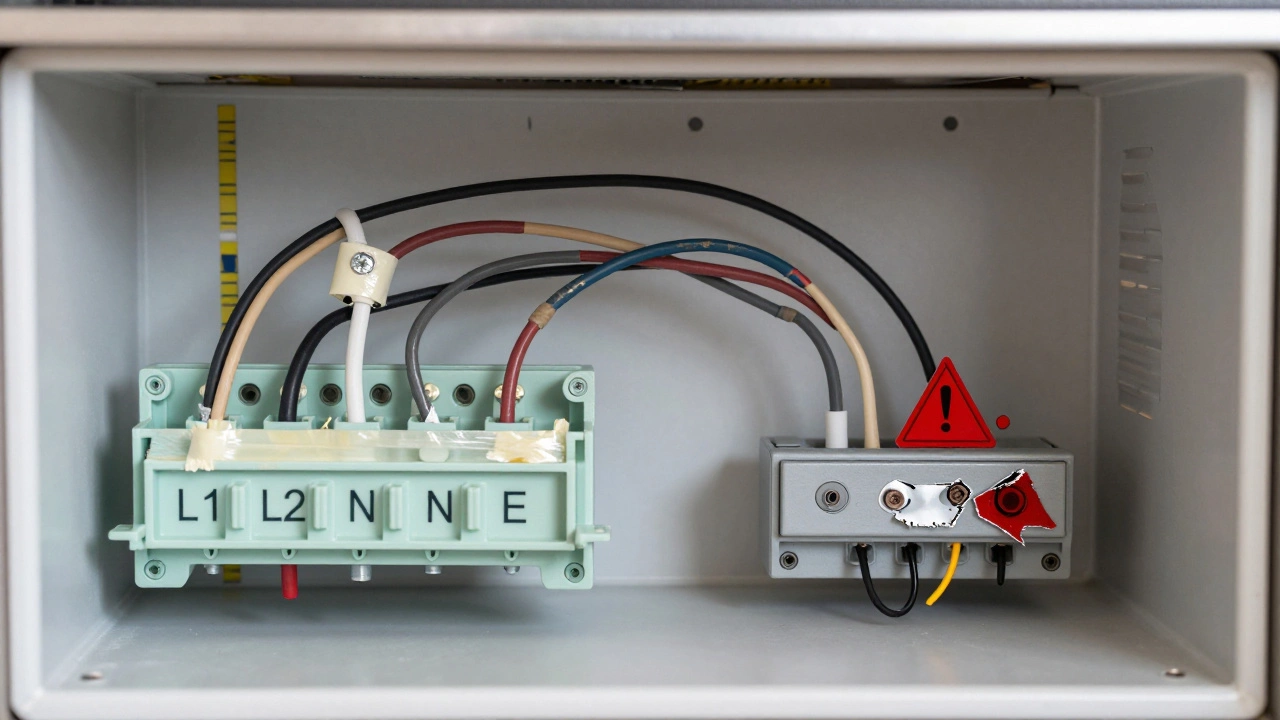
Disconnect the power cable. Most modern ovens use a plug-in connector. Just unplug it. Older models have hardwired connections: three or four wires connected to terminals. Take a photo before you disconnect them. Label each wire with tape: L1, L2, N, E. That way, you won’t mix them up when reconnecting the new oven.
Step 3: Prepare the space for the new oven
While the old oven is out, take a look at the wiring. Is the cable frayed? Are the terminals corroded? If you see damage, don’t proceed. Call an electrician. A damaged wire can cause arcing, overheating, or a short circuit-even if the oven works at first.
Check the floor. Is it level? Uneven floors can cause doors to not seal properly. Use a spirit level. If the floor dips more than 5 mm, install adjustable feet or shims under the new oven’s base. Also clean out any dust or debris from the cavity. A dirty cavity can trap heat and damage the new oven’s insulation.
Step 4: Install the new oven
Slide the new oven into place. Have someone help you-it’s heavy. Align the front edge with the cabinet. Don’t force it. If it doesn’t slide in smoothly, something’s wrong. Recheck measurements.
Reconnect the power. If your new oven has a plug-in connector, just plug it in. If it’s hardwired, match the wires to the terminals exactly as you labeled them. L1 to L1, L2 to L2, N to N, E to E. Tighten the terminal screws firmly, but don’t over-torque them. Use wire nuts if the wires are too short. Wrap the connections with electrical tape for extra safety.
Reattach the mounting screws. Make sure the oven is level. Close the door. Does it seal evenly? If it gaps on one side, adjust the feet or recheck the leveling.
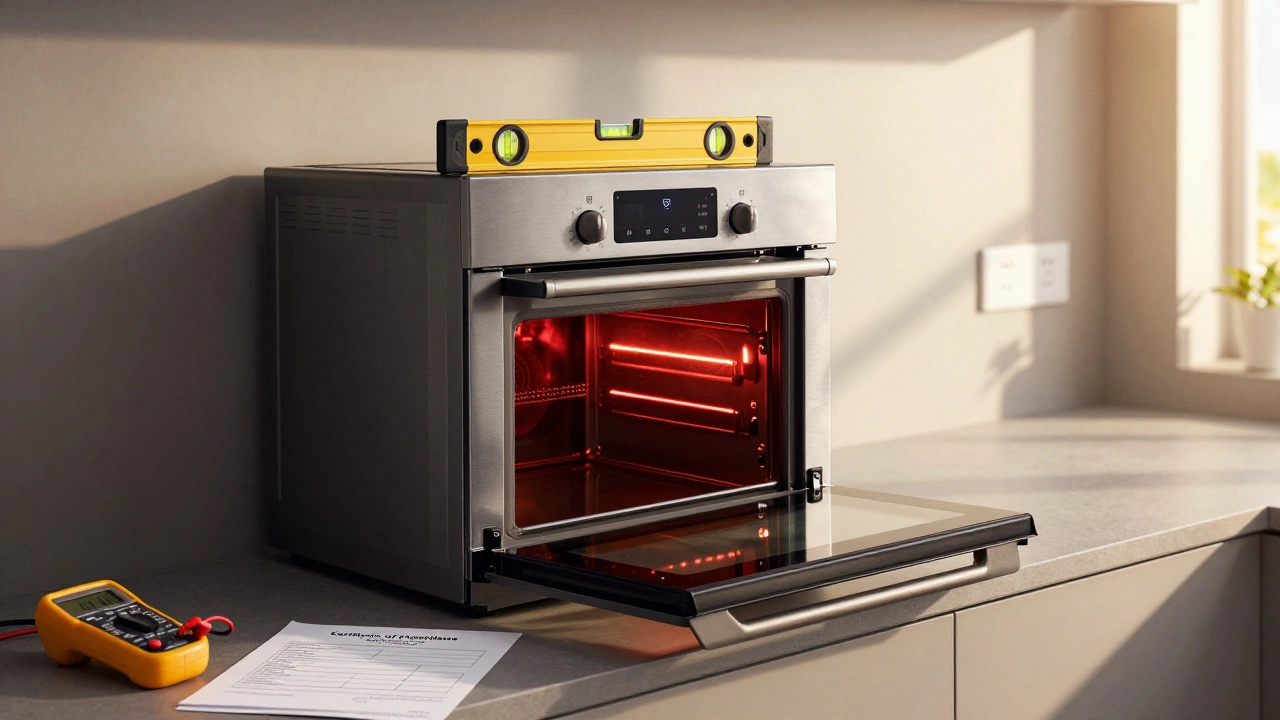
Step 5: Test it-safely
Turn the breaker back on. Don’t just turn the oven on. Set it to 180°C and wait 15 minutes. Open the door. Is the heating element glowing red? Is the fan spinning? Check the temperature with an oven thermometer. If the display lights up but the oven doesn’t heat, you likely have a wiring error. Turn the power off and double-check your connections.
Also test the timer, lights, and any smart features. If everything works, you’re done. If not, don’t guess. Call a technician.
What can go wrong-and how to avoid it
Here are the most common mistakes people make:
- Forgetting to turn off the breaker → Always test with a multimeter. Never trust a label.
- Mixing up live wires → Take a photo and label everything. L1 and L2 are both live-they’re not interchangeable with neutral.
- Using the wrong circuit → Your oven needs a dedicated 32-amp circuit. If it’s sharing with a cooktop or dishwasher, it’s not legal or safe.
- Ignoring ventilation → New ovens need 25 mm clearance behind and on the sides. Blocking vents causes overheating.
- Skipping the level check → A crooked oven door won’t seal. That means heat loss, higher bills, and uneven cooking.
One Auckland homeowner replaced their oven last year and skipped labeling the wires. They got the oven working, but the fan ran constantly. Turned out they swapped the neutral and earth. The oven worked, but the metal casing was energized. A simple mistake. A dangerous result.
When to call a professional
You don’t need to be a hero. Call an electrician if:
- Your home has old wiring (pre-1990s, especially if it’s two-core without earth)
- The circuit breaker trips when you turn on the new oven
- The oven doesn’t heat up even after checking all connections
- You’re unsure about the wiring or the power rating
- You live in a rental property-landlords are legally responsible for appliance installation
Electricians in New Zealand are required to issue a Certificate of Compliance (CoC) after installing an oven. This is mandatory for insurance and resale purposes. If you install it yourself, you won’t get one. That could cause problems if you ever sell your home.
Final thoughts: Is it worth it?
Replacing an electric oven yourself can save you $300-$600 in labor costs. But the real savings come from doing it right. A poorly installed oven can cost you more in energy bills, repairs, or even insurance claims. If you’re confident, methodical, and safety-first, go for it. If you’re unsure at any point, stop. Call someone who does this every day. Your safety-and your home-isn’t worth risking for a few hundred dollars.
Can I replace my electric oven without turning off the main power?
No. You must turn off the main circuit breaker for the oven. Even if the oven is switched off at the control panel, the internal wiring is still live. Many people have been shocked by assuming the oven’s power switch was enough. Always use a voltage tester to confirm the power is off before touching any wires.
Do I need a special type of electric oven for my home?
Yes. Your oven must match your home’s electrical setup. Most homes in New Zealand use 240V, 32-amp circuits. Check the old oven’s label for voltage and amperage. New ovens will list this too. If your home has a 16-amp circuit, you cannot install a standard 32-amp oven-it will overload the wiring. Always match the power rating.
What if my new oven doesn’t fit in the old cavity?
If the new oven is slightly larger, you may need to trim the cabinet sides or remove the countertop lip. If it’s smaller, you’ll need to fill the gap with matching panels or a filler kit. Never force a unit that doesn’t fit-it can damage the oven’s casing or wiring. Always measure the cutout before buying.
Can I reuse the old power cable for the new oven?
Only if it’s in perfect condition and matches the new oven’s requirements. Check the wire gauge-most ovens need 6mm² cable. If the old cable is frayed, brittle, or undersized, replace it. Also, if the old oven was hardwired and the new one has a plug, you’ll need to install a socket. Never splice or tape damaged wires.
Do I need a Certificate of Compliance after replacing the oven myself?
No, but you should get one. In New Zealand, electrical work on fixed appliances like ovens requires a Certificate of Compliance (CoC) issued by a licensed electrician. If you do the work yourself, you’re not legally allowed to issue one. This can affect insurance claims or property sales. For peace of mind and legal compliance, hire a licensed electrician to inspect and certify your installation.