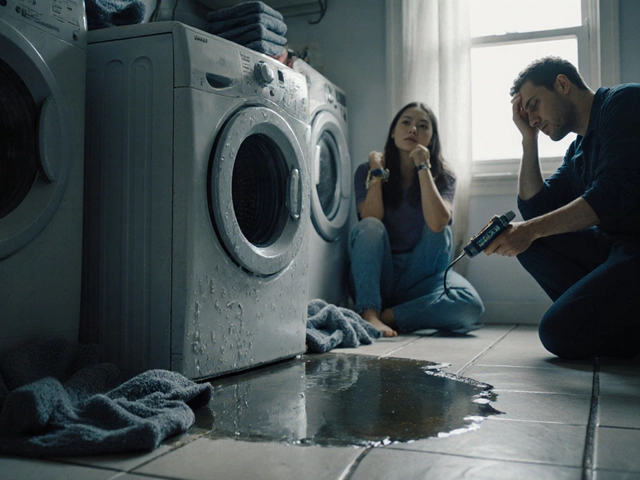
Washer Problem Diagnosis Helper
Symptoms
Troubleshooting Steps
No water entering
Check for a humming sound from the water inlet valve when the cycle starts. No sound indicates the valve isn't opening.
Remove the inlet hose and check the mesh filter for debris.
Water won't drain
Feel for vibration when the pump should run. No vibration suggests a blockage.
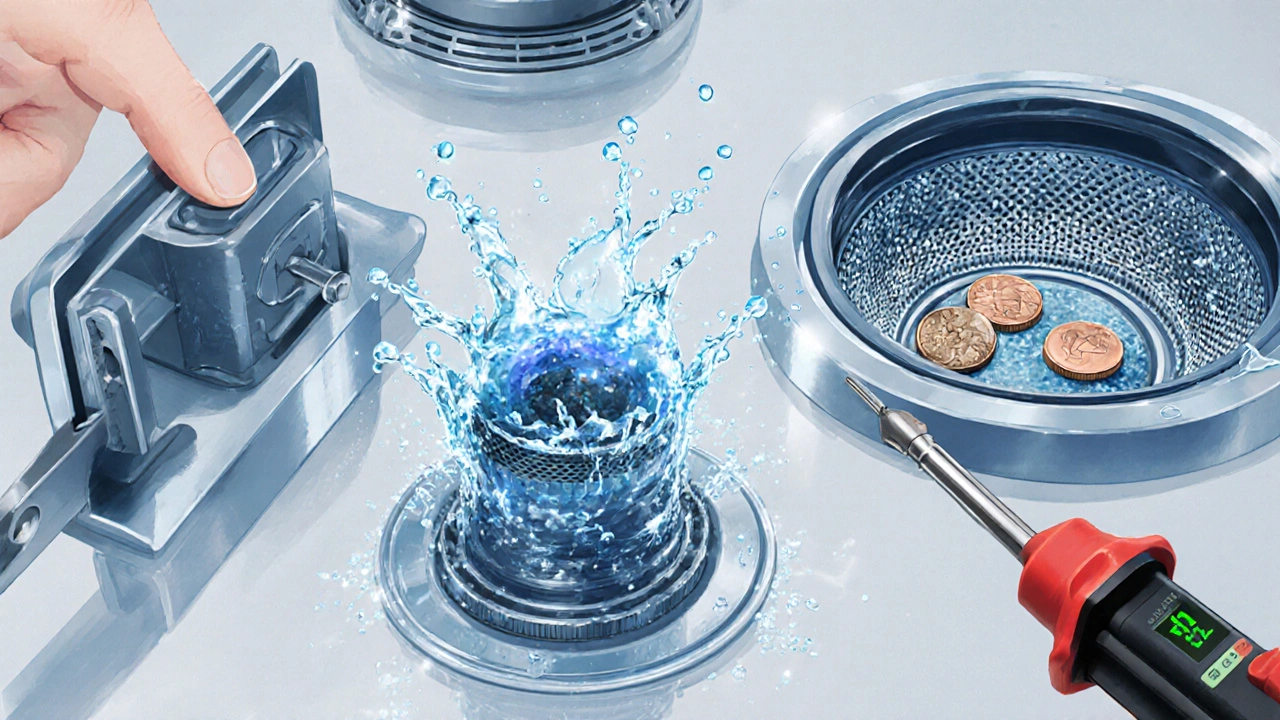
Open the pump filter and clear any lint, coins, or fabric fibers.
Machine won't spin
Press the lid manually to test the switch. If it clicks, the switch is likely okay.
Check for excessive heat on the motor and inspect the belt for wear.
Sudden stops mid-cycle
Check for burnt smells or loose connectors on the control board.
Look for bulging capacitors or discolored components.
Leaking water
Inspect hoses for cracks or loose clamps.
Check the drum gasket and pump seal for wear.
Clothes not cleaning well
Feel the agitator's movement to check for wear.
Test water pressure with a garden hose to ensure adequate flow.
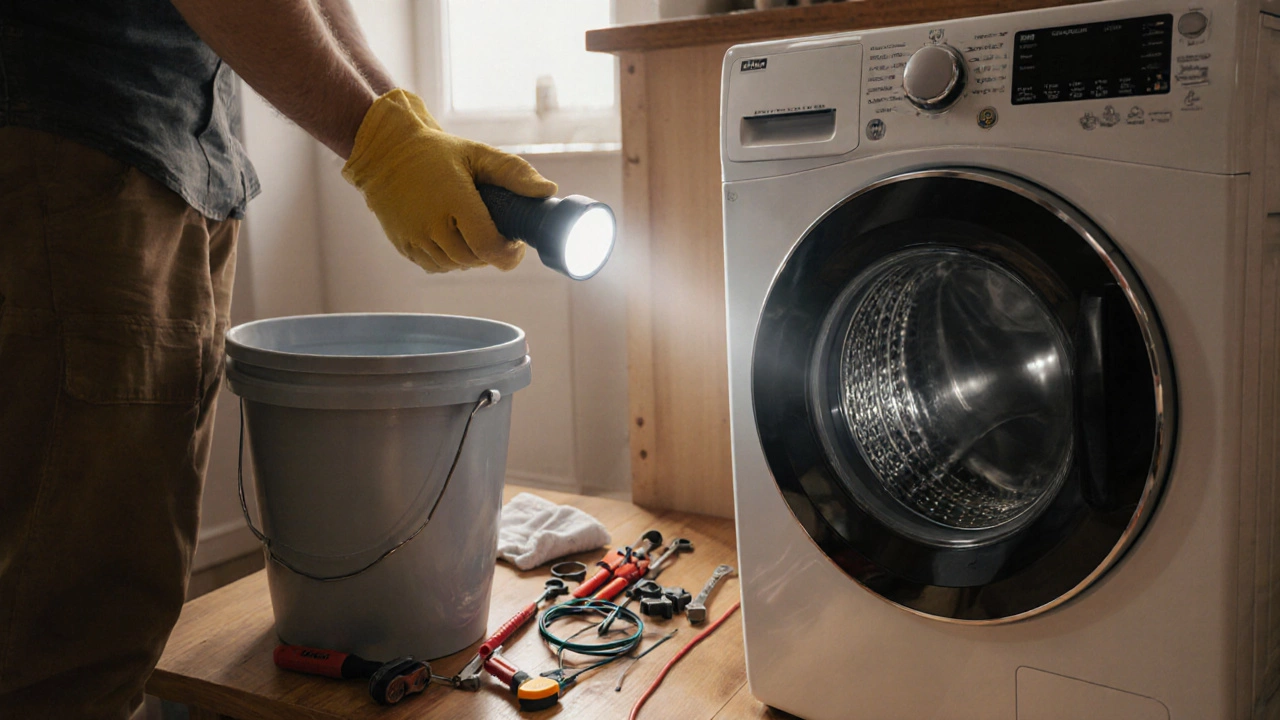
Safety First
Before attempting any diagnostics:
- Unplug the washer from the electrical outlet
- Shut off the water supply valves
- Have a bucket and towels ready to catch water
- Use a flashlight to illuminate dark areas
Quick Diagnostic Checklist
When your washing machine is a household laundry appliance that spins, agitates, and rinses clothes starts acting up, you’re left guessing what’s wrong and how much you’ll spend fixing it. Below is a practical, no‑fluff walk‑through that lets you pinpoint the fault before you call a technician. Grab a flashlight, a screwdriver, and a bucket - the whole process can be done in under an hour for most issues.
What to Expect: Common Symptoms and Likely Causes
| Symptom | Likely Cause | Quick Test |
|---|---|---|
| No water entering | Blocked water inlet valve | Listen for a humming sound when the cycle starts; no sound means the valve isn’t opening. |
| Water won’t drain | Clogged drain pump | Feel for vibration when the pump should run; no vibration suggests a blockage. |
| Machine won’t spin | Faulty lid switch or worn motor | Press the lid manually; if it clicks, the switch is likely ok. |
| Sudden stops mid‑cycle | Bad control board | Check for burnt smells or loose connectors on the board. |
| Leaking water | Damaged hoses or cracked drum | Inspect hoses for cracks; tighten loose clamps. |
| Clothes not cleaning well | Worn agitator or low water pressure | Feel the agitator’s movement; test water pressure with a garden hose. |
Step‑by‑Step Diagnostic Process
- Safety first. Unplug the washer and shut off the water supply.
- Visual inspection. Look for obvious signs: loose hoses, cracked hoses, corroded connections, or leaked detergent.
- Check power and control. Verify the outlet supplies 120V (or 230V in NZ). If the display is blank, the power board or fuse may be dead.
- Test water entry. Turn the tap back on, run a short cycle, and listen for the water inlet valve humming. No sound? Remove the inlet hose and check the mesh filter for debris.
- Inspect the drain system. After a cycle, open the pump filter (usually behind a small door). Clear any lint, coins, or fabric fibers. Then manually spin the pump impeller; it should rotate freely.
- Validate the lid switch. Most front‑loaders won’t spin if the switch thinks the lid is open. With the machine unplugged, press the switch with a screwdriver. You should hear a click and the motor should try to run when you plug it back in.
- Assess the motor and belt. Remove the rear panel, locate the motor, and feel for excessive heat. If the motor spins freely but the belt is frayed or loose, replace the belt.
- Examine the control board. Look for burnt spots or bulging capacitors. Gently reseat all connectors; a loose clip can mimic a dead board.
- Run a diagnostic mode. Many modern washers have a built‑in test (refer to the user manual). This mode flashes error codes that point directly to the faulty component.
Tool Kit Checklist
- Multimeter - to check voltage at the inlet valve, pump, and motor.
- Screwdriver set - Phillips and flat‑head for panels and clamps.
- Adjustable wrench - for tightening hose fittings.
- Bucket and towels - to catch stray water.
- Flashlight - to see inside the drum and pump housing.
Common Pitfalls and How to Avoid Them
Skipping the visual inspection is a frequent mistake; a simple kinked hose can cause both no‑fill and leaking symptoms. Also, many DIYers replace the whole motor when only the belt is worn - checking belt tension first saves time and money. Finally, never ignore error codes; they’re the machine’s way of telling you exactly what to look at.
When to Call a Professional
If you’ve walked through the steps above and the washer still won’t start, or if the control board shows signs of burning, it’s time to bring in a qualified technician. Attempting high‑voltage repairs without proper training can be dangerous and may void warranties.
Quick Reference Checklist
| Task | Done? |
|---|---|
| Unplug and shut off water | |
| Inspect hoses for cracks or kinks | |
| Test inlet valve with multimeter | |
| Clear pump filter and check impeller | |
| Press lid switch manually | |
| Spin motor and check belt tension | |
| Look for burnt components on control board | |
| Run built‑in diagnostic mode |

Understanding the Key Components
Below is a brief rundown of the parts you’ll encounter most often while diagnosing washer problems. Knowing what each does helps you ask the right questions.
- Water inlet valve - controls water flow into the tub; typical failure is a clogged screen or coil burnout.
- Drain pump - expels used water; common issue is blockage from lint or small objects.
- Lid switch - safety sensor that stops spin if the lid is open; often fails mechanically.
- Motor - drives drum and agitator; overheating may indicate worn bearings.
- Control board - brain of the machine; voltage spikes can fry it.
- Hoses - bring water in and push it out; rubber ages and cracks over time.
- Agitator - moves clothes around; worn teeth reduce cleaning efficiency.
Regional Tips for NewZealand Homeowners
In Auckland the water is generally soft, which means mineral buildup inside the inlet valve is less common than in hard‑water areas. However, frequent rain can lead to higher humidity around the laundry room, encouraging mold on door gaskets. Keep the gasket clean and dry to avoid foul odours.
Final Thought
Diagnosing washer problems is mostly about systematic observation and a little bit of elbow grease. Follow the steps, use the checklist, and you’ll either fix the fault yourself or have clear information to give a repair professional - saving time and money.
Frequently Asked Questions
Why does my washing machine leak only during the spin cycle?
The spin cycle creates high centrifugal force, pushing water against any weak spot. Common culprits are cracked hoses, a loose pump seal, or a damaged drum gasket. Tighten hose clamps and inspect the pump seal for wear.
My washer makes a loud grinding noise. What should I check?
A grinding sound usually means something is striking the drum or motor. Look for foreign objects (coins, hairpins) trapped between the drum and tub. If the noise persists, the motor bearings may be failing and need replacement.
How often should I clean the pump filter?
At least once a month, or after each load of bulky items like blankets. Regular cleaning prevents blockages that cause draining issues.
Can a faulty lid switch prevent the tub from spinning?
Yes. The washer’s safety system won’t allow spin if it thinks the lid is open. Testing the switch with a multimeter or manually pressing it can confirm the problem.
What does an error code ‘E24’ mean on my front‑load washer?
E24 typically signals a drainage issue - either a blocked pump or a kinked drain hose. Follow the drain‑pump inspection steps in the guide.