Extractor Fan Cleaning Method Selector
Select Your Situation
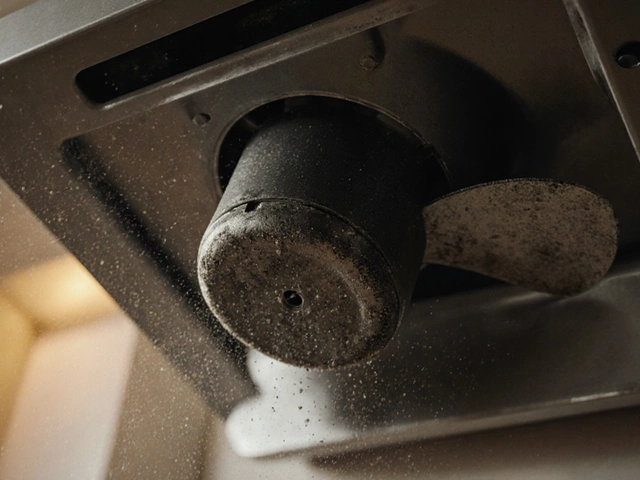
When your kitchen smells like fried oil or your bathroom feels humid, the culprit is often a dusty extractor fan motor the small electric motor that spins the fan blades inside a kitchen or bathroom extractor fan. Over time, grease, carbon buildup and grime coat the motor’s bearings and blades, reducing airflow and increasing noise. A clean motor restores suction and can save you from a costly replacement. This guide walks you through the whole process, from gathering tools to re‑testing the fan, so you can tackle the job yourself.
What You’ll Need
- Screwdriver set Phillips and flat‑head drivers for removing the fan housing and motor mounting screws
- Soft brush A paintbrush or anti‑static brush to loosen dust from the motor’s fins
- Cleaning solution A 50/50 mix of warm water and mild dish soap, or a specialised degreaser for heavy grease
- Cotton cloths Lint‑free wipes for drying the motor after cleaning
- Multimeter Tool to check motor continuity and ensure it’s not damaged
- Lubricant A few drops of light machine oil for the motor bearings
- Protective gloves To keep your hands clean and safe from sharp edges
Safety First
Before you get cracking, always turn off power at the circuit breaker. Even if the fan appears unplugged, a wired connection in the wall can still be live. Use a voltage tester to double‑check there’s no voltage reaching the motor terminals. Wear gloves and eye protection, especially when working with chemical degreasers.
Step‑by‑Step Cleaning Process
- Detach the fan housing. Locate the screws that hold the outer cover to the duct. Using your screwdriver, remove them and gently pull the housing away. Set the screws aside - you’ll need them later.
- Inspect the motor The cylindrical component with wires attached, usually mounted on a metal bracket. Look for visible grease, black carbon deposits, or loose wires.
- Remove the motor Most models have two mounting screws; loosen them and slide the motor out of the housing. Keep the motor orientation marked so you can reinstall it the same way.
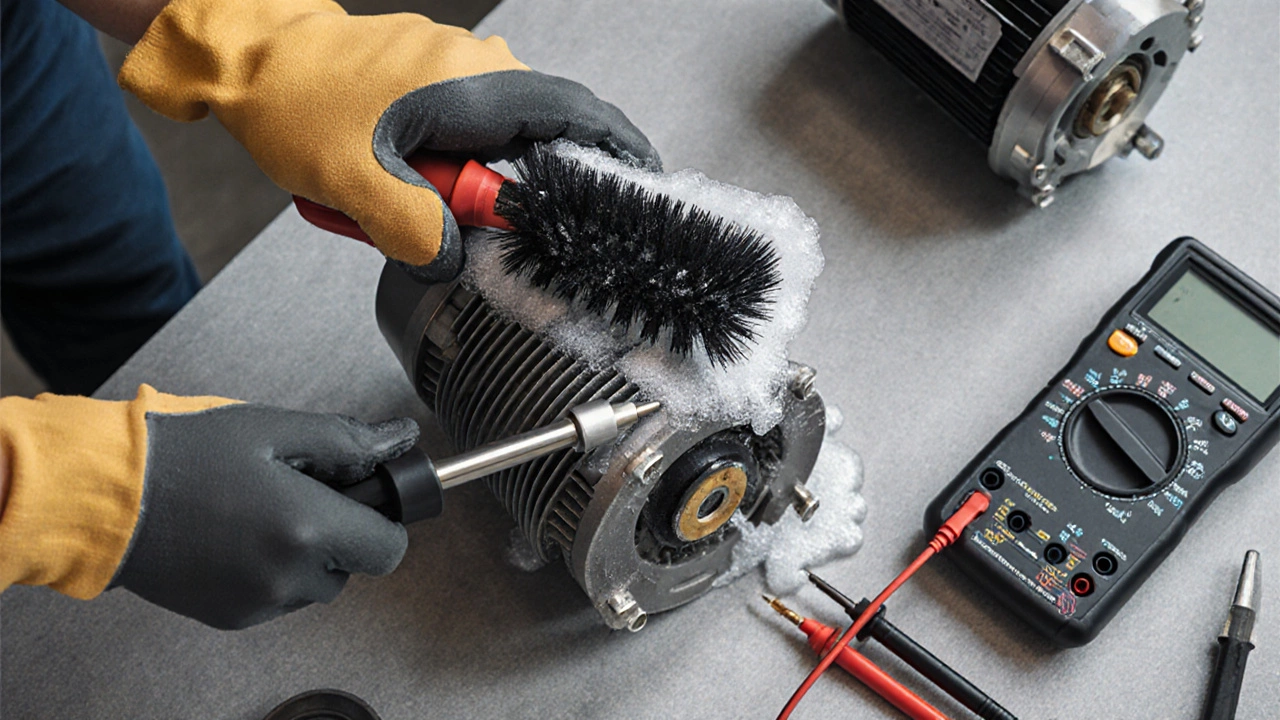
- Use a soft brush to sweep away loose dust from the motor’s fins and the surrounding fan blades. For stubborn grease, dip the brush in the cleaning solution and scrub gently.
- Pay special attention to the bearings Small metal or plastic components that allow the motor shaft to spin smoothly. If they’re coated in grime, apply a few drops of the cleaning solution, let it sit for a minute, then wipe clean with a cotton cloth.
- After the motor is free of grease, dry it thoroughly with a lint‑free cloth. Moisture left on the windings can cause short‑circuits later.
- Apply a drop of lubricant to each bearing. Rotate the shaft a few times to distribute the oil evenly.
- Before reassembly, test the motor with a multimeter. Set it to continuity mode and place probes on the motor’s two terminals. A steady beep means the windings are intact. If there’s no continuity, the motor may need replacement.
- Slide the motor back into the housing, align the mounting holes, and secure it with the original screws.
- Re‑attach the outer fan cover, ensuring the seal is tight. Loose covers can cause air leaks and reduce efficiency.
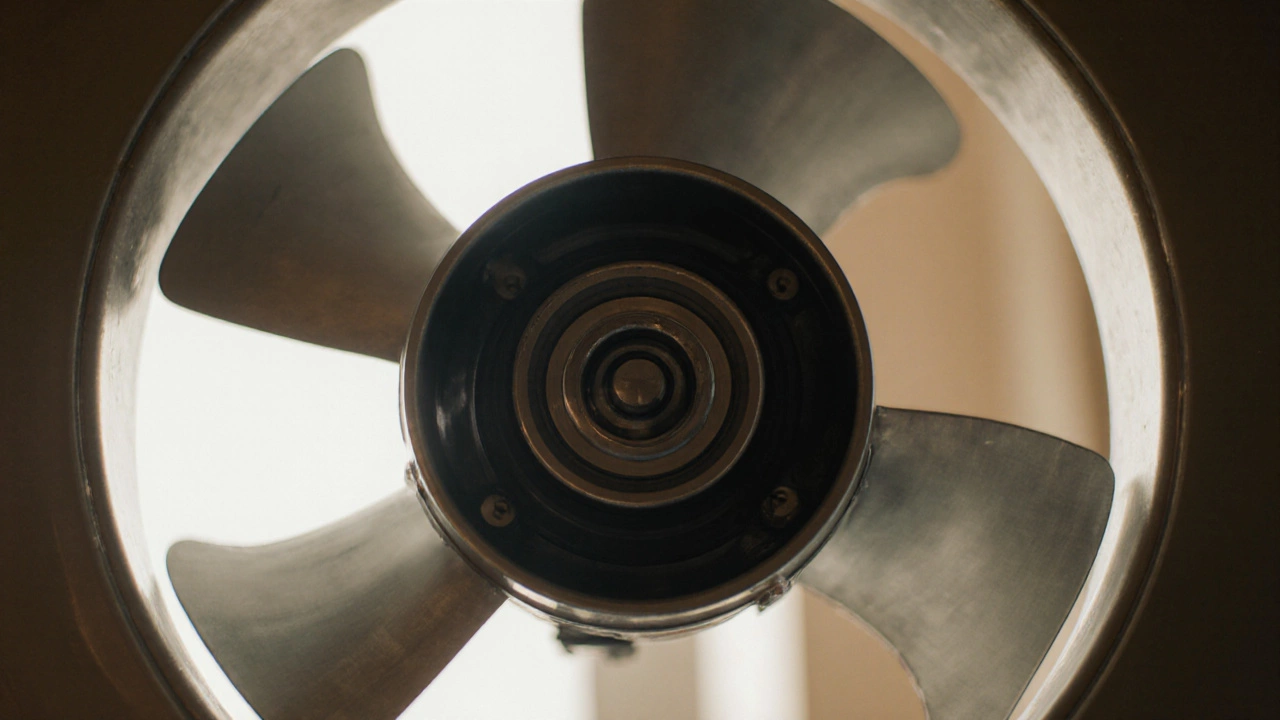
- Restore power at the breaker and switch the fan on. You should notice a stronger suction and reduced noise.
Cleaning Methods Compared
| Method | Effectiveness | Time Required | Cost | Best For |
|---|---|---|---|---|
| Manual brush & soap | Medium - removes surface grease | 15‑30min | Low (basic tools) | Light to moderate build‑up |
| Chemical degreaser | High - dissolves thick carbon deposits | 20‑40min (incl. soak) | Medium (product purchase) | Heavy grease, commercial kitchens |
| Ultrasonic bath | Very high - reaches hidden crevices | 10‑20min (machine run) | High (equipment cost) | Professional service or frequent maintenance |
Maintenance Tips to Keep the Motor Clean Longer
- Run the fan for at least 10minutes after cooking or showering; this clears moisture before it can settle.
- Wipe the exterior grill weekly with a damp cloth; this prevents grease from seeping into the motor housing.
- Install a metal or charcoal filter if your fan doesn’t already have one; it catches most particles before they reach the motor.
- Schedule a deep clean every 6‑12months depending on usage intensity.
- If you notice a humming sound or reduced airflow, repeat the cleaning steps before assuming the motor is faulty.
Troubleshooting After Cleaning
Even after a thorough cleaning, a fan might still misbehave. Here’s a quick checklist:
- Fan doesn’t turn on - Verify the breaker is on, test the wall switch, and re‑check motor continuity with the multimeter.
- Noise persists - The bearings may be worn; consider replacing the motor if lubrication doesn’t help.
- Vibration - Ensure the motor is seated correctly and the fan blades are balanced; a bent blade can cause wobble.
- Smell of burning - Immediately turn off power; the motor winding may have shorted and needs replacement.
When to Call a Professional
If you encounter any of the following, it’s safer to let a qualified technician handle the repair:
- Motor shows no continuity after testing.
- Electrical wiring is frayed or corroded.
- You lack the right tools, such as a proper multimeter or ultrasonic cleaner.
- The fan is part of a complex ventilation system with integrated sensors.
Frequently Asked Questions
How often should I clean my extractor fan motor?
A light surface wipe every week keeps grime at bay, but a full motor cleaning is recommended every 6 to 12months, depending on cooking frequency and oil usage.
Can I use vinegar instead of a commercial degreaser?
Yes. Mix equal parts white vinegar and warm water; the acidity helps cut grease while being safe for most metal parts. Rinse with clean water to avoid residue.
What’s the risk of over‑lubricating the motor bearings?
Too much oil can attract dust, creating a gummy coat that once again hampers rotation. A few drops are sufficient; wipe away excess.
Is it safe to clean the motor while it’s still attached to the fan housing?
Not recommended. Removing the motor gives you full access, prevents accidental damage to wiring, and ensures you can test continuity safely.
What should I do if the motor still runs hot after cleaning?
A hot motor often signals worn bearings or internal winding damage. After confirming it runs freely, test with a multimeter; if the resistance is out of spec, replace the motor.