Extractor Fan Motor Finder
Find your exact replacement motor
Confirm compatibility before purchasing to avoid installation issues
1. Identify your motor specs
2. Confirm your wiring configuration
Compatible Replacement Options
Based on your specifications, these motors match your fan requirements:
Important Compatibility Notes
Always verify these points before purchasing:
- Mounting hole pattern must match exactly
- Shaft size must fit your fan blades
- Voltage must be 230V for New Zealand homes
Cost Comparison
Motor Replacement: $40-$80
Time Saved: 45-90 minutes
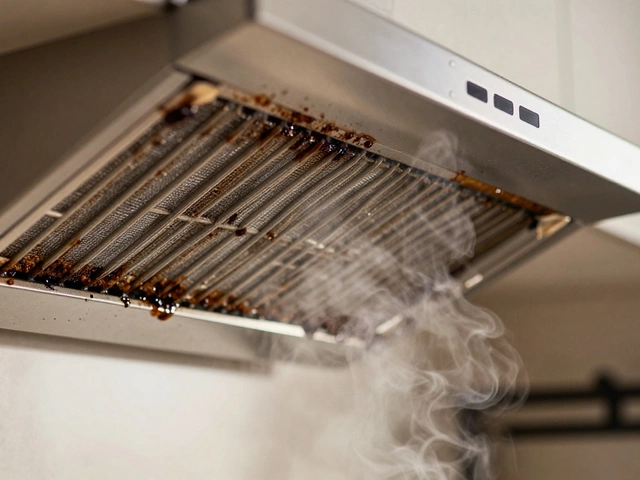
When your kitchen extractor fan stops pulling air or starts making a loud grinding noise, it’s usually not the whole unit that’s broken-it’s the motor. Replacing the motor is one of the most common and cost-effective repairs you can do yourself. Most extractor fans last 8-12 years, and by the time the motor fails, the housing, blades, and filters are still in good shape. Buying a new extractor fan can cost $200-$500. Replacing just the motor? Around $40-$80, plus your time.
First, confirm it’s the motor
Before you start taking things apart, make sure the motor is actually the problem. A fan that won’t spin could be due to a dead switch, a blown capacitor, or even grease buildup jamming the blades. Here’s how to check:- Turn off the power at the circuit breaker. Never work on electrical appliances with power on.
- Remove the grease filter and look at the fan blades. Spin them by hand. If they’re stiff, clogged with grease, or won’t turn freely, clean them first. A little degreaser and a cloth can fix the issue without replacing anything.
- If the blades spin easily but the fan still doesn’t turn on, listen for a humming sound when you flip the switch. A hum means the motor is getting power but can’t start-classic sign of a bad motor or capacitor.
- If there’s no hum at all, check the wall switch and wiring. A multimeter can test if power is reaching the motor terminals.
If the blades spin freely and you hear a hum but no rotation, you’ve got a motor issue. If there’s no hum and no power at the terminals, the problem might be the capacitor or wiring. But for most cases, especially in older units, it’s the motor.
Identify your motor type
Not all extractor fan motors are the same. You need the exact model to get the right replacement. Here’s how to find it:- Turn off the power and remove the fan cover and blades.
- Look for a label on the motor itself. It usually has the manufacturer’s name (like Elica, Zephyr, or extracta), model number, voltage (230V in New Zealand), wattage (often 40W-80W), and RPM.
- Take a clear photo of the label. Even if the text is faded, a photo helps when searching online.
- If the label is missing, note the fan’s brand and model (often printed on the housing or in the manual). Search online for “[brand] [model] motor replacement”.
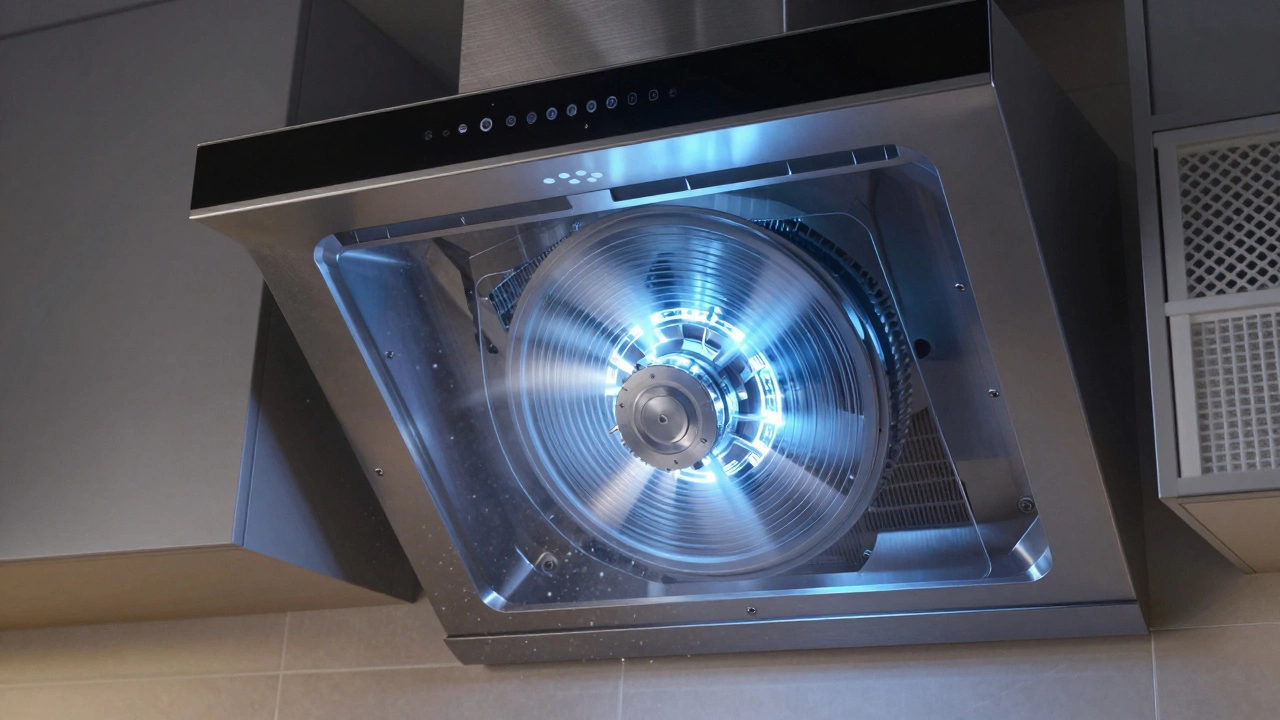
Most common motors in New Zealand kitchens are 230V AC, single-phase, with a diameter of 80mm-100mm. They’re usually round, with 3 or 4 mounting holes, and have two or three wires (live, neutral, and sometimes a capacitor wire).
Buy the right replacement motor
You can buy replacement motors from:- Local appliance parts stores (like Appliance Parts NZ in Auckland or Christchurch Appliance Spares)
- Online retailers like TradeMe, eBay, or specialist sites like ExtractorFanParts.co.nz
- Manufacturer websites (if your fan is still under warranty or supported)
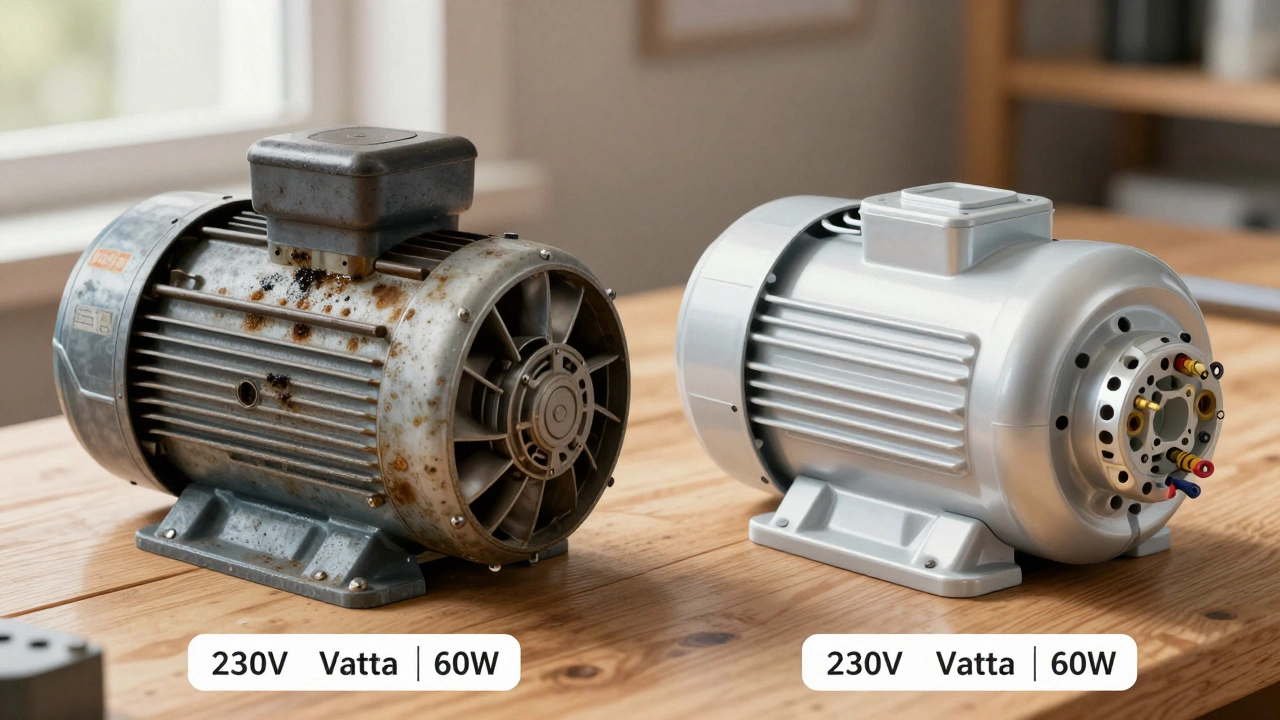
Don’t just grab the cheapest one. Match these specs exactly:
- Voltage: Must be 230V (standard in NZ)
- Wattage: Within ±10% of the original (e.g., if original is 60W, 55W-66W is fine)
- Shaft size and length: Must fit your fan blades
- Mounting hole pattern: The screw holes must line up
- Wire configuration: Same number of wires and color coding
If you’re unsure, take the old motor to a local parts store. Most will match it on the spot. Some sellers offer “universal fit” motors-but only buy these if they list your exact fan model as compatible.
Tools you’ll need
You don’t need fancy gear. Just grab:- Phillips and flathead screwdrivers
- Socket wrench or spanner (for motor mounting nuts)
- Needle-nose pliers
- Wire strippers (if you need to re-cut wires)
- Electrical tape or wire nuts
- Masking tape (to label wires)
- Gloves and safety glasses
Optional: A multimeter to test continuity on the new motor before installing. Not required, but helpful if you’re nervous about wiring.
Step-by-step replacement
- Turn off power at the circuit breaker. Test the fan switch with a voltage tester to be sure no power is flowing.
- Remove the fan cover and grease filter. Set them aside carefully.
- Take off the fan blades. They usually screw onto the motor shaft. Note how they’re oriented-some are directional. Take a photo before removing.
- Disconnect the wires. Take a photo of the wiring before you touch anything. Label each wire with masking tape (e.g., “L” for live, “N” for neutral). Most motors have two or three wires. If there’s a capacitor, it’ll be a small cylindrical component wired near the motor.
- Remove the motor. Unscrew the mounting bolts or nuts holding the motor to the housing. Some motors are held by clips-gently pry them loose with a flathead screwdriver.
- Install the new motor. Slide it into place, aligning the mounting holes. Secure it with the screws. Don’t overtighten-plastic housings can crack.
- Reconnect the wires. Match the colors: brown to live, blue to neutral, green/yellow to earth (if present). If your old motor had a capacitor, connect the new one the same way. Use wire nuts or crimp connectors for a secure fit. Wrap connections with electrical tape.
- Reattach the blades. Slide them onto the shaft and tighten the retaining nut. Make sure they spin freely without wobbling.
- Reassemble the unit. Put the cover and filter back on.
- Restore power and test the fan. Turn it on at low, medium, and high speeds. Listen for unusual noises. If it hums but doesn’t spin, turn it off immediately-you may have the wrong motor or a wiring error.
What to do if it still doesn’t work
If the fan runs but is weak, noisy, or cuts out after a few minutes:- Check the capacitor. Even if the motor is new, a bad capacitor can prevent it from starting properly. Capacitors cost under $10 and are easy to replace.
- Verify the wiring. A loose neutral or live wire can cause intermittent operation. Pull the cover off again and tug each wire gently to make sure it’s secure.
- Inspect the ducting. If the vent pipe is kinked, blocked, or too long, the motor will strain. Clean the duct and make sure it’s no longer than 3 meters with no more than two bends.
- Ensure the motor is seated correctly. If it’s slightly crooked, the shaft might rub against the housing, causing overheating.
If everything’s wired right and the duct is clear, and it still fails-you likely got a faulty replacement motor. Most reputable sellers offer a 12-month warranty. Contact them for a swap.
Prevent future failures
Extractor fan motors die early mostly because of grease and dust buildup. Here’s how to make yours last:- Wash the grease filter every 2-4 weeks. Soak it in hot soapy water, scrub with a brush, rinse, and dry completely before putting it back.
- Wipe down the inside of the fan housing every 6 months with a damp cloth and degreaser.
- Check the duct for blockages annually. Birds’ nests, leaves, or collapsed piping can choke airflow.
- Don’t run the fan on high for hours on end. Use low or medium unless you’re cooking something very greasy.
These small habits can double the life of your motor-and save you from another repair in just a couple of years.
When to call a professional
You can handle most motor replacements yourself. But call a technician if:- You’re uncomfortable working with electricity
- The wiring is old, frayed, or not up to NZ standards
- The fan is part of a built-in rangehood with complex ducting or exhaust to the roof
- You’ve tried replacing the motor twice and it keeps failing
A licensed electrician can check your home’s wiring, test for earth leakage, and ensure the installation meets the Electrical (Safety) Regulations 2010. It’s not expensive-usually $80-$120 for a service call.
Can I replace the motor without turning off the power?
No. Always turn off the power at the circuit breaker before working on any electrical appliance. Even if the switch is off, there’s still live wiring behind the wall. One mistake can lead to electric shock or fire. Safety first.
How long does replacing an extractor fan motor take?
For most people, it takes 45 to 75 minutes. If you’ve never done it before, allow 90 minutes. The hardest part is usually removing the old motor and matching the wires. With practice, you can do it in under 30 minutes.
Are universal motors reliable?
Some universal motors work fine, but many are cheaper, noisier, and don’t last as long. They’re often made for multiple brands and may not fit perfectly. If possible, get the exact replacement. Universal motors are a last resort if the original model is discontinued.
Why does my new motor make a clicking sound?
A clicking sound usually means the capacitor is faulty or not connected properly. The capacitor helps the motor start smoothly. If your new motor came with a capacitor, make sure it’s wired the same way as the old one. If not, you may need to buy and install one separately.
Can I upgrade to a quieter or more powerful motor?
You can, but only if the housing and ducting can handle it. A more powerful motor (e.g., 80W instead of 50W) will pull more air but may create more noise and vibration. It could also overload the wiring if your home’s circuit isn’t designed for it. Stick to the original wattage unless you’re sure the system supports more.