When working with DIY oven install, the practice of setting up a new electric oven yourself. Also known as oven installation DIY, it lets you control placement, wiring, and finish while saving on labour costs. A typical electric oven, a built‑in kitchen appliance that uses resistive heating elements to bake and roast needs a dedicated circuit and proper grounding. The heart of the job is oven wiring, connecting the appliance to the household electrical supply following code‑compliant methods. To do the work right, you’ll rely on a set of reliable DIY tools, such as a screwdriver, voltage tester, and wire stripper that make each step safer and faster.
Before you start, check that the kitchen layout can accommodate the oven’s dimensions and clearances. Measure the cabinet space, leave room for ventilation, and confirm the floor can bear the weight – especially if you’re swapping a lighter stove for a heavier convection model. Next, turn off the power at the breaker and verify it’s dead with a voltage tester; this simple step prevents shocks and protects the appliance’s electronics. If your home’s panel lacks a dedicated 240 V circuit, you’ll need to add one or upgrade the existing wiring, which may require a licensed electrician. Remember, building codes often dictate conduit type, wire gauge, and the distance between the oven and the nearest outlet, so a quick glance at the local regulations saves headaches later.
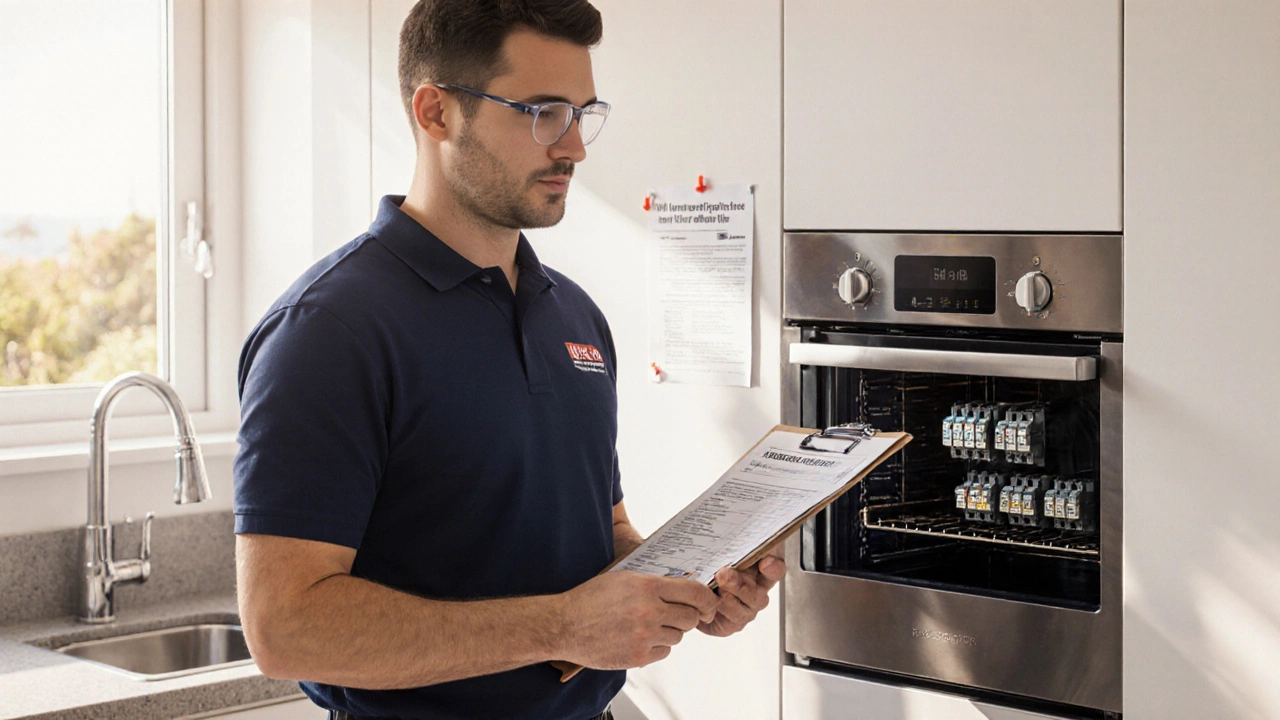
Tools, Safety Gear, and Checklist
Beyond the basic screwdriver set, a few extra items make the install smoother: a digital multimeter for checking continuity, a wire nut set for secure splices, and a level to keep the oven perfectly horizontal. Safety gear is non‑negotiable – wear insulated gloves, safety glasses, and sturdy shoes with slip‑resistant soles. Create a checklist: (1) confirm the oven’s model number and required amperage; (2) verify the existing circuit matches those specs; (3) gather all tools and safety gear; (4) read the manufacturer’s installation guide cover‑to‑cover; and (5) plan the route for the cable, keeping it away from water sources and heat‑producing appliances. Following this list reduces the chance of missing a crucial step and helps you stay organized throughout the project.
When the wiring is ready, connect the oven’s power leads to the circuit’s hot, neutral, and ground wires, tightening each nut securely. Double‑check every connection with your multimeter before turning the breaker back on. Once power is restored, run a quick self‑test if the oven includes one; this confirms the heating elements, thermostat, and electronic controls are all communicating correctly. If anything sparks or the oven fails to power up, shut it down immediately and re‑inspect the connections – most issues stem from loose nuts or reversed polarity. With a successful test, slide the oven into its cabinet, secure it with the provided mounting brackets, and seal any gaps with heat‑resistant silicone.
Now you’ve covered the key steps, safety measures, and tools for a confident DIY oven install. Below you’ll find a curated collection of articles that dive deeper into common oven problems, wiring nuances, replacement tips, and when it’s best to call a professional. Whether you’re tweaking an existing setup or starting from scratch, these resources will help you finish the job right the first time.
Find out if you can replace an electric oven yourself or need a licensed electrician in NZ. Get legal basics, power checks, DIY steps, costs, and safety tips.