DIY Replacement – Quick Fixes for Common Home Appliances
Ever wondered if you could swap out a faulty oven element or replace a broken fridge compressor without calling a pro? You’re not alone. Many homeowners save time and money by tackling simple replacements themselves. The key is knowing where to start, what tools you’ll need, and how to stay safe while you work.
Below you’ll find practical advice that covers the most popular DIY replacement projects we see in Northampton. From kitchen extractor fans to dishwasher motors, each guide breaks the job into clear steps you can follow with confidence.
Essential Tools & Safety First
Before you lift a single screw, gather the basics: a good set of screwdrivers (flat‑head and Phillips), adjustable pliers, a multimeter, and a sturdy flashlight. If you’re dealing with electrical parts, a non‑contact voltage tester is a lifesaver. For plumbing‑related replacements, a pipe wrench and some PTFE tape will go a long way.
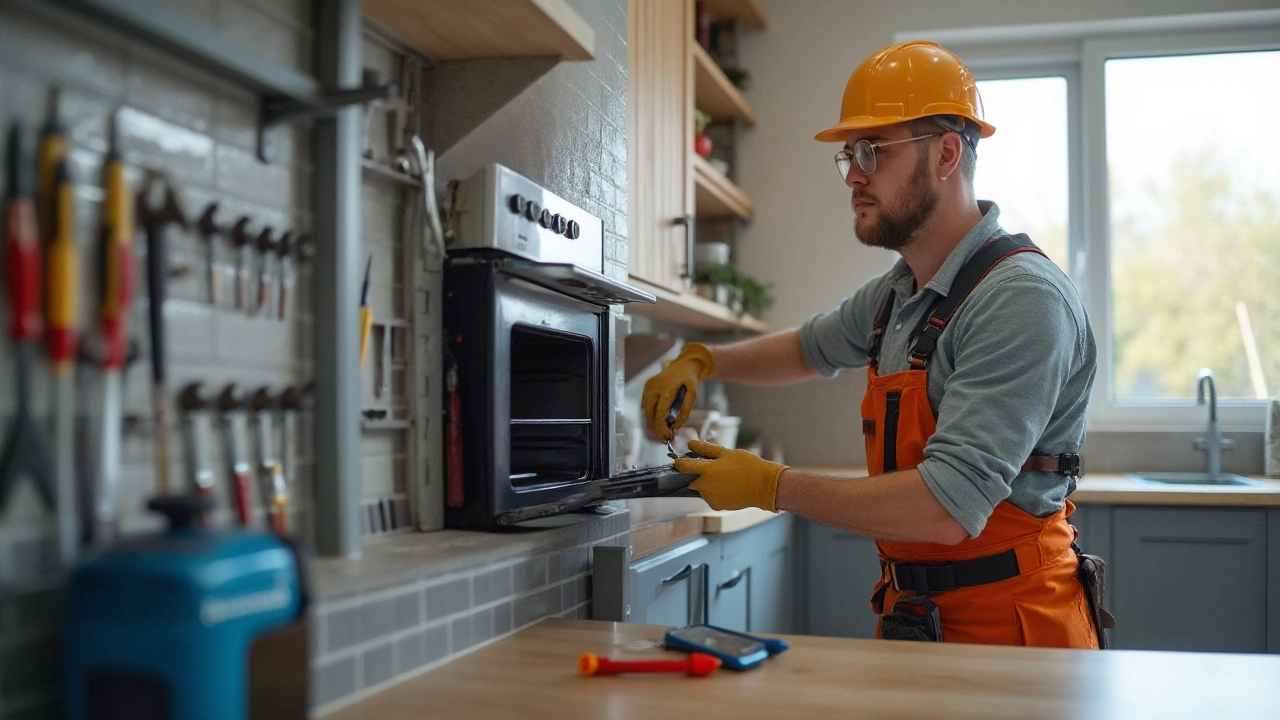
Safety isn’t optional. Always turn off power at the breaker for any appliance that plugs into the mains. For gas‑connected ovens or boilers, shut off the gas supply and ventilate the area. Wear safety glasses and gloves, and keep a fire extinguisher handy just in case. A quick safety check can prevent injuries and keep the job from turning into a bigger mess.
Step‑by‑Step Tips for Popular Appliances
Oven element or thermostat – Remove the back panel, locate the faulty component, and use a multimeter to confirm it’s dead. Unscrew the old part, plug in the new one, and reassemble. The whole process usually takes under an hour.
Refrigerator compressor – This is a bit more involved. First, defrost the fridge and disconnect power. Pull the back panel, note how the refrigerant lines are attached, then replace the compressor using a coil wrench. Seal the lines with new O‑rings to avoid leaks.
Kitchen extractor fan – Most fans are wired directly to a junction box. If you’re swapping a unit, note the wire colors, disconnect the old fan, and mount the new one using the existing brackets. Test the fan before you secure the cover.
Dishwasher pump – Open the bottom access panel, locate the pump, and check for clogs. If the pump motor is burnt out, remove the mounting screws, disconnect the hoses, and swap in a new pump. Re‑attach everything and run a short cycle to verify.
These examples represent the core of what we call DIY replacement: a focused swap of a single component rather than a full‑scale overhaul. If a part feels beyond your skill level, it’s okay to call a professional – better safe than sorry.
Ready to give it a go? Pick an appliance, grab the right tools, follow the steps, and you’ll be back to cooking, cooling, or cleaning in no time. And if you ever hit a snag, our blog has detailed articles for each project, complete with photos and troubleshooting tips. Happy fixing!
Replacing your electric oven yourself is definitely possible with careful planning and the right tools. This article explores the steps and considerations involved in a DIY oven replacement. It provides guidance on preparation, necessary tools, electrical safety tips, and common challenges that may arise during the process. By following these insights, you can ensure a safe and successful oven installation in your home.