Oven Installation Made Easy – What You Need to Know
Got a new oven and want it up and running fast? Installing an oven isn’t rocket science, but a few things can trip you up if you’re not careful. Wiring, ventilation, and fit‑ment all matter, so let’s walk through the basics, the hidden costs, and when it’s smarter to call a local pro.
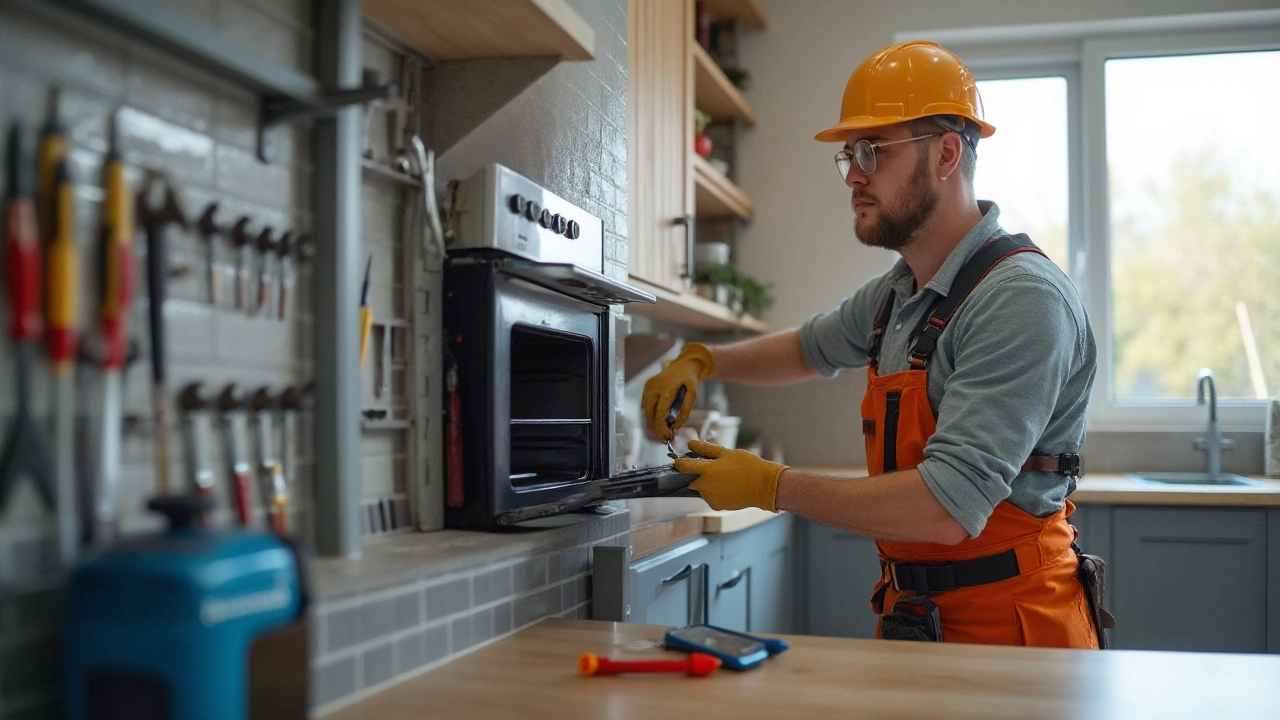
When to Call a Professional
If the oven is electric, you’ll be dealing with a 220‑volt circuit. Mistakes here can spark a fire or damage the appliance. A qualified electrician can confirm the circuit is correctly sized, add a dedicated breaker if needed, and double‑check grounding. For gas ovens, a certified gas engineer must hook up the line and test for leaks. Even if you’ve done DIY work before, these connections are not the place to gamble.
Another reason to hire an expert is the building regulations in Northampton. Some landlords and insurance policies require a licensed installer for warranty validity. A professional will also handle the necessary certificates, saving you paperwork headaches later.
DIY Oven Installation Basics
Ready to roll up your sleeves? Start by measuring the cut‑out space. Most ovens need a 5‑inch clearance at the back for ventilation – check the manual for exact numbers. If the cavity is too tight, you may need to adjust cabinets or trim the countertop.
Next, turn off power at the consumer unit (or shut the gas supply). Pull the oven out, lay it on a sturdy surface, and remove the back panel if you need to access the wiring. Connect the plug or hard‑wire according to the wiring diagram – usually three wires: live (brown), neutral (blue), and earth (green/yellow). Secure the connections with terminal blocks and tuck the cables neatly.
Slide the oven back into place, level it with a spirit level, and screw the mounting brackets into the cabinet walls. For built‑in models, use the provided clips to lock the door in place. Finally, restore power, set the oven to a low temperature, and watch for any unusual smells or error codes.
Even after a smooth install, give the oven a quick test run. Run it at 180 °C for 15‑20 minutes to let the thermostat settle and to ensure the heating elements fire correctly. If anything feels off, shut it down and call a professional – it’s better to be safe than to replace a brand‑new oven.
Remember, our team at Northampton Appliance Repairs Services handles all types of oven installs, from compact electric units to large gas ranges. We know the local codes, have the right tools, and can get the job done without a hitch. Give us a call if you hit a snag or just want the peace of mind that comes with a certified fit.
Bottom line: you can DIY an electric oven if you’re comfortable with basic wiring and have the right tools. For gas connections, any doubt about safety should push you straight to a qualified installer. Either way, follow the manual, take safety seriously, and you’ll have a fully functional oven ready for your next dinner.
Replacing your electric oven yourself is definitely possible with careful planning and the right tools. This article explores the steps and considerations involved in a DIY oven replacement. It provides guidance on preparation, necessary tools, electrical safety tips, and common challenges that may arise during the process. By following these insights, you can ensure a safe and successful oven installation in your home.