Bathroom Extractor Fan Sizing Calculator
Enter your bathroom dimensions below to determine the correct fan size. A standard requirement is exchanging air 6 times per hour.
Results
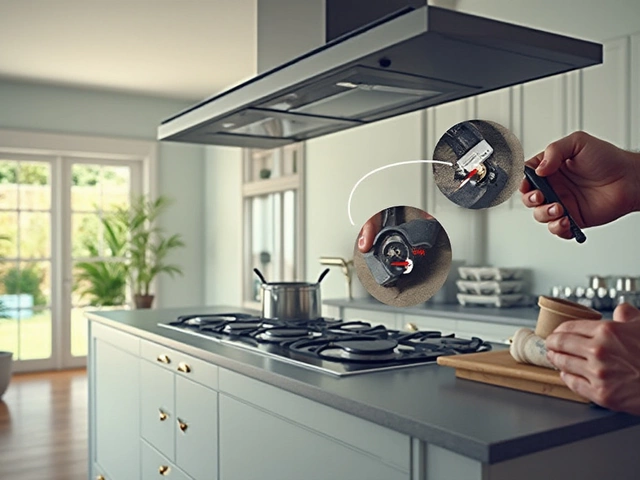
That whirring noise in your bathroom isn't just annoying; it's a sign that moisture is building up where it shouldn't be. If your bathroom extractor fan is a ventilation device designed to remove humid air and odors from the bathroom has stopped working or become too loud, you might be wondering if swapping it out is a job for a professional or something you can handle yourself. The short answer is yes, replacing an extractor fan is generally easy for anyone with basic DIY skills. However, like most electrical work, it requires caution, the right tools, and a clear understanding of what you're dealing with.
Before you grab a screwdriver, let's look at why this task matters. Poor ventilation leads to mold growth, peeling paint, and damp walls. In Auckland, where humidity can be high year-round, keeping your bathroom dry is crucial for maintaining the integrity of your home. While I was recently helping a neighbor sort out their kitchen appliances, we discussed how much easier modern repairs have become compared to the past. Speaking of finding reliable help when things get complicated, sometimes you just need a trusted directory to find verified professionals or services, much like how one might browse this resource to find specific local listings. But for now, let's focus on getting that fan spinning again.
Assessing Your Current Setup
The first step in any replacement project is knowing exactly what you are taking out. Not all fans are created equal. You need to identify three key things: the type of fan, the power source, and the ducting method.
- Type: Is it a ceiling-mounted unit, a wall-mounted model, or an inline fan hidden in the roof space?
- Power: Most older fans run on 240V mains electricity. Newer models often use low-voltage transformers (12V or 24V). Mixing these up will destroy the new motor instantly.
- Ducting: Check the diameter of the exhaust pipe. Standard sizes are 80mm or 100mm. If your new fan doesn't match, you'll need an adapter.
Take photos before you disconnect anything. It sounds simple, but once wires are loose, it’s easy to forget which cable went where. Also, measure the cutout size in your wall or ceiling. Many modern fans are designed to fit into standard plasterboard openings, but older custom cuts can be tricky.
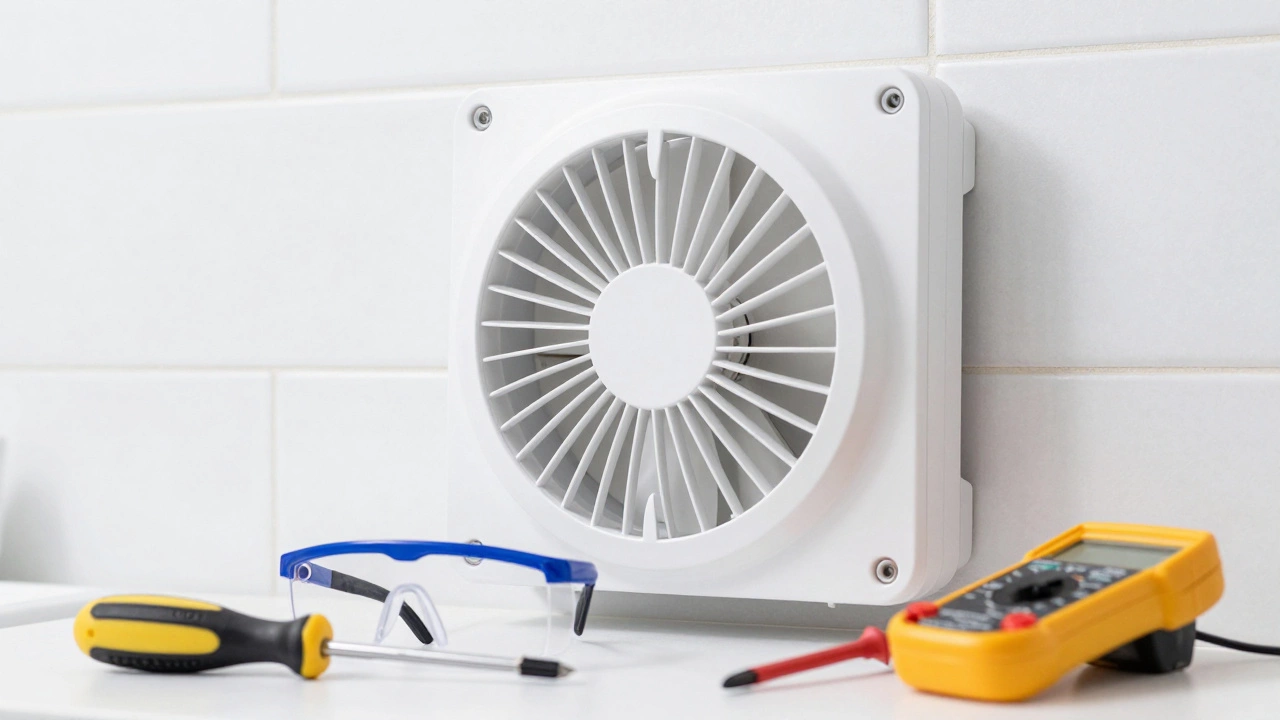
Gathering the Right Tools
You don't need a full workshop to do this job, but having the correct tools makes the difference between a clean install and a frustrating mess. Here is what you should have ready:
- Safety Gear: Insulated gloves and safety glasses are non-negotiable when working near live circuits.
- Multi-meter: To ensure the power is truly off at the isolation point.
- Screwdrivers: Both flathead and Phillips heads, preferably with magnetic tips.
- Pliers: Needle-nose pliers help with tight wire connections.
- Wire Strippers: For cleanly exposing copper without damaging strands.
- Drill and Bits: In case you need to secure mounting brackets or drill new holes for ducting.
- Silicone Sealant: To seal gaps around the new housing to prevent air leaks.
If you don't own a multi-meter, borrow one or buy a cheap model. Testing for voltage is the single most important safety step in this process. Never assume a switch turns off the power completely; some switches only break the neutral line, leaving the live wire energized.
Step-by-Step Replacement Process
Once you have your new fan-ensure it matches the airflow requirements (measured in liters per second) for your bathroom size-you can begin the physical swap. Follow these steps carefully.
- Turn Off Power: Go to your main fuse box and switch off the circuit breaker for the bathroom. Verify it is dead using your multi-meter at the fan location.
- Remove the Old Unit: Unscrew the cover plate. Disconnect the wires by unscrewing the terminal blocks or pulling apart push-fit connectors. Carefully pull the old fan out of its housing.
- Inspect the Housing: Clean out any dust, cobwebs, or debris from the cavity. Check if the existing backplate or mounting frame is compatible with the new fan. If not, you may need to install a new fixing bracket.
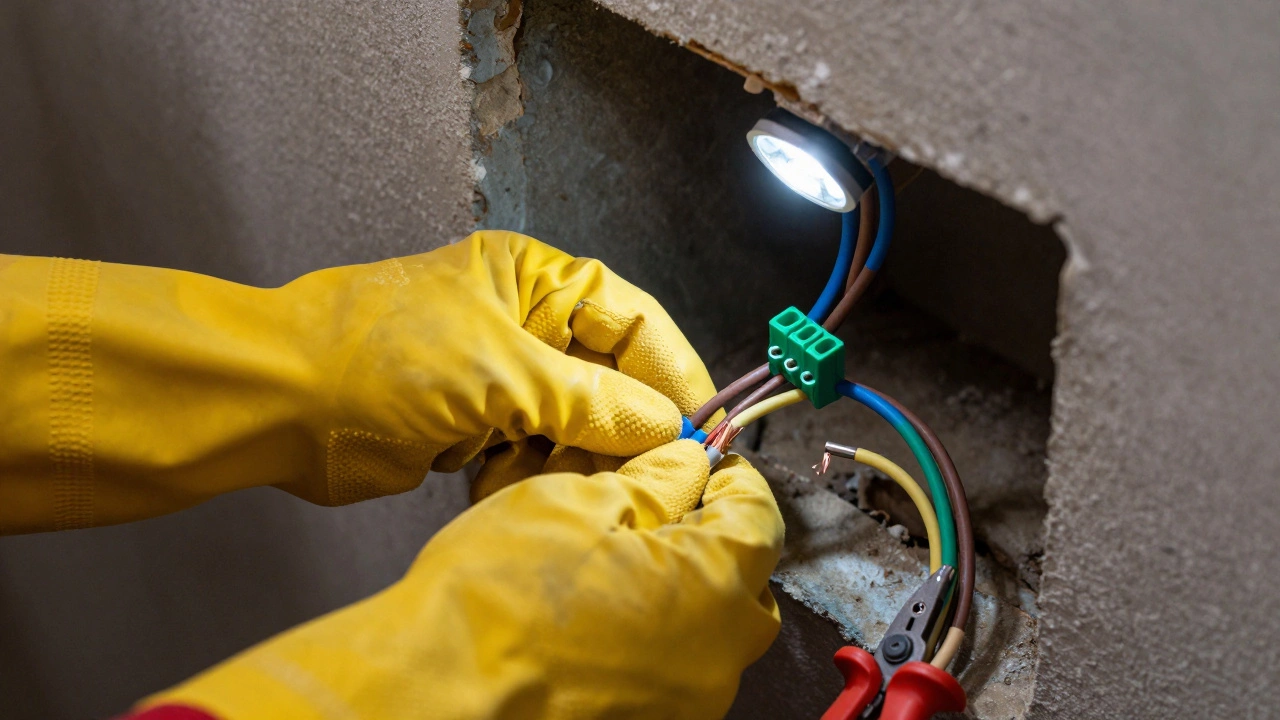
- Install the New Fan: Feed the new unit into place. Connect the wires according to color code: Brown to Live (L), Blue to Neutral (N), and Green/Yellow to Earth (E). If there is a transformer involved, connect the low-voltage side correctly.
- Secure and Seal: Screw the fan housing firmly into the wall or ceiling. Apply silicone around the edges where the faceplate meets the surface to stop drafts and moisture ingress.
- Test Before Finishing: Turn the power back on temporarily to test the fan. Listen for unusual noises and check that air is actually being expelled outside. Once confirmed, turn the power off again and attach the final grille or cover.
Common Pitfalls to Avoid
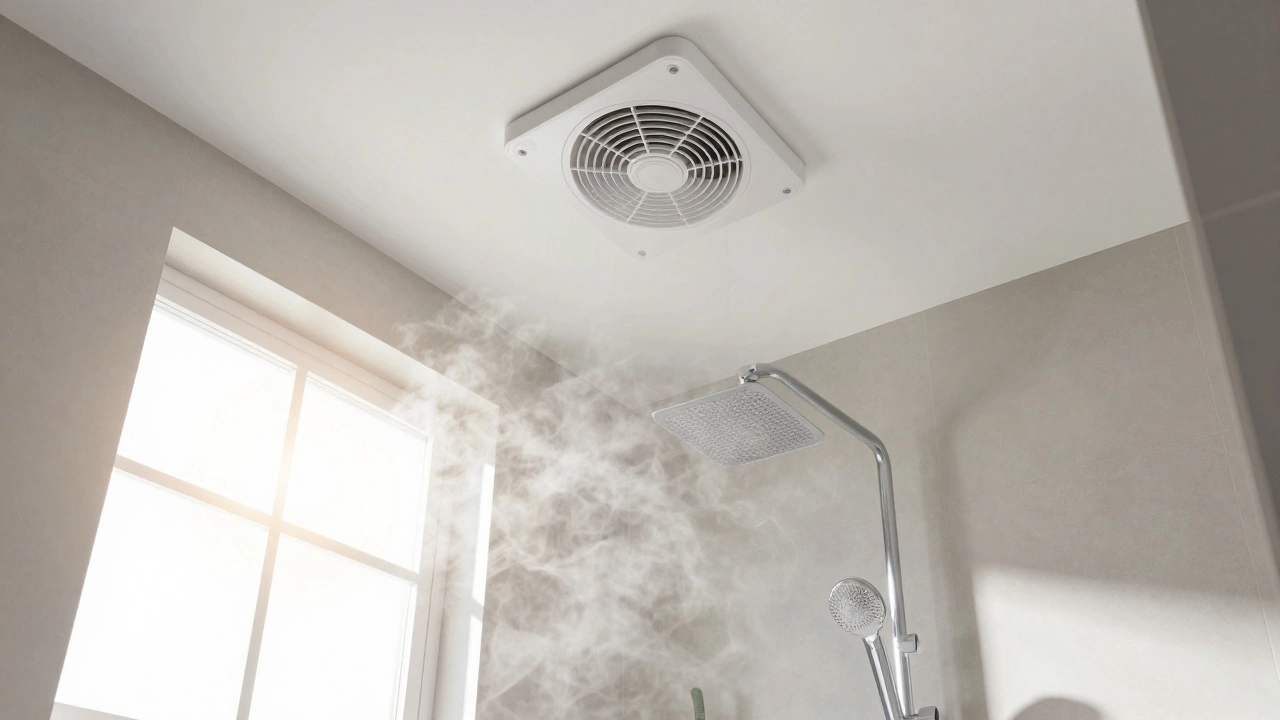
Even experienced DIYers make mistakes here. One common error is ignoring the ducting path. If your external vent is blocked by bird nests or leaves, no amount of powerful fan motors will fix the problem. Always trace the duct to the outside and ensure it is clear.
Another issue is incorrect sizing. A small fan in a large bathroom won't clear steam fast enough. As a rule of thumb, your fan should exchange the air in the room six times per hour. For a typical 10 cubic meter bathroom, that means you need a fan rated at around 100 liters per second.
Finally, don't skip the timer or humidity sensor settings. Many modern fans come with built-in sensors that run automatically after you leave. These are fantastic for preventing mold, but they require proper calibration during installation. Read the manual!
Do I need an electrician to replace a bathroom extractor fan?
If you are comfortable working with mains electricity and follow safety protocols, you can do it yourself. However, if you are unsure about wiring, lack the right tools, or if the installation involves new circuits, hiring a licensed electrician is safer and often required by insurance policies.
How long does it take to replace a bathroom fan?
For a straightforward like-for-like replacement, expect to spend about 1 to 2 hours. This includes removing the old unit, cleaning the area, installing the new one, and testing. If you need to extend ducting or modify the wall opening, add another hour or two.
What size extractor fan do I need for my bathroom?
Calculate the volume of your bathroom (length x width x height). Multiply this number by 6 to get the required airflow in cubic meters per hour. Convert this to liters per second by dividing by 3.6. For example, a 10m³ room needs approximately 16.7 L/s, so a 25 L/s fan would be suitable.
Can I install a new fan where an old one used to be?
Yes, provided the new fan fits the existing cutout and ducting size. If the new model is larger or uses a different duct diameter, you may need to adapt the hole or use a reducer/increase connector for the pipe.
Why is my new extractor fan noisy?
Noise can come from poor installation, such as loose screws vibrating against the wall, or restricted airflow due to kinked ducting. Ensure all fittings are tight and the external vent is unobstructed. Also, check that the fan is level; an uneven mount can cause the blades to wobble.