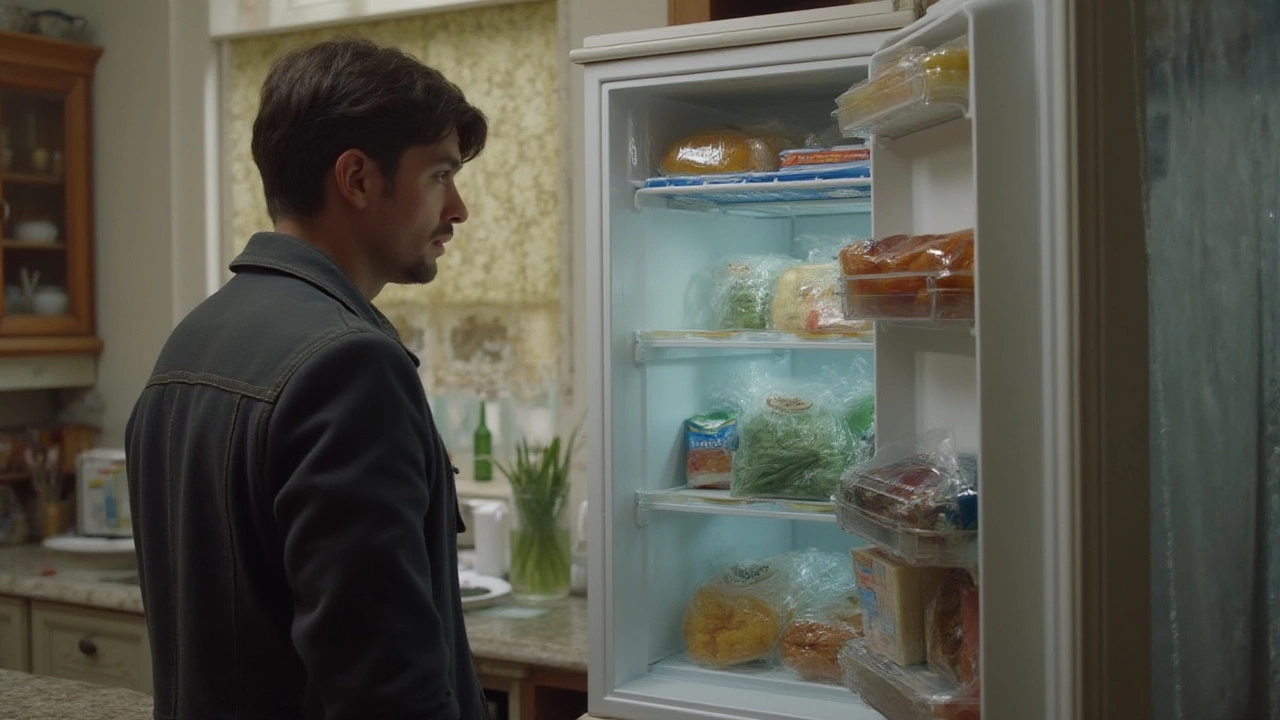
There’s nothing quite as frustrating as grabbing a pint of ice cream for a midnight snack only to find a puddle where your deep freeze used to be. Freezers work hard behind the scenes, keeping everything from burgers to popsicles perfectly preserved. When they fail, you notice fast—especially if you’re trying to save a big haul from a grocery trip. But before you start panicking or ordering takeout every night, hang tight. Freezers can stop cooling for a ton of reasons, from obvious user errors to weird, hidden defects.
Common Reasons Why Freezers Stop Cooling
There’s usually not a single magic answer when a freezer decides to act up, which is both good and bad news. Sometimes the fix is easy stuff you can handle on your own, with zero tools. Other times, you might need to play detective and track down strange culprits you never saw coming. Plenty of people think it’s always the compressor or some mysterious, expensive part, but sometimes it’s as simple as a kid not closing the door all the way.
So let’s break it down. Here are the most common reasons your freezer is suddenly more like a glorified cooler:
- Temperature Settings Messed Up: Dials get bumped. Digital thermostats lose their minds after a power surge. Double-check your setting isn’t on “minimum” by mistake.
- Door Left Open or Seals Cracked: If even a hair’s-width of air can sneak in, cold escapes and your freezer works overtime, often losing the battle.
- Dirty Condenser Coils: If your coils are caked with dust, the system can’t release heat properly. Your freezer just can’t catch up.
- Frost Build-Up: Ironically, too much ice can choke air flow. Your evaporator fans can end up stuck or overworked.
- Evaporator or Condenser Fan Failure: These tiny workhorses circulate cold air. If they’re jammed by debris or burned out, cold air just hangs out in one spot.
- Defrost System Malfunction: Most modern freezers have automatic defrost systems. If they glitch, ice builds where it should melt, blocking air and freezing up the works.
- Compressor Issues: Yes, sometimes it’s that big guy at the back. They’re tough, but very occasional failures happen—or maybe the electrical start relay went bad.
- Power or Control Board Gremlins: Surges or lightning can cook the control board. Or maybe the power cord is loose, frayed, or pulled out slightly from the wall.
One interesting stat: According to the Association of Home Appliance Manufacturers, over 40% of freezer failures reported each year are traced to non-mechanical issues—stuff like blocked vents or user error, not parts wearing out. That means there's a decent shot your problem is something simple.
DIY Troubleshooting: What to Check Before You Call for Repairs
Okay, so the ice cream is tepid, the frozen veggies feel suspicious, and you’re ready to do something about it. Before you grab your wallet or swear off frozen food forever, walk through this common-sense checklist. A surprising amount of broken freezers are actually totally fixable in less than half an hour—with stuff you probably already have lying around.
- Check The Power: Obvious, right? But you’d be surprised how often plugs work loose. Make sure your freezer is plugged in tightly. Try another outlet if you suspect anything weird. Sometimes circuit breakers trip and you don’t notice—give the panel a glance.
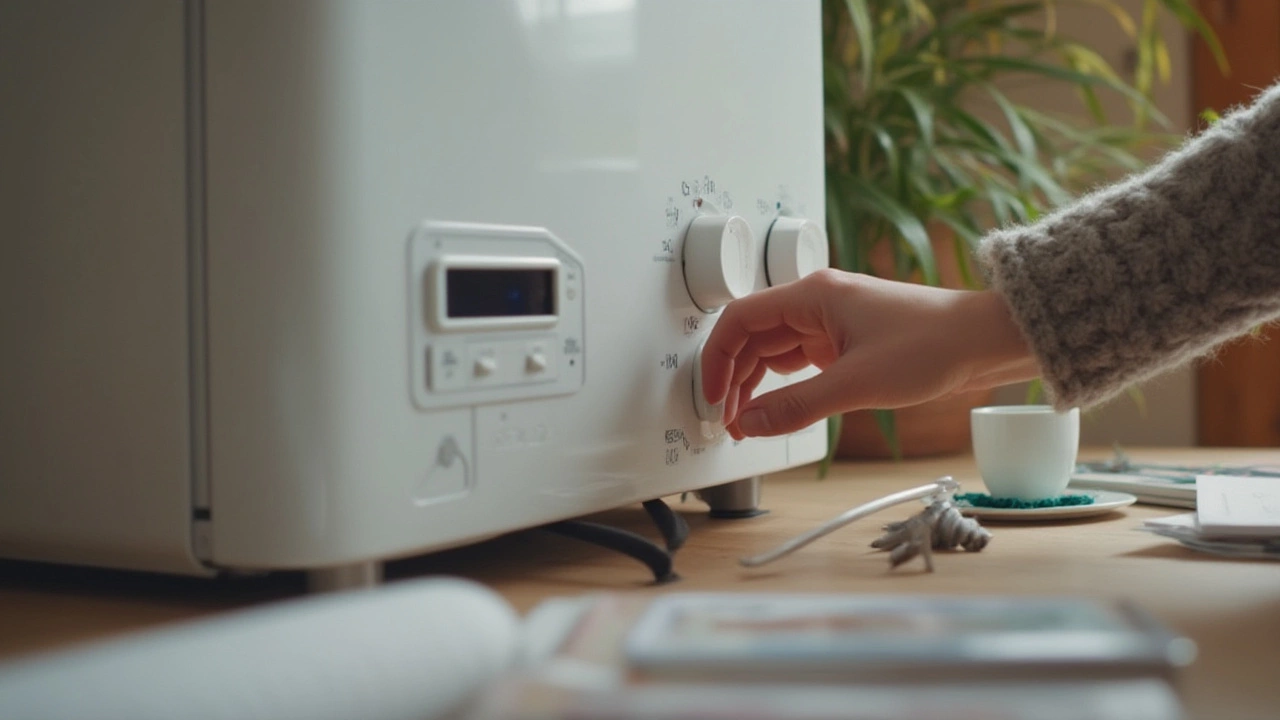
- Inspect The Settings: Sometimes buttons get pushed accidentally. Make sure the temp is set at or below 0°F (-18°C) for the freezer.
- Look At The Door Seal: Run your hand around the gasket. Can you feel cold air leaking? Try the “dollar bill test”—close the door on a dollar bill. If it pulls out too easily, your seal probably isn’t tight.
- Clear The Vents: Freezers need air flow. Make sure nothing is blocking the vents, both inside and outside. If boxes of frozen pizza are stacked up in front of the fan, cold won’t circulate.
- Inspect For Frost Build-up: If you see a solid wall of ice, unplug and let it thaw for several hours. Then restart and see if normal cooling comes back. This is especially common in older models.
- Clean Those Coils: Pull your unit away from the wall and use a vacuum or brush to gently remove dust from the condenser coils. This can help your freezer cool better almost instantly.
- Listen for Fans and Compressor: Open the freezer and listen. Fans should kick on and you should hear a low hum from the compressor. Silence means a component probably isn’t working.
For a quick glance at what to check and what those checks usually reveal, here’s a table that matches common symptoms with likely causes and simple solutions:
| Symptom | Likely Cause | Quick Fix |
|---|---|---|
| Freezer is warm | Temp set too high / Door left open | Check setting, close door properly |
| Frost everywhere | Defrost heater failed / Door not sealing | Defrost manually; replace gasket if needed |
| Fan not running | Fan motor failure / blocked vent | Clear obstructions; replace fan if needed |
| Loud clicking noise | Compressor relay issue | Test and replace start relay |
| Interior light out | Bad lightbulb / Power issue | Replace bulb; check plug and breaker |
If you do all these and it’s still not chilling, now you’re looking at trickier electrical or sealed system issues that are better left to the pros. But at least you’ve ruled out the basics and might have saved yourself a hundred bucks or more.

When to DIY and When to Call a Pro
Not all fixes are created equal—sometimes it’s just not worth getting elbow deep in wires and coolant lines. If you catch a problem early, there’s a good shot you can sort it out without a ton of stress. Stuff like cleaning coils, defrosting, or fixing a wobbly door seal are all fair game for most people. They don’t need fancy tools or a background in engineering—if you can use a screwdriver and follow instructions, you’re good.
But say you check all the easy stuff and your freezer is still throwing a fit. Maybe you notice weird smells like burned plastic, hear strange clicking or buzzing from the back, or the compressor runs but nothing gets cold on the inside. Now we’re in deeper water. If you need to test electrical components, you’ll need a multimeter and a little know-how. That’s a line a lot of folks don’t want to cross, and honestly, it’s smart to leave the complicated stuff to people who fix appliances every day.
And don’t forget refrigerant—those sealed systems are off-limits by law unless you have a license, because Freon or other coolants can be dangerous. Same goes if you own a very expensive built-in or smart freezer with complicated electronics. It’s usually cheaper to pay a pro up front than risk frying the mainboard or causing other hidden damage.
One fact: Nearly 75% of homeowners who try a simple, safe DIY repair (like defrosting or cleaning) before calling for help end up solving the problem themselves, according to consumer data collected by AHAM in late 2023. So it’s always worth starting with easy stuff. But anything suspicious—scorch marks on wires, fried circuit boards, or anything involving sealed gasses—you’ll save time and money in the long run by calling tech support or booking a trusted repair service.
How to Prevent Freezer Problems Before They Start
Here’s the part nobody likes to hear, but I’m saying it straight—most freezer problems don’t come out of nowhere. They build up, because let’s be real, freezers are kind of like closets: you use them every day, but how often do you check what’s happening behind the scenes? Regular care is boring, but totally worth it if you like your food cold and your wallet full.
Some easy, science-backed habits cut down your odds of a meltdown:
- Vacuum coil dust twice a year. That layer of fuzz acts like a winter coat and makes your freezer work way harder.
- Every month, do a quick door seal check. That squishy rubber should bounce back and feel grippy, not loose or cracked.
- Don’t pack it too tight. Air needs to flow! If it’s jammed wall-to-wall with leftovers, stuff near the vent freezes while the corners turn mushy.
- Label leftover food and toss frostbitten packs regularly. Less clutter means less airflow hassle.
- Defrost older freezers a couple times a year, especially if you see ice build-up on the walls.
- Keep your freezer at least half-full. Fun fact: a full freezer actually keeps temps stable during brief power outages, thanks to cold food acting like ice blocks.
There’s a reason appliance makers often offer longer warranties if you follow routine maintenance. Keeping your freezer not cooling problems in check means fewer emergencies, less spoiled food, and way more peace of mind.
Quirky tip to remember: Put a small cup of water in your freezer with a coin on top. If you ever lose power and find your coin sunk to the bottom, it means everything thawed while you were gone—and it might be time for a clean-out, not a fix.
Stay on top of those quick checks, and your freezer should reward you with many years of ice-cold reliability. When it does quit, odds are high that a solid troubleshooting session will bring it back—no fuss, no stress, no wasted groceries.


