How to Tell If Your Cooker Is Broken: A Diagnostic Guide
How to Tell If Your Cooker Is Broken: A Diagnostic Guide
Cooker Diagnostic Assistant
1
Type
2
Symptom
3
Details
4
Result
What type of cooker do you have?
Select the fuel type your cooker uses.
🔥
Gas Cooker
Natural gas or LPG
⚡
Electric Coil
Visible heating coils
🧲
Induction
Smooth glass surface
Which part is having issues?
Select the component that isn't working properly.
🍳
Hob / Cooktop
Surface cooking area
♨️
Oven
Baking compartment
🎛️
Controls / Display
Buttons, knobs, screen
👂
Strange Noises/Smells
Unusual sounds or odors
What specific symptom are you experiencing?
Select the issue that best matches what you're seeing.
There is nothing worse than pulling a frozen dinner out of the freezer, setting the timer, and realizing your kitchen has gone silent. Or worse, you smell something burning before you even turn it on. When your cookerfails to perform its basic cooking functions acts up, panic often sets in. But before you call for an emergency repair or buy a brand-new unit, you need to know if it’s actually broken or just having a bad day.
Distinguishing between a minor glitch and a major failure can save you hundreds of dollars. Most modern cookers-whether gas, electric, or induction-are complex machines with sensors, thermostats, and ignition systems. Understanding how they work helps you diagnose the problem quickly. Here is exactly how to tell if your cooker is broken, what those symptoms mean, and when it is time to call a professional.
The Quick Safety Check: Power and Gas
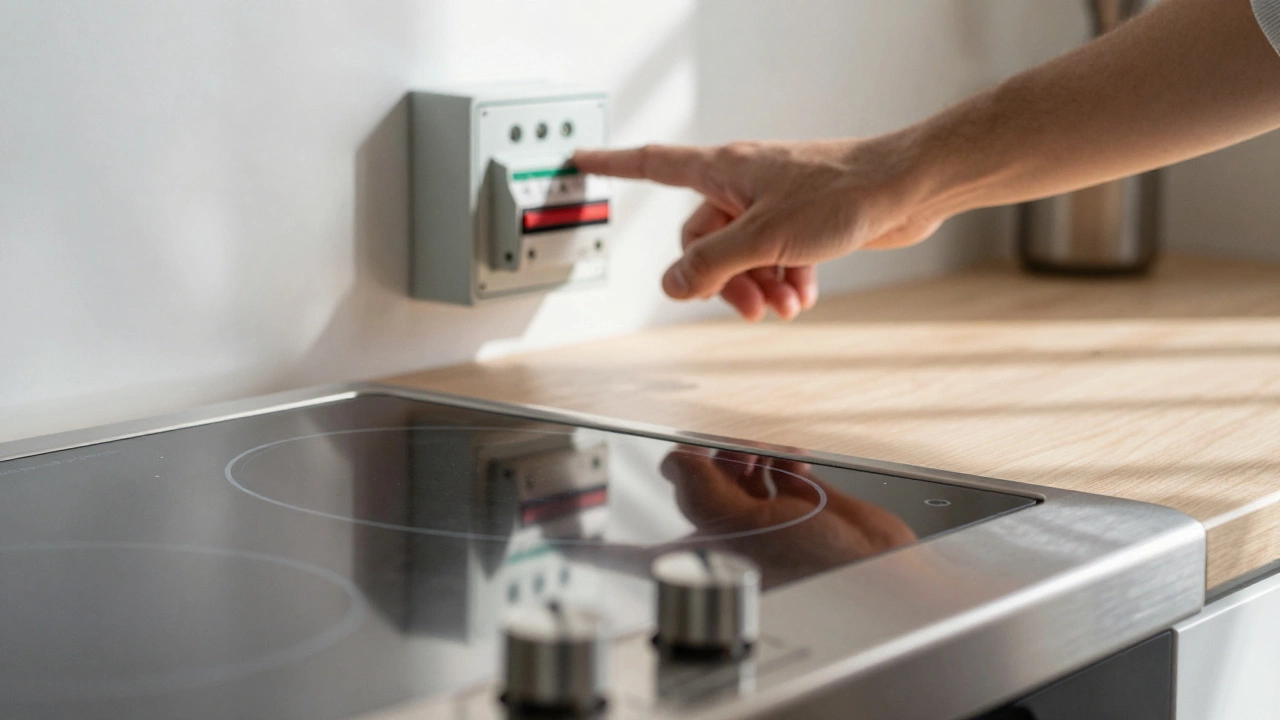
Before you tear into the back panel or call a technician, rule out the obvious. It sounds simple, but half of all "broken" appliance calls are due to tripped breakers or empty gas tanks.
Electric Cookers: Check your home’s circuit breaker box. Did a recent surge trip the switch? Also, check if other appliances on that same circuit (like the toaster or kettle) are working. If they aren’t, your cooker isn’t broken; your house wiring is overloaded.
Gas Cookers: Ensure the gas supply valve behind the unit is open. Sometimes, cleaning around the stove accidentally nudges this valve. If your lights flickered during a storm, the gas might have been cut off as a safety precaution.
The Plug: Sounds silly, but did you unplug it recently? Some people do this while deep-cleaning the floor. Give the plug a firm tug to ensure it’s seated properly in the socket.
If power and gas are confirmed active, move on to the specific symptoms below.
Symptom 1: The Hob Won’t Light or Heat
The cooktop (or hob) is the part we use most daily. If it fails, breakfast becomes a cold affair. The diagnosis depends entirely on your fuel type.
Diagnosing Hob Issues by Fuel Type
Fuel Type
Symptom
Likely Cause
Is It Broken?
Gas
No spark when turning knob
Battery dead in igniter module
Minor fix (replace battery)
Gas
Spark but no flame
Clogged burner ports
Not broken (needs cleaning)
Electric Coil
Coil glows red but stays cool
Broken heating element
Yes, needs replacement
Induction
Error code flashes (e.g., E05)
Pan not compatible or sensor fault
Check pan first, then board
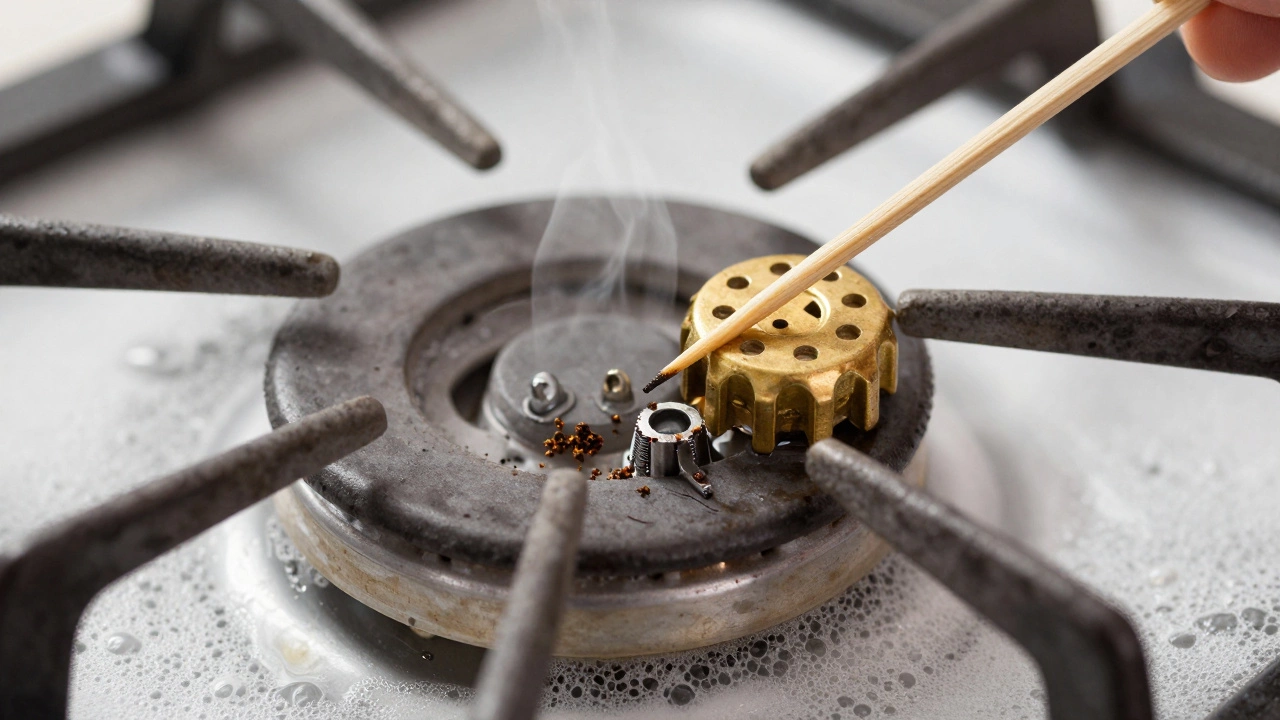
For gas hobscooktops that burn natural gas or LPG, listen for the click. If you hear clicking but no flame, your burner holes are likely clogged with dried sauce or grease. Soak the burner caps in hot soapy water and use a toothpick to clear the jets. If there is no click at all, check the battery compartment under the control panel. These small batteries die every year or two.
For electric coil hobs, look closely. Does the coil glow bright orange? If yes, but your pan doesn’t heat up after five minutes, the resistance wire inside the coil has snapped. This is a cheap part to replace. If the coil doesn’t glow at all, the issue could be the infinite switch (the knob mechanism) or the wiring harness.
Induction hobs are trickier. They require magnetic pans. If you place a glass pot on an induction zone, it will display an error code because it detects no load. Always check your manual for the specific error codes. An "E" code usually points to a sensor failure or a motherboard glitch, which means the unit is technically broken.
Symptom 2: The Oven Temperature Is Unreliable
Oven issues are subtle. You don’t always know until your roast is charcoal or your cake is raw. The key sign here is inconsistency.
If your oven takes forever to preheat, or if the temperature fluctuates wildly (you set 180°C, but it feels like 250°C), your thermostatdevice that regulates internal temperature is likely failing. The thermostat is the brain of the oven. It tells the heating element when to turn on and off. When it drifts, your food suffers.
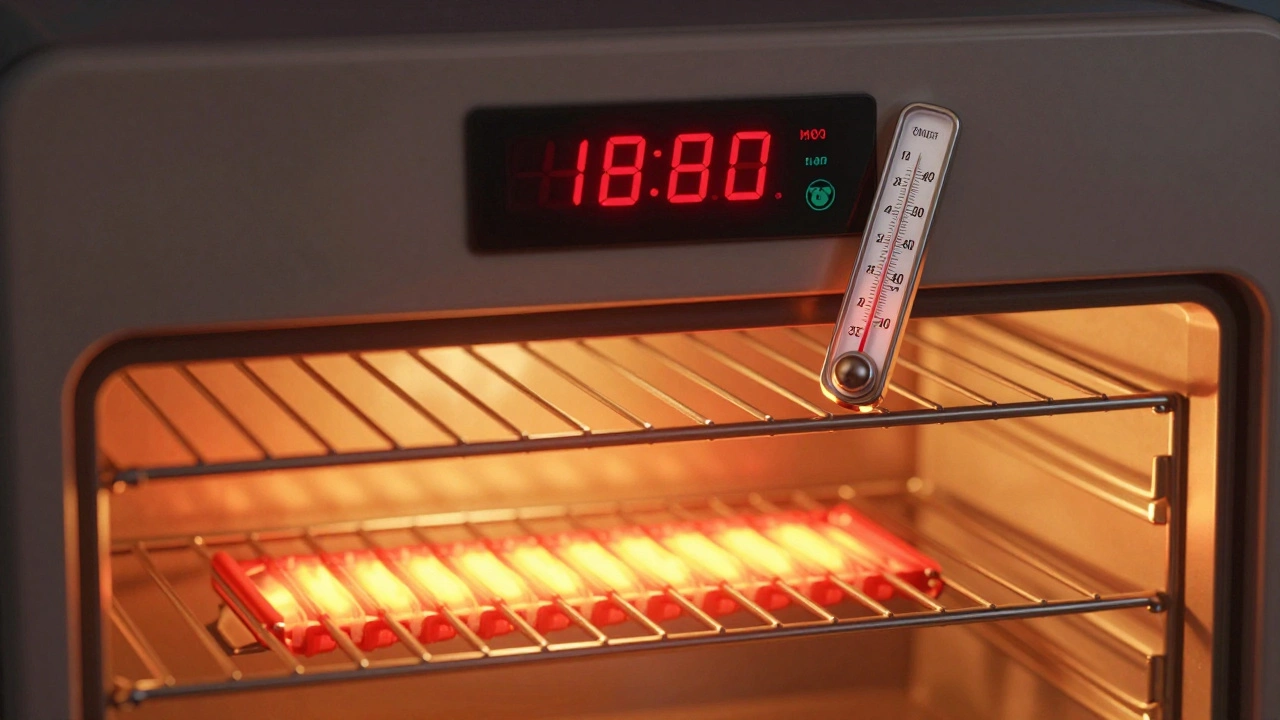
Test this with an independent oven thermometer. Place it in the center of the rack, set your oven to 180°C, and wait for it to stabilize. If the thermometer reads 200°C or higher, or 160°C or lower, your thermostat is out of calibration. On older models, you can sometimes adjust a screw inside the back panel. On newer digital models, the thermostat is integrated into the control board, meaning the whole board might need replacing.
Another sign of a broken oven is if the light works but the heating elements do not. In electric ovens, there are usually two elements: one at the top (for grilling/browning) and one at the bottom (for baking). If the bottom element looks blackened or blistered, it has burned out. This is a common wear-and-tear failure.
Symptom 3: Strange Noises and Smells
Your senses are powerful diagnostic tools. Pay attention to what you hear and smell when the cooker is running.
Smells:
A slight plastic smell when you first install a new cooker is normal (it’s the insulation curing). However, a persistent smell of burning dust or electrical ozone indicates overheating wiring or a failing motor. A rotten egg smell on a gas cooker is sulfur added to natural gas to help you detect leaks. If you smell this, evacuate the house immediately and call your gas provider. Do not touch any switches.
Noises:
A gentle hum from a fan-assisted oven is standard. But a loud rattling, banging, or grinding noise suggests a mechanical failure. In fan ovens, the fan blade may have hit debris, or the fan motor bearings are worn out. In gas ovens, a roaring flame that changes pitch indicates a blocked air intake or a faulty gas valve. These noises are not "normal" and signal that parts are breaking down.
Symptom 4: Control Panel Glitches
Modern cookers are essentially computers with heating elements. If the display is blank, buttons don’t respond, or the clock resets randomly, you have an electronic issue.
Start with a hard reset. Unplug the cooker for 10 minutes. This drains residual power from the capacitors and can clear software glitches. If the display comes back to life, you were lucky. If not, the control boardcircuit board managing user inputs and outputs is likely dead. Water spills near the knobs can corrode these boards over time. If you see green corrosion around the button contacts, the board needs professional cleaning or replacement.
Touchscreen failures are also common. If the screen is cracked or unresponsive to touch, the digitizer layer has failed. This is a cosmetic and functional break that requires a specialized repair kit.
When to Call a Professional vs. DIY
Knowing when to stop tinkering is crucial for your safety. Here is a simple decision tree:
Call a Pro: Any gas leak suspicion, replacing gas valves, fixing internal wiring, replacing control boards, repairing sealed components like compressors (in fridge-freezer combos).
In Auckland, many homeowners attempt DIY repairs on electric elements because they are accessible. However, gas appliances require certified technicians. Tampering with gas lines without certification is illegal and dangerous. If your cooker is under warranty, opening the back panel voids that coverage. Check your receipt first.
Preventing Future Breakdowns
A little maintenance goes a long way. Wipe up spills immediately to prevent sugar and starch from caramelizing into glue-like substances that block vents and sensors. Clean the oven seal (the rubber gasket around the door) regularly. If food gets stuck in the seal, heat escapes, forcing the oven to work harder and overheat the thermostat.
Also, avoid using abrasive cleaners on glass doors and enamel interiors. They scratch the surface, making it harder to clean later and potentially weakening the material. Use mild soap and a soft cloth. For stubborn baked-on messes, use the self-clean cycle if your model has one, but ensure the room is well-ventilated as it produces smoke.
Finally, inspect the power cord annually. Look for fraying or cracks. A damaged cord is a fire hazard. If you spot damage, replace the cord immediately rather than taping it up.
Why does my gas cooker click but not light?
This usually means the spark generator is working, but the gas isn't flowing or the burner is clogged. First, check if the gas supply is on. Then, remove the burner cap and clean the ports with a toothpick. If it still doesn't light, the gas valve diaphragm may be punctured, requiring a technician.
Is it expensive to fix a broken oven thermostat?
Thermostats are relatively affordable parts, often costing between $50 and $150 NZD depending on the brand. However, labor costs can add up. If your oven is more than 10 years old, it might be cheaper to replace the entire unit rather than paying for hourly repair rates.
My induction hob shows an error code. What should I do?
Error codes vary by manufacturer. Common codes like 'E0' or 'F0' often indicate a communication error between the board and the sensor. Try turning the cooker off at the mains for 5 minutes. If the code persists, consult your manual's troubleshooting section. Persistent errors usually mean a faulty mainboard.
Can I use a regular thermometer to test my oven?
You can, but an oven-specific thermometer is better because it is designed to withstand high heat and sits securely on the rack. Place it in the center of the oven, set your desired temp, and compare the reading after 30 minutes. A variance of more than 10 degrees Celsius indicates a calibration issue.
Why is my electric oven taking so long to preheat?
Slow preheating is often caused by a failing heating element that isn't reaching full power, or a dirty oven interior reflecting less heat. Check if the element is glowing evenly. If it's dim or patchy, it needs replacement. Also, ensure the oven door seal is tight so heat doesn't escape.
I'm Wesley, a seasoned expert in services, specializing in appliance repair. I spend my days fixing everything from dishwashers to washing machines, ensuring they run smoothly for my customers. Writing about appliance repair topics is not only a professional interest but also a personal passion. I enjoy sharing tips and insights to help others understand and maintain their home appliances. Whether I'm hiking the nearby hills or lending a hand with a tricky repair, I aim to bring reliability and satisfaction in all I do.