Extractor Fan Repair vs. Replace Calculator
Enter Your Details
Enter your details and click calculate to see if you should fix or buy a new fan.
Your kitchen is supposed to be the heart of the home, not a steam room filled with the lingering smell of burnt garlic or frying onions. When your kitchen extractor fan is a ventilation device designed to remove smoke, grease, and cooking odors from the air starts sounding like a dying jet engine or stops working altogether, it’s frustrating. You’re left wondering if you should call a technician, try a DIY fix, or just buy a new unit. The short answer is yes, most extractor fans can be repaired, but whether they *should* be is a different question entirely.
In Auckland, where our humid coastal air meets heavy home cooking, extractor fans work harder than in many other parts of the world. They clog up faster with grease and struggle against moisture. Before you spend hundreds of dollars on a replacement, let’s look at what actually breaks, how much it costs to fix, and when it’s smarter to just start over.
Why Your Extractor Fan Might Be Failing
Before you can decide on a repair, you need to know what’s wrong. Most extractor fan issues fall into three buckets: airflow problems, noise issues, or complete electrical failure. Identifying which one you have will tell you if this is a quick clean-up job or a major mechanical overhaul.
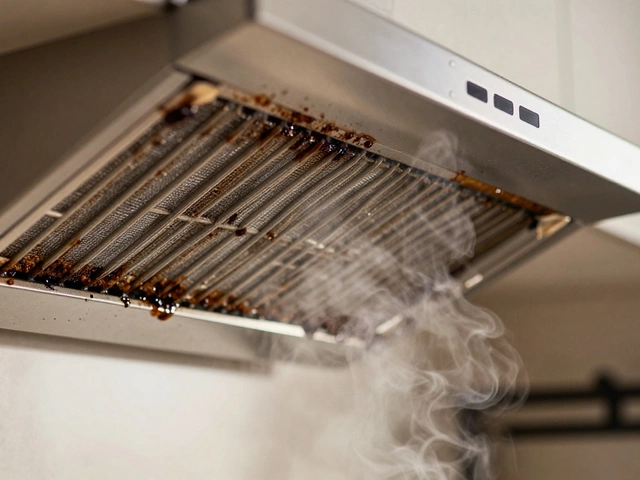
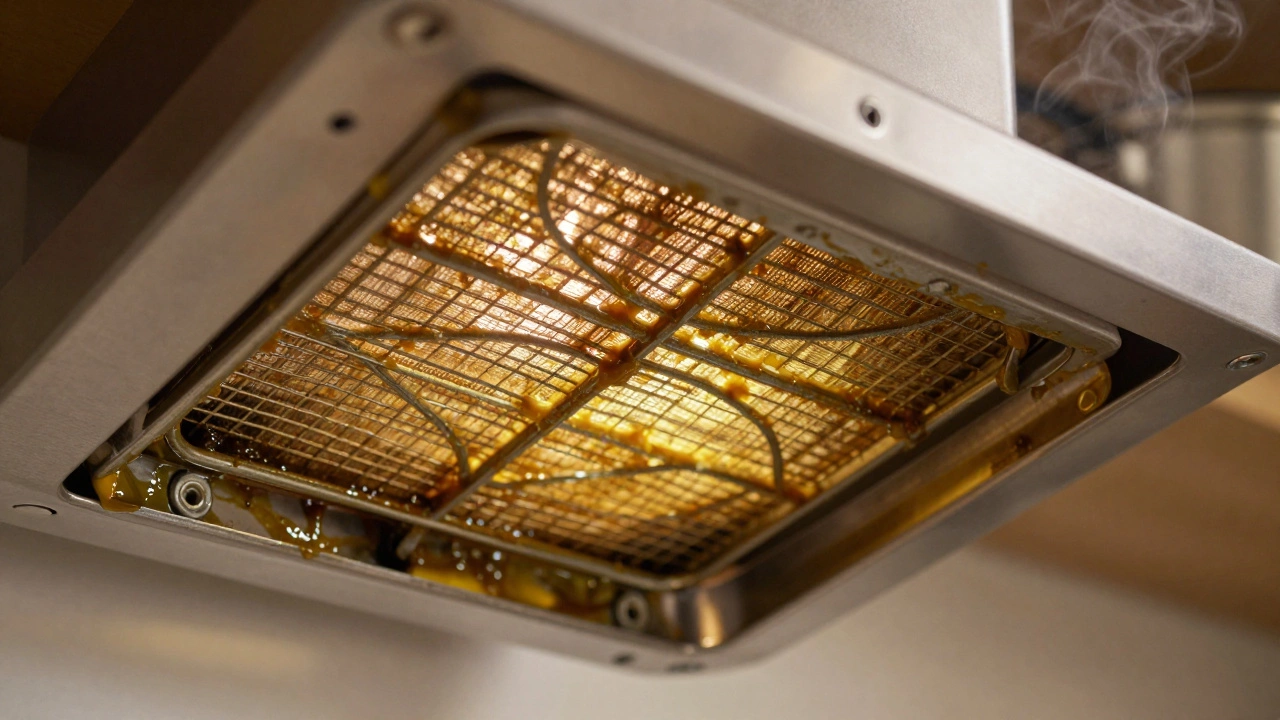
If the fan is running but isn’t pulling air effectively, the problem is rarely the motor itself. It’s usually blockage. Grease builds up on the filters and inside the ductwork over time. In fact, studies by ventilation experts suggest that up to 70% of "broken" extractor fans are simply dirty ones. If you haven’t cleaned your grease filters in six months, stop reading here and go wash them. That solves the majority of cases.
Noise is another common complaint. A rattling sound often means a loose screw or a blade hitting the housing due to bent metal. A high-pitched whine usually points to worn bearings in the motor. Electrical failure-where the fan won’t turn on at all-is typically caused by a tripped circuit breaker, a faulty switch, or a burned-out capacitor. These are distinct problems requiring very different solutions.
The Simple Fixes: What You Can Do Yourself
You don’t always need a professional for every squeak or slowdown. Many extractor fan repairs are straightforward tasks that save you money and get your kitchen back to normal quickly. However, safety first: always turn off the power at the main switch before touching any internal components.
- Clean the Grease Filters: This is the #1 maintenance task. Metal mesh filters can be soaked in hot soapy water or even put in the dishwasher (check the manual). Plastic charcoal filters cannot be washed; they need replacing every 3-6 months depending on usage.
- Tighten Loose Parts: Open the front panel and check if the fan blades are secure. Sometimes vibration loosens the retaining nut. Use a screwdriver to tighten any visible screws on the housing.
- Check the Ducting: If you have an external vent, ensure the outdoor flap isn’t stuck shut by bird nests or debris. A blocked duct renders even the most powerful motor useless.
- Inspect the Switch: If the fan doesn’t respond to the wall switch, try bypassing the switch temporarily (with power off) to see if the fan runs directly. If it does, your issue is the cheap plastic switch, not the expensive fan.
These steps cost almost nothing but time. If cleaning the filters and tightening screws doesn’t restore performance, you’re likely looking at a component failure that requires more technical skill.
When Professional Repair Makes Sense
Sometimes, the issue is deeper than dirt. If your fan is making a grinding noise, the motor bearings are likely shot. If it smells like burning plastic, the wiring or motor windings may be damaged. These are jobs for a qualified electrician or appliance repair technician.
In New Zealand, hiring a licensed electrician for hard-wired appliances is not just recommended-it’s often required by insurance policies if something goes wrong. A professional can diagnose issues like:
- Motor Replacement: Motors can sometimes be replaced individually without buying a whole new fan. This is viable if the housing and blades are in good condition.
- Capacitor Swap: Single-phase motors use capacitors to start spinning. These wear out over time and are inexpensive to replace, but require handling live voltage risks if done incorrectly.
- Wiring Repairs: Frayed wires behind the panel can cause intermittent operation. An electrician can trace and fix these safely.
The cost for a professional visit in Auckland typically ranges from $80 to $150 for the call-out fee, plus parts. If the repair quote exceeds $200, you need to pause and compare it to the price of a new unit.
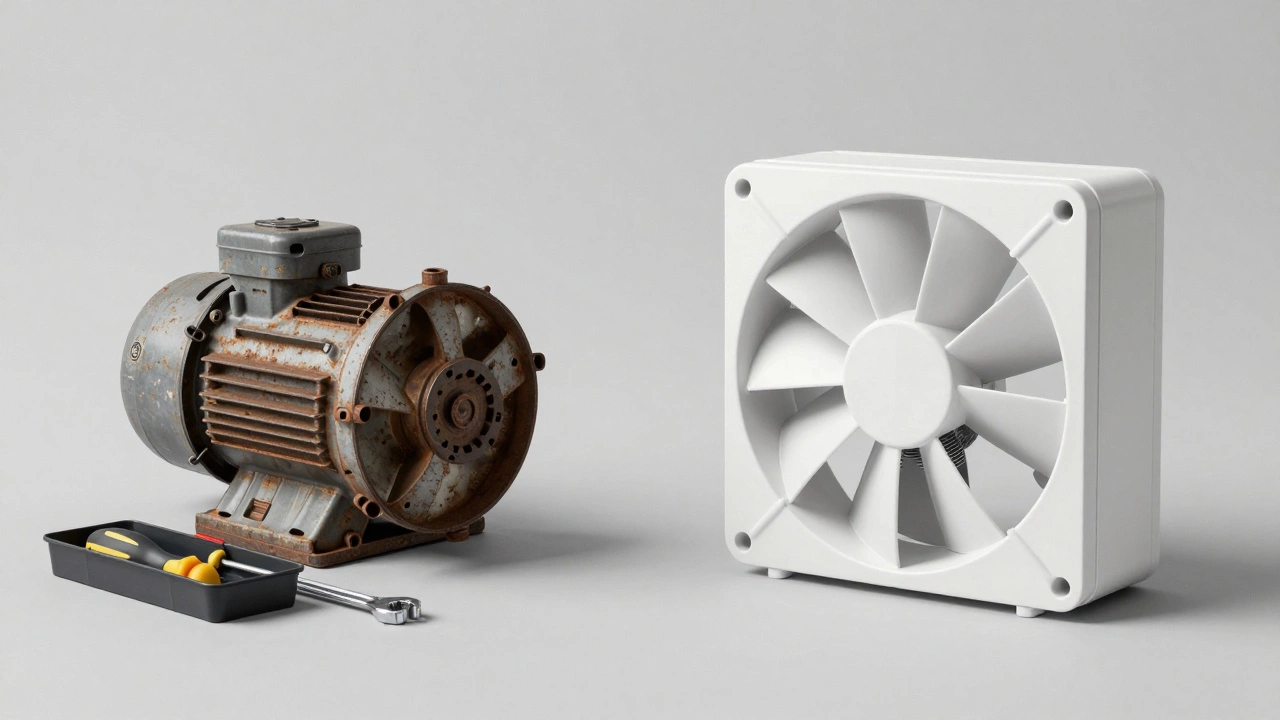
Repair vs. Replace: The Economic Decision
This is the crux of the matter. Just because a fan *can* be repaired doesn’t mean it *should*. Here’s a simple framework to help you decide.
| Factor | Repair | Replace |
|---|---|---|
| Cost | $80 - $250 (parts + labor) | $150 - $600+ (unit + installation) |
| Lifespan Extension | 1-3 years | 10-15 years |
| Efficiency | Same as old unit | Often improved (newer models are quieter/more efficient) |
| Warranty | Usually 90 days on parts/labor | 2-5 years manufacturer warranty |
| Best For | High-end units, minor faults, budget constraints | Old units (>10 yrs), noisy fans, frequent breakdowns |
If your extractor fan is more than 10 years old, the technology has moved on. Modern fans are significantly quieter and more energy-efficient. Spending $200 to fix a 15-year-old fan that still consumes high power and makes noise is rarely a wise investment. On the other hand, if you have a high-end integrated hood costing $1,000+, repairing a $50 motor makes perfect financial sense.
Also consider the type of fault. Motor bearing failure is a sign of end-of-life for the entire assembly. Capacitor failure is a minor hiccup. Grease buildup is maintenance. Knowing the difference saves you from being upsold on unnecessary replacements.

Signs You Should Stop Trying to Fix It
There are clear red flags that indicate your extractor fan is beyond saving. Ignoring these can lead to fire hazards or further damage to your kitchen cabinetry.
- Burning Smell: If you smell burning insulation or plastic while the fan is running, turn it off immediately. This indicates electrical shorts or overheating motors. Do not attempt to run it again until inspected.
- Visible Sparks: Any sparking from the switch or inside the unit is a serious fire risk. Call an electrician.
- Excessive Vibration: If the fan shakes the entire cabinet, the motor mount or shaft is likely damaged. This can crack tiles or loosen surrounding structures.
- Frequent Breakdowns: If you’ve had to repair the same fan twice in two years, it’s failing repeatedly. The cumulative cost of repairs will exceed the price of a new, reliable unit.
In Auckland’s climate, humidity accelerates corrosion. If you see rust inside the motor housing or on the blades, the structural integrity is compromised. No amount of lubrication will fix corroded bearings.
Maintenance Tips to Avoid Future Repairs
The best way to save money on extractor fan repair is to prevent the need for it. Regular maintenance extends the life of your appliance by years. Here’s a simple routine to follow.
Clean the grease filters monthly if you cook daily. Use warm soapy water and a soft brush. Rinse thoroughly and let them dry completely before reinstalling. Wet filters reduce airflow and promote mold growth. For charcoal filters, replace them every three to six months. They trap odors but cannot be cleaned.
Run the fan for 10-15 minutes after cooking. This clears residual heat and moisture from the ductwork, preventing condensation buildup that leads to grease sticking to the interior surfaces. If you have an external vent, check the outdoor flap annually to ensure it opens freely and seals tightly when closed. A broken seal lets rain, pests, and cold air into your home.
Listen to your fan. Changes in pitch or volume are early warning signs. Addressing a slight rattle early by tightening screws prevents catastrophic bearing failure later. Prevention is always cheaper than cure.
How much does it cost to repair a kitchen extractor fan in Auckland?
The cost varies widely. A simple filter cleaning is free. A professional call-out fee ranges from $80 to $150. Replacing a motor or capacitor typically costs between $150 and $300 including parts and labor. If the repair exceeds $250, it’s often better to replace the entire unit, especially if it’s older than five years.
Can I replace the extractor fan motor myself?
It depends on your skill level and local regulations. In New Zealand, working with hard-wired electrical appliances should be done by a licensed electrician to comply with safety standards and insurance requirements. While some plug-in models allow user-replaceable motors, built-in hoods are connected to mains power. Attempting this yourself poses significant shock and fire risks.
Why is my extractor fan loud but still working?
Noise usually stems from three causes: dirty or clogged filters restricting airflow, loose screws or panels vibrating, or worn motor bearings. Start by cleaning the filters. If the noise persists, check for loose hardware. A grinding or high-pitched whine specifically indicates bearing wear, which eventually leads to motor failure.
How often should I clean extractor fan filters?
Metal grease filters should be cleaned every month if you cook frequently, or every two to three months for light use. Charcoal carbon filters, which absorb odors, cannot be washed and must be replaced every 3 to 6 months depending on how much you cook. Neglecting this leads to reduced suction and potential fire hazards from grease buildup.
Is it worth repairing a 10-year-old extractor fan?
Generally, no. Most extractor fans have a lifespan of 10 to 15 years. At 10 years old, components are worn, efficiency is low, and newer models offer better performance and lower noise levels. Unless it’s a very high-end custom unit, the cost of repair often approaches the price of a new, more efficient model with a fresh warranty.