Extractor Fan Diagnostic Tool
What is the main symptom you are experiencing?
Select the issue that best describes your extractor fan problem.
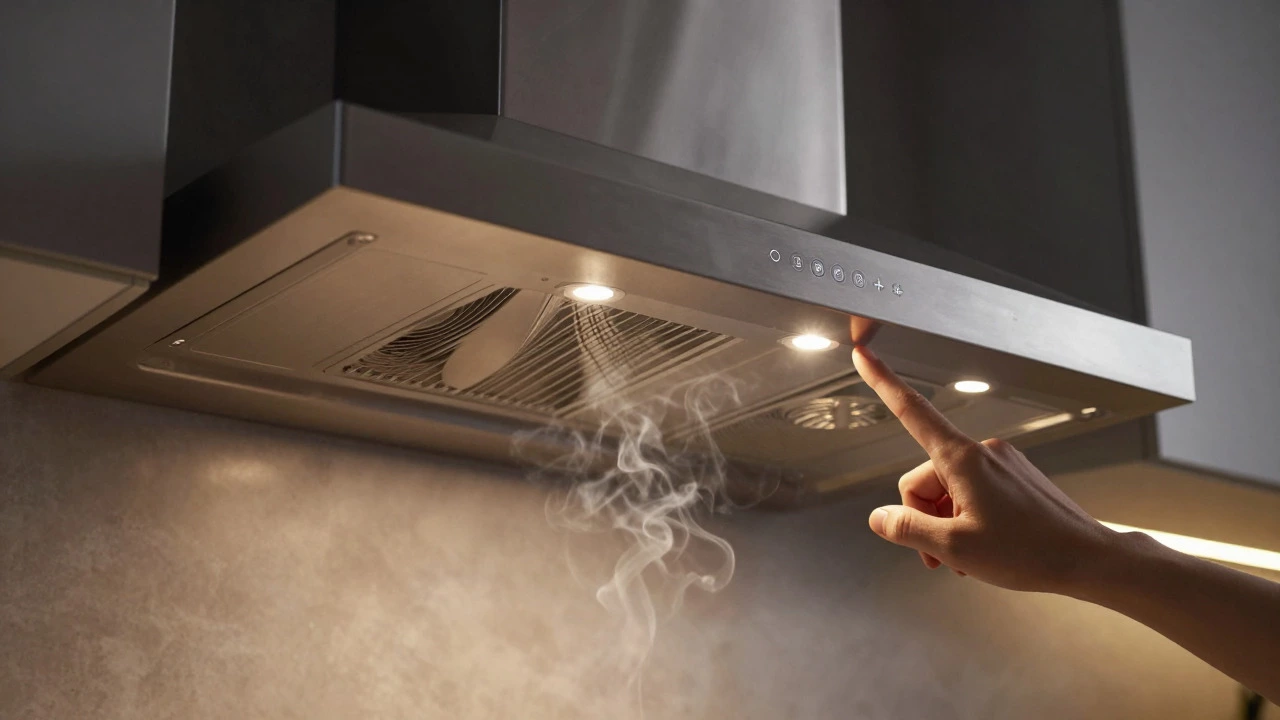
Nothing ruins dinner faster than a cloud of garlic smoke hanging in the air while your kitchen extractor fan sits there doing absolutely nothing. You press the button, maybe hear a faint click, but no air moves. Is it dead? Do you need an electrician? Or is it just clogged with years of greasy buildup?
Before you call for professional help or buy a replacement unit, you need to know how to test the system properly. Most issues aren't catastrophic motor failures; they are simple blockages, tripped switches, or loose connections. By following a logical diagnostic path, you can pinpoint exactly what is wrong and often fix it yourself with basic tools.
Safety First: Cut the Power
Before you touch any wires or remove panels, safety is non-negotiable. Electricity and water (or condensation) don't mix well, and kitchens are humid environments. Go to your consumer unit-the fuse box-and switch off the circuit breaker that supplies power to your kitchen appliances. If you aren't sure which one it is, turn off the main switch. Use a voltage tester on the fan’s wiring terminals to confirm there is no live current running through them. This step prevents shocks and ensures that if the fan suddenly starts spinning during inspection, it won’t catch your fingers.
Step 1: Check the Grease Filters
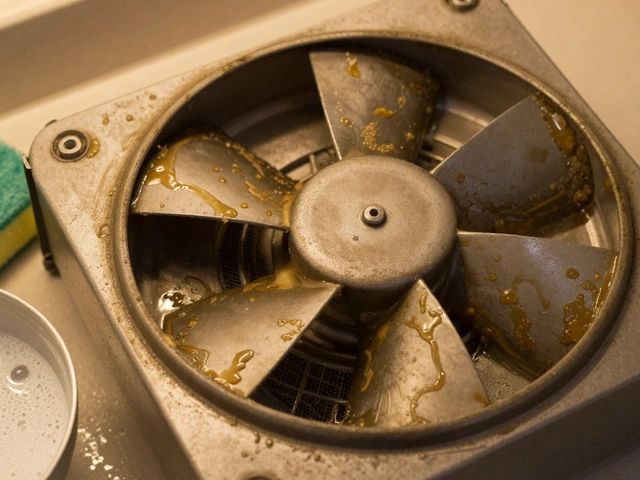
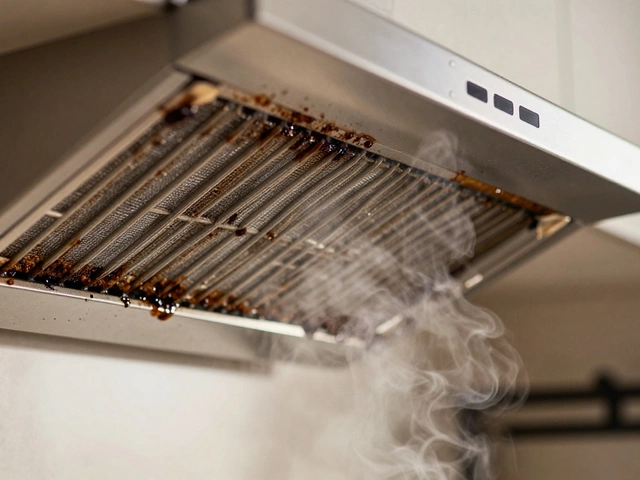
The most common reason an extractor fan seems broken is that it is suffocating. Over time, cooking oils coat the metal mesh filters, creating a solid barrier that air cannot pass through. The motor might be running perfectly fine, but because the airflow is blocked, you feel no suction at the source.
- Remove the filters: Slide out the baffle filters or pull down the charcoal/mesh pads depending on your model.
- Inspect visually: Hold them up to the light. If you can barely see through the mesh, they are too dirty.
- Clean thoroughly: Soak them in hot soapy water with a degreaser like Fairy Liquid or a specialized appliance cleaner for 30 minutes. Scrub with a soft brush to dislodge hardened grease.
- Dry completely: Ensure they are bone dry before reinstalling to prevent mold growth.
After cleaning, turn the power back on temporarily to test. If the fan now pulls air effectively, your problem was simply maintenance, not repair.
Step 2: Inspect the Switch and Control Panel
If the filters are clean but the fan still won't start, the issue might be in how you are telling it to start. Wall-mounted switches, remote controls, or integrated control panels on the hood itself can fail independently of the motor.
For wall switches, listen closely when you flip them. A healthy switch produces a distinct mechanical 'click.' If it feels mushy or silent, the internal contacts may be worn out. You can bypass this by testing the fan directly if accessible, but usually, replacing the switch is a cheap and easy fix. For integrated touch panels or rotary dials on the hood, check for error codes on the display. Some modern units have self-diagnostic modes that flash specific patterns to indicate sensor faults or communication errors between the panel and the motor board.

Step 3: Listen and Feel for Motor Activity
Now we get to the heart of the machine. With the filters removed and the power restored, turn the fan on. Place your hand near the outlet vent (not inside it) and listen carefully.
Scenario A: You hear humming but no airflow. This suggests the motor is receiving power but the impeller (the fan blade assembly) is stuck. This is often caused by grease buildup on the bearings or a seized capacitor. Gently try to rotate the impeller by hand (with power OFF). If it doesn't spin freely, it needs lubrication or cleaning. If it spins freely but hums without moving when powered, the start capacitor has likely failed.
Scenario B: Silence. If there is no sound at all, the power isn't reaching the motor, or the motor windings have burned out. Proceed to the electrical checks below.
Step 4: Electrical Continuity Testing
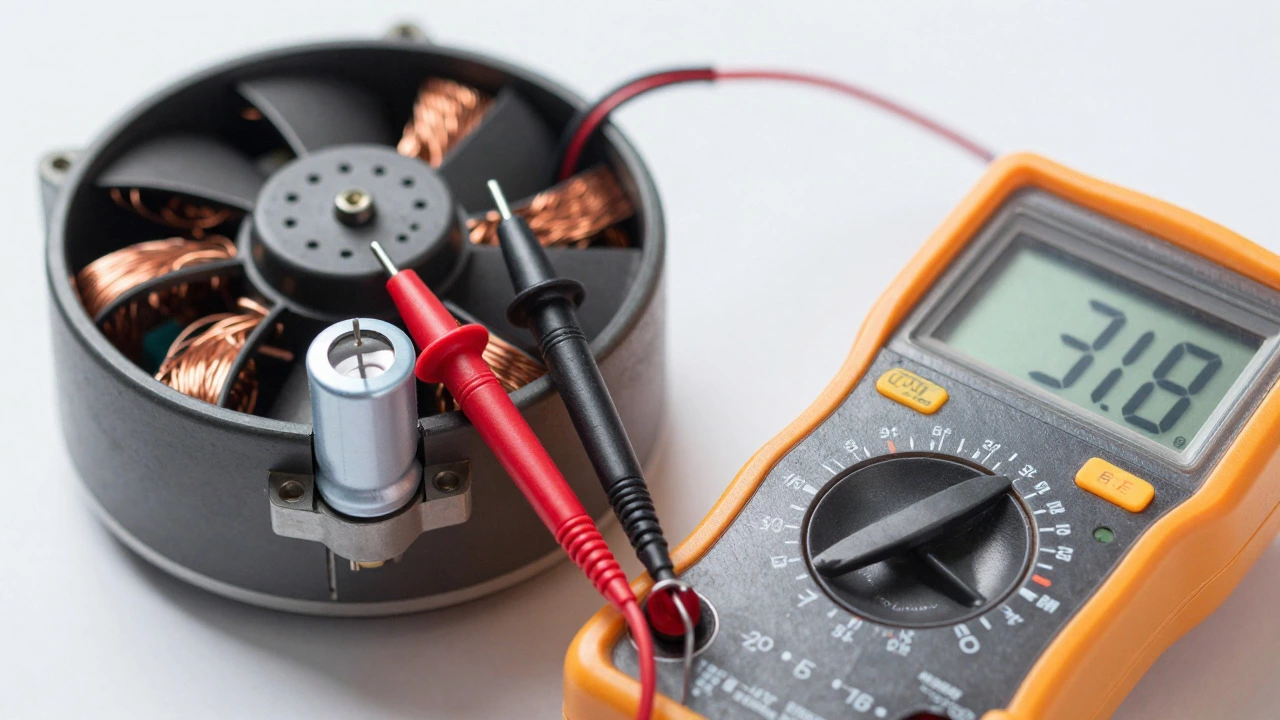
To determine if the fault lies in the wiring, the switch, or the motor itself, you will need a multimeter. Set it to the resistance (Ohms) setting. You are looking for continuity-a complete path for electricity to flow.
- Test the switch: Disconnect the wires from the switch terminals. Probe across the input and output terminals while flipping the switch. It should show low resistance (near zero) when 'on' and infinite resistance when 'off.'
- Test the motor windings: Locate the motor terminals. Measure resistance between the live wire terminal and the earth/neutral. A reading of infinity means the circuit is open (broken wire or burnt motor). A very low reading close to zero might indicate a short circuit.
- Check the capacitor: If your fan has a visible capacitor (a small cylindrical component), discharge it safely first. Then measure its capacitance if your multimeter supports it, or check for continuity. A bulging or leaking capacitor is a definite sign of failure.
| Symptom | Likely Cause | Action Required |
|---|---|---|
| No airflow, but motor runs | Clogged filters or ductwork | Clean filters and inspect ducting |
| Humming noise, no rotation | Seized bearings or bad capacitor | Lubricate bearings or replace capacitor |
| Total silence | Tripped breaker, faulty switch, or dead motor | Check power supply and switch continuity |
| Burning smell | Overheated motor or melted insulation | Turn off immediately; replace motor |
| Excessive vibration | Unbalanced impeller or loose mounting | Rebalance blades or tighten screws |
Step 5: Inspect the Ductwork and Ventilation Path
Even if the motor is powerful, a blocked exhaust path renders it useless. For ducted systems, trace the pipe from the fan to the external wall vent. Look for kinks in flexible ducting, bird nests in the external grille, or debris accumulation inside rigid pipes. Detachable sections can be inspected with a flashlight. If the external flap valve is stuck shut due to rust or grease, the fan will struggle against the closed door, reducing efficiency significantly. Lubricate the hinge or replace the valve plate if necessary.
For recirculating models (those using charcoal filters instead of ducts), ensure the carbon filters are fresh. Charcoal filters saturate over 3-6 months depending on usage. Once saturated, they trap odors but restrict airflow, mimicking a weak motor performance.
When to Call a Professional
While many issues are DIY-friendly, some require expertise. If you have confirmed the switch and wiring are good, but the motor shows no continuity or smells of burning, the motor is likely dead. Replacing the entire fan unit is often more cost-effective than sourcing a new motor for older models. Additionally, if your fan is hardwired into a complex multi-speed controller or integrated into a smart home system, professional diagnosis saves time and prevents further damage. Always hire a certified electrician for any work involving fixed wiring behind walls or complex control boards.
How often should I clean my extractor fan filters?
You should clean metal grease filters every 4 to 8 weeks, depending on how much you cook. If you fry food frequently, aim for monthly cleaning. Charcoal filters in recirculating hoods should be replaced every 3 to 6 months as they cannot be washed.
Can I use WD-40 to fix a noisy extractor fan?
Standard WD-40 is a solvent, not a long-term lubricant. It might stop the noise temporarily but can attract more dust and degrade over time. Use a silicone-based spray or white lithium grease specifically designed for electric motors and bearings for lasting results.
Why does my extractor fan vibrate excessively?
Vibration is usually caused by an unbalanced impeller due to uneven grease buildup, or loose mounting screws. Clean the fan blades thoroughly to remove heavy grease patches. If the vibration persists, check that all mounting brackets are tight and that the fan is securely attached to the cabinet or wall.
Is it worth repairing an old extractor fan or buying a new one?
If the repair cost exceeds 50% of the price of a new unit, or if the fan is over 10 years old, replacement is usually better. Newer models are significantly quieter, more energy-efficient, and easier to clean. However, if only a capacitor or switch is faulty, repair is highly cost-effective.
How do I test if the capacitor is bad?
A bad capacitor often looks swollen or leaks fluid. Electrically, you need a multimeter with capacitance measurement. Disconnect the capacitor, discharge it, and measure its microfarad (uF) rating. If the reading is significantly lower than the printed value (usually +/- 10%), it needs replacement. Visual inspection is often enough for obvious failures.