Extractor Fan Diagnostic Tool
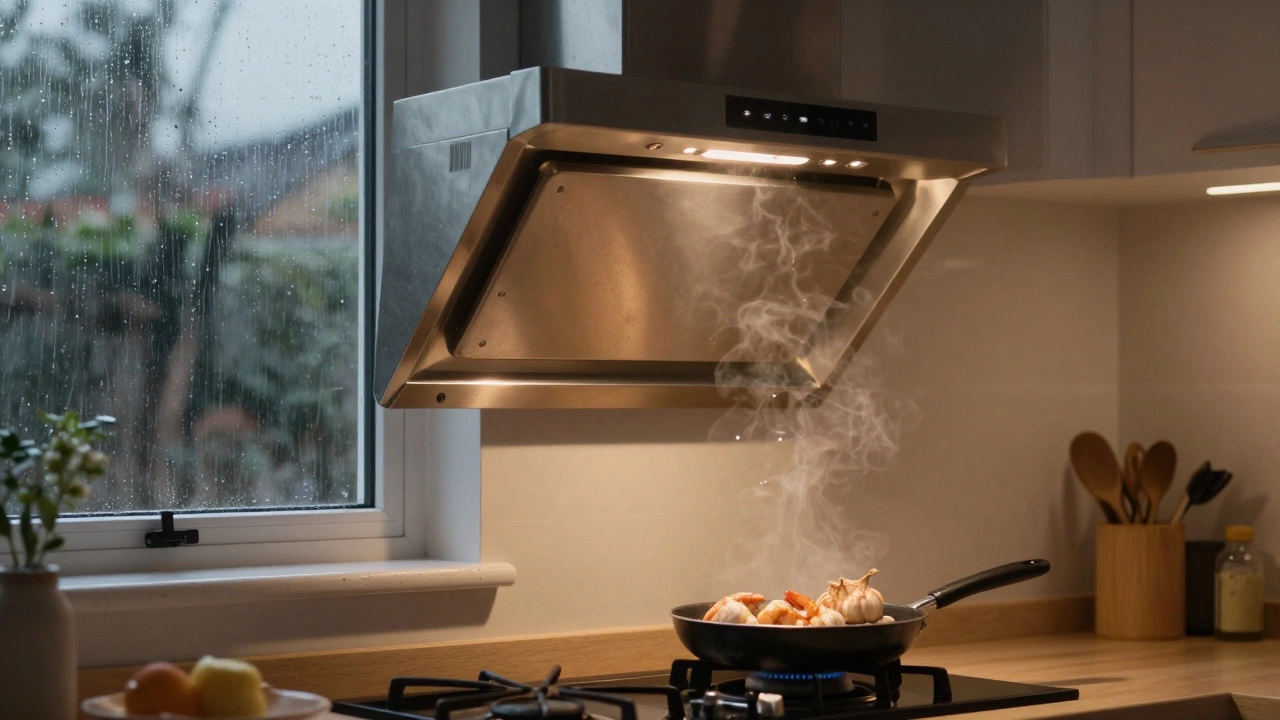
It’s the middle of a rainy Auckland evening, you’re frying up some garlic prawns, and suddenly your kitchen smells like a damp gym sock. You reach for the switch above your stove, but nothing happens. Or worse, it hums loudly while pushing out zero air. That sinking feeling is familiar to every home cook. An extractor fan is one of those appliances you only notice when it fails. But before you call a technician or buy a new unit, there are several things you can check yourself. Most extractor fan issues are simple fixes involving dust buildup, loose connections, or a tripped safety switch.
In this guide, we’ll walk through exactly how to troubleshoot an extractor fan. We’ll start with the safest, easiest checks and move toward more technical diagnostics. By the end, you’ll know whether your fan needs a quick cleaning, a part replacement, or professional attention.
Quick Summary / Key Takeaways
- Power first: Check if the fan is plugged in, switched on at the wall, and if the circuit breaker has tripped.
- Cleanliness matters: Grease and dust clog filters and impellers, causing noise and poor airflow.
- Listen to the sound: A humming fan usually means a seized motor or jammed blade; silence often points to electrical failure.
- Check the ducting: Blocked or disconnected pipes stop air from escaping, even if the fan works perfectly.
- Safety warning: Always turn off power at the main board before opening any electrical covers.
Step 1: Check the Power Supply
Before assuming the motor is dead, verify that electricity is actually reaching the fan. It sounds obvious, but many "broken" fans are simply unplugged or switched off. If your extractor fan is plug-in type (common in rental properties or under-counter models), ensure the plug is firmly seated. For hardwired ceiling-mounted units, check the light switch or dedicated wall switch controlling the fan. Sometimes, these switches wear out over time.
If the switch looks fine, head to your fuse box or circuit breaker panel. Look for a breaker labeled "Kitchen," "Lights," or "Appliances." If it’s in the middle position or flipped down, reset it by turning it fully off, then back on. If the breaker trips again immediately after resetting, stop. This indicates a short circuit within the fan or wiring, which requires a licensed electrician. Don’t keep forcing it.
Why does my extractor fan work intermittently?
Intermittent operation often points to a loose wire connection inside the junction box or a failing capacitor. Heat expansion can cause wires to disconnect temporarily. Inspect connections only if you are comfortable with basic electrical safety.
Step 2: Inspect and Clean the Filters
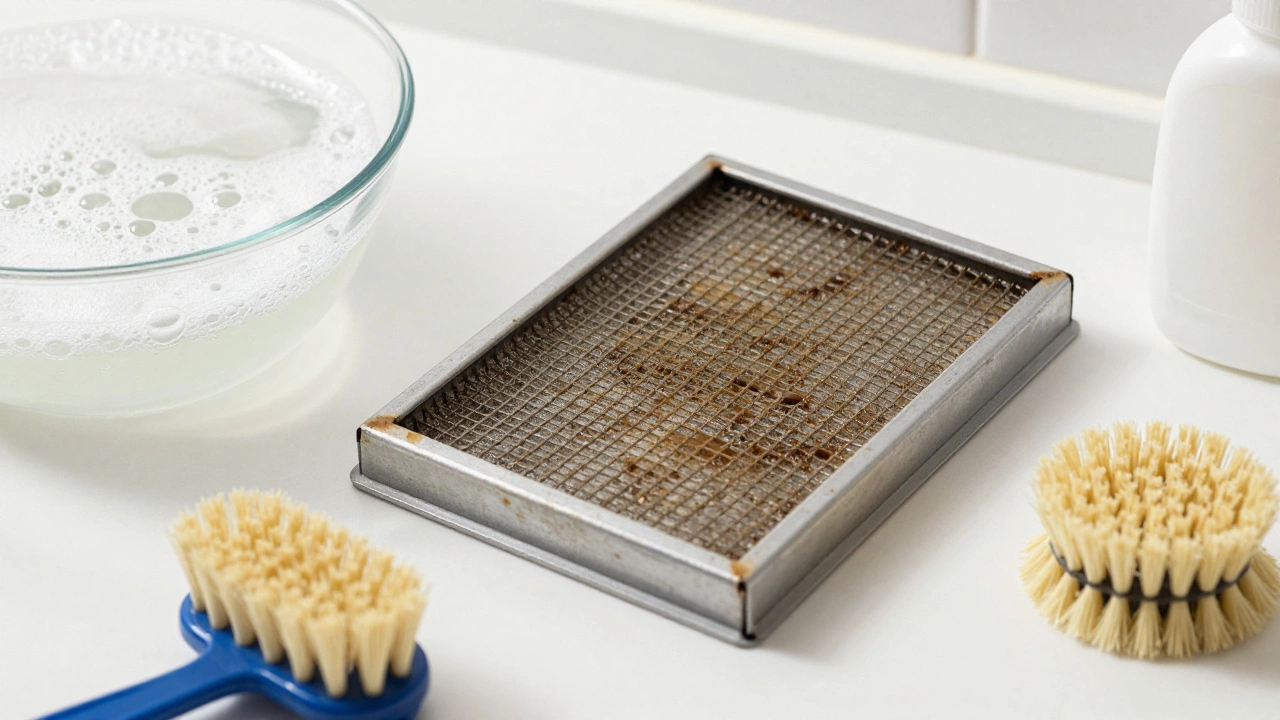
The most common reason for reduced suction isn’t a broken motor-it’s a blocked filter. Metal mesh filters trap grease, while charcoal filters absorb odors. Both get clogged over time. In a busy kitchen, you should clean metal filters every month. Charcoal filters cannot be washed; they need replacing every six to twelve months depending on usage.
To clean a metal filter, remove it from the housing. Soak it in warm water mixed with dish soap or a degreaser. Use a soft brush to scrub away hardened grease. Rinse thoroughly and let it dry completely before reinstalling. A wet filter will rust and reduce efficiency. If the filter is bent or damaged, replace it. Even a small hole allows grease to bypass the filter and coat the internal fan blades, leading to heavier maintenance later.
Step 3: Listen for Unusual Noises
Sound tells you a lot about what’s wrong. Turn the fan on and listen closely. Is it silent? Humming? Grinding? Squealing?
- Silence: The motor isn’t receiving power, or the motor itself has burned out. Check power supply first.
- Humming but no spin: The motor is getting power, but the impeller (fan blade) is stuck. This could be due to grease buildup, a foreign object, or a bad capacitor.
- Grinding or rattling: Something is physically hitting the fan blades. Check for loose screws, detached parts, or debris lodged in the housing.
- Squealing: Often caused by worn bearings in the motor shaft. This is a mechanical issue that usually requires motor replacement.
If the fan hums but doesn’t spin, try gently rotating the impeller by hand (with power OFF). If it feels stiff or gritty, grease has likely built up on the bearings or blades. You may need to disassemble the fan to clean the interior.
Step 4: Check the Ductwork
An extractor fan can’t do its job if the air has nowhere to go. Many people overlook the ducting-the pipe that carries air outside. If your fan blows air into the room instead of out, or if suction feels weak despite a clean filter, the duct might be blocked.
Inspect the external vent cap on your roof or wall. Is it covered in leaves, bird nests, or ice? Clear any obstructions. Inside, check the flexible duct connecting the fan to the wall. These ducts often sag or kink, especially if installed poorly. A sharp bend restricts airflow significantly. Straighten any kinks. If the duct is torn or disconnected, seal gaps with aluminum tape (not standard duct tape, which degrades quickly).
For recirculating fans (those without external ducts), ensure the charcoal filter is properly seated. If it’s missing or misaligned, air won’t pass through correctly.
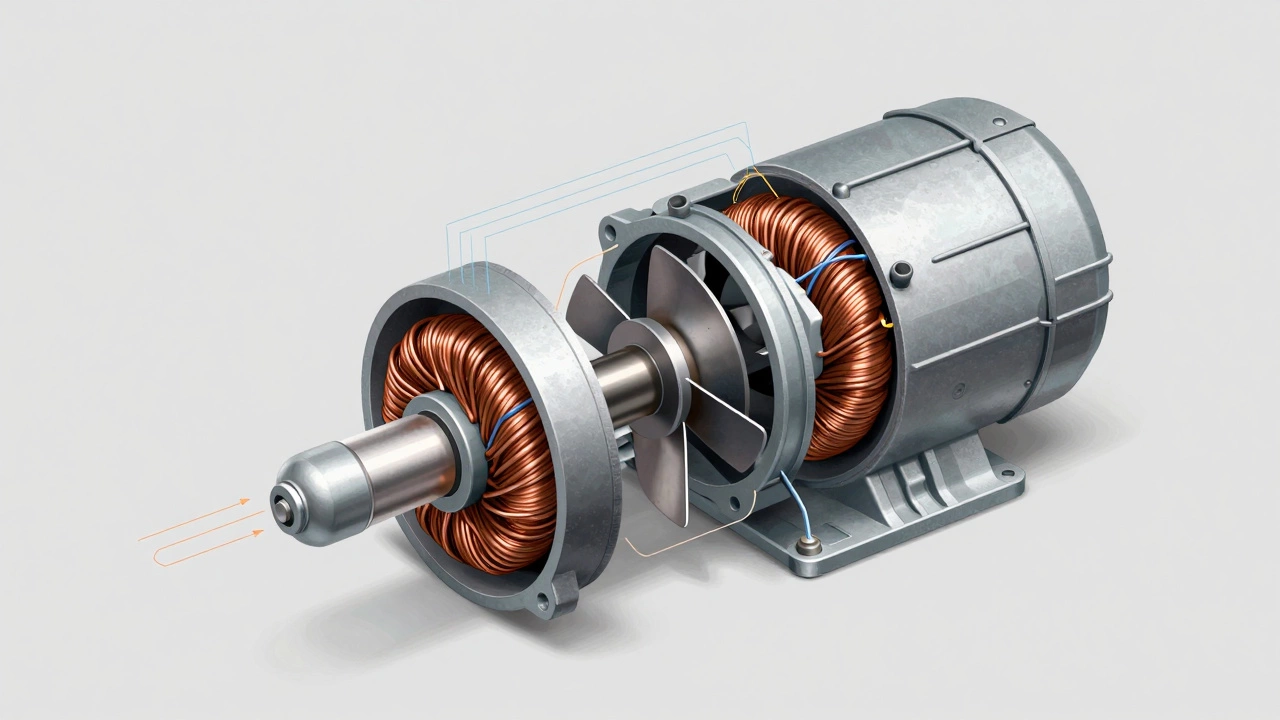
Step 5: Test the Motor and Capacitor
If power, filters, and ducting are all clear, the issue likely lies within the motor assembly. Most extractor fans use a single-speed or multi-speed AC motor. Over time, capacitors-which help start the motor-can fail. A weak capacitor causes slow startup or failure to start.
You can test a capacitor with a multimeter set to capacitance mode. Disconnect power, remove the old capacitor, and measure its value. Compare it to the rating printed on the component (e.g., 4μF ± 10%). If the reading is far below the rated value, replace it. Capacitors are inexpensive and easy to swap if you have basic DIY skills.
If the capacitor is fine, the motor windings may be open or shorted. Use a multimeter to check continuity across the motor terminals. Infinite resistance means the winding is broken. Zero resistance suggests a short. In either case, replacing the entire motor assembly is usually more cost-effective than repairing individual windings.
| Symptom | Likely Cause | Fix |
|---|---|---|
| No power | Tripped breaker, loose wire, faulty switch | Reset breaker, tighten connections, replace switch |
| Weak suction | Clogged filter, blocked duct, dirty impeller | Clean filter, clear duct, wash fan blades |
| Loud noise | Loose parts, worn bearings, unbalanced blade | Tighten screws, lubricate bearings, replace motor |
| Won’t start | Bad capacitor, seized motor, thermal overload | Replace capacitor, free impeller, let motor cool |
When to Call a Professional
DIY troubleshooting works for most minor issues. However, call a qualified technician if:
- You smell burning plastic or see smoke coming from the fan.
- The wiring inside the fan appears melted or charred.
- You’re uncomfortable working with live electrical components.
- The fan is mounted high on a ceiling and requires scaffolding or specialized tools to access.
- You’ve replaced the capacitor and cleaned everything, but the motor still doesn’t run.
Attempting complex electrical repairs without proper knowledge risks shock, fire, or voiding your warranty. In New Zealand, electrical work must comply with AS/NZS 3000 standards. If you’re unsure, hire a licensed electrician or appliance repair specialist.
Preventive Maintenance Tips
Regular care extends your extractor fan’s life and keeps it running efficiently. Here’s a simple routine:
- Clean filters monthly: Wash metal filters with soapy water. Replace charcoal filters as recommended by the manufacturer.
- Wipe the exterior: Use a damp cloth to remove grease from the fan cover and surrounding area. Avoid abrasive cleaners that scratch surfaces.
- Check ducting annually: Ensure vents are clear and ducts aren’t sagging or disconnected.
- Lubricate moving parts: Some motors have oil ports. Add a drop of lightweight machine oil every few years if specified by the manual.
- Run the fan during cooking: Turn it on before you start cooking and leave it running for 10-15 minutes afterward to clear residual moisture and grease.
A well-maintained extractor fan reduces kitchen humidity, prevents mold growth, and protects cabinetry from grease damage. It’s a small effort that pays off in comfort and longevity.
Can I use regular duct tape to fix a leaky extractor fan duct?
No. Regular duct tape loses adhesion quickly due to heat and moisture. Use aluminum foil tape or mastic sealant designed for HVAC systems for a durable, safe repair.
How often should I replace my extractor fan motor?
Motors typically last 10-15 years with proper maintenance. Replace only when tested faulty or making excessive noise. Premature replacement wastes money.
Is it safe to clean the fan blades without removing them?
It’s risky. Dust and grease can fall into the motor housing. Always remove the impeller assembly according to the manufacturer’s instructions for thorough cleaning.
What’s the difference between a recirculating and ducted extractor fan?
Ducted fans expel air outside via a pipe. Recirculating fans filter air internally using charcoal filters and return it to the room. Ducted fans are more effective for removing heat and moisture.
Why does my extractor fan vibrate excessively?
Vibration usually comes from an unbalanced impeller, loose mounting screws, or worn motor bearings. Tighten hardware and clean blades. Persistent vibration suggests bearing failure requiring motor replacement.