Oven Control Board Replacement Cost Calculator
Calculate Your Replacement Cost
Enter your details to see the total cost and whether it's worth replacing your oven control board.
Estimated Results
Enter your details to see estimated costs
When an electric oven starts acting up, the first thing most homeowners wonder is whether the Oven control board is the culprit and, if so, if swapping it out makes sense financially. The oven control board is the electronic module that manages heating elements, temperature sensors, and the user interface in an electric oven. In this guide we’ll walk through the tell‑tale signs of a failing board, how to confirm the problem, the real cost of a replacement, and when it’s smarter to call a professional instead of going DIY.
What Exactly Is an Oven Control Board?
An Electric oven relies on a control board to translate button presses or digital commands into precise heating cycles. Think of it as the oven’s brain: it receives input from the temperature sensor, the timer module, and safety devices like the high‑limit thermostat, then tells the bake or broil elements when to turn on, how long to stay on, and when to shut down. Modern ovens often have a single printed circuit board (PCB) that houses a micro‑controller, power transistors, relays, and a handful of protective components such as fuses.
Common Symptoms of a Failed Control Board
- Display stays blank, flickers, or shows error codes that don’t clear.
- Oven heats unevenly, or refuses to heat at all despite the dial being set correctly.
- Random shutdowns during cooking cycles.
- Clicking or buzzing noises from the back of the unit.
- Odor of burnt plastic or a melted fuse smell.
Many of these issues can also stem from a faulty thermostat or a blown fuse, so pinpointing the control board is only the first step.
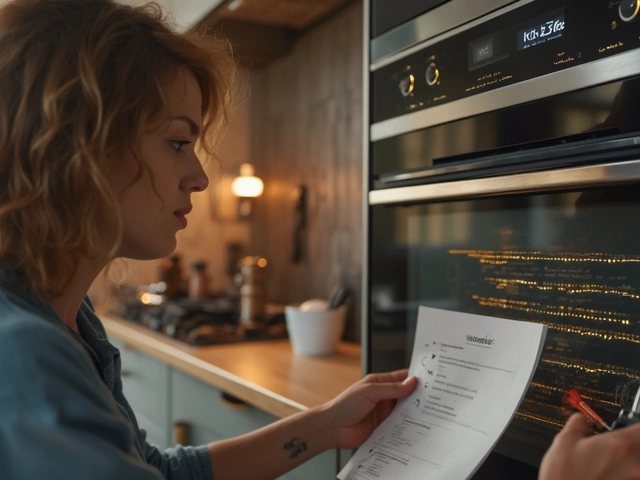
Diagnosing the Problem Before You Pull the Board
- Check the error code. Most ovens display a two‑digit code when something goes wrong. Reference the user manual to see if the code points to the control board (e.g., “E1” for board communication failure).
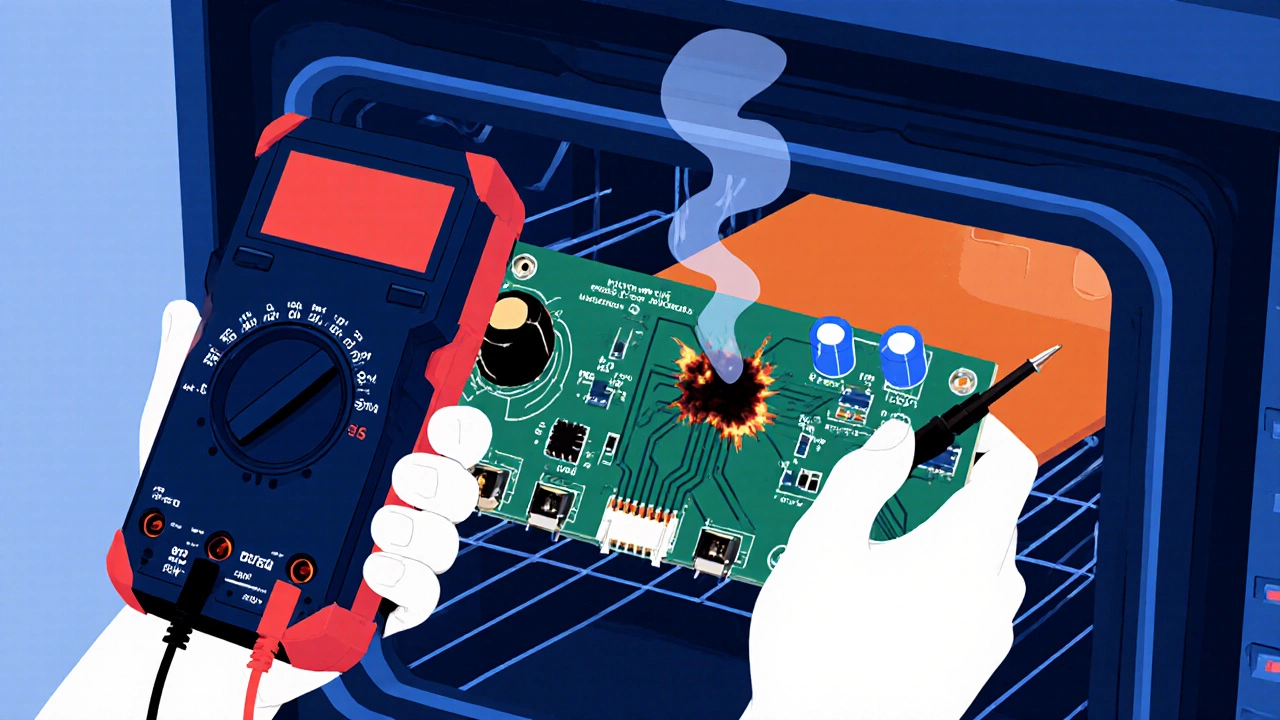
- Inspect the power supply. Use a multimeter to verify that the board is receiving the correct voltage (usually 120V or 230V depending on your region). A missing voltage often means a tripped breaker or a bad fuse, not the board itself.
- Test the heating elements. Disconnect the board and run a direct voltage test on the bake and broil elements. If they heat up, the board is likely at fault.
- Look for visual damage. Burnt traces, cracked solder joints, or bulging capacitors are clear signs that the PCB needs replacement.
If you’re not comfortable with electrical testing, a quick call to a professional technician can save time and avoid safety hazards.
How Much Does a Replacement Board Cost?
Replacement costs vary widely based on brand, model year, and where you buy the part. Below is a rough breakdown for 2025:
| Option | Parts cost | Labor (if hired) | Total estimated cost | Typical downtime |
|---|---|---|---|---|
| New OEM board | 150-300 | 80-120 | 230-420 | 1-2 days |
| Refurbished board | 90-150 | 80-120 | 170-270 | 2-3 days |
| Repair board (re-solder joints) | 30-70 | 80-120 | 110-190 | 1 day |
| Do‑it‑yourself (buy & install) | 150-300 | 0 | 150-300 | Half a day to a full day |
Keep in mind that a cheaper refurbished or repaired board may not carry a manufacturer warranty, which could affect long‑term reliability.
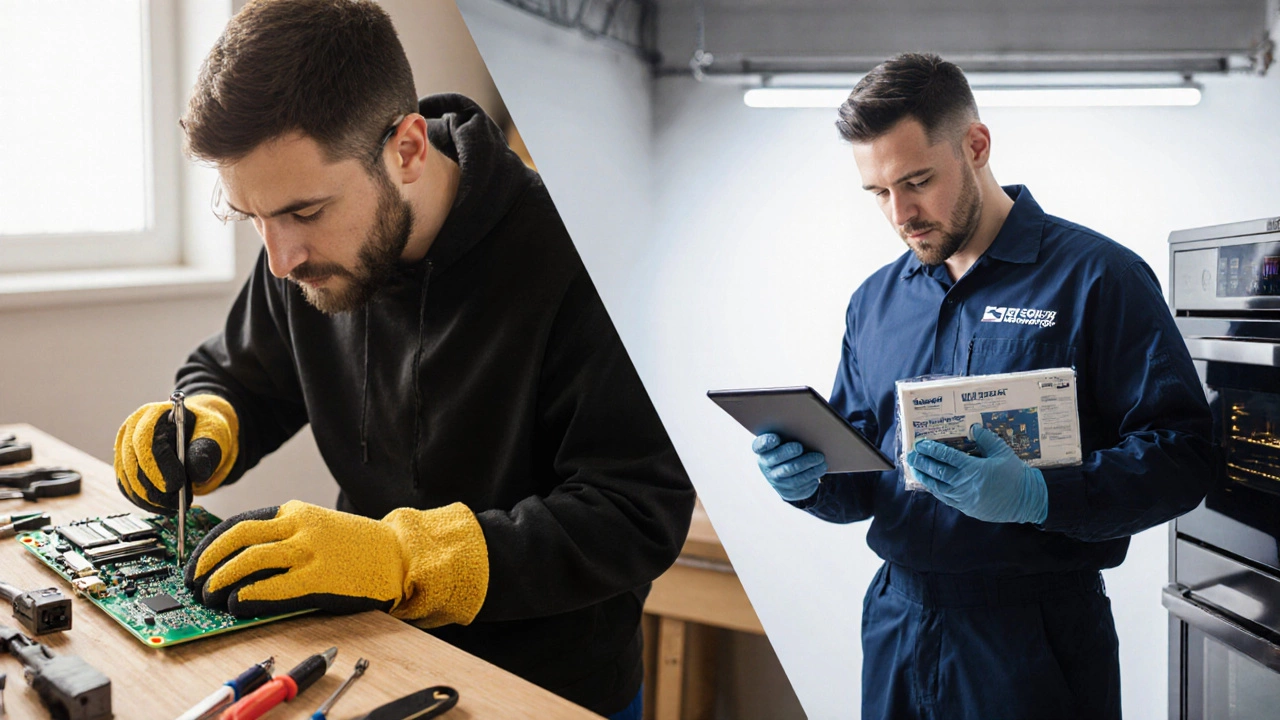
DIY Replacement vs. Hiring a Professional
Doing the swap yourself can save up to NZ$120 in labor, but it comes with risks:
- Safety. Ovens contain high voltage and capacitors that can retain charge even after unplugging.
- Voiding warranty. Many manufacturers require a certified technician for any internal work.
- Potential for new damage. Mishandling connectors or dropping the board can create additional faults.
If you have basic electrical knowledge, a screwdriver, and a multimeter, the DIY route is doable. Most replacement boards come with step‑by‑step instructions: disconnect power, remove the rear access panel, unplug the old board, and snap the new one into place. Re‑assemble, restore power, and run a test bake.
Professional services, on the other hand, offer:
- Access to OEM parts directly from manufacturers.
- Guarantees that the repair meets safety standards.
- Diagnostic expertise that can catch hidden issues like a failing temperature sensor or a cracked circuit board.
For a one‑off repair on an older appliance, a lower‑cost refurbished board installed by a technician often strikes the best balance of price and peace of mind.
Extending the Life of Your New Control Board
Even the best board can deteriorate faster if the oven is treated harshly. Follow these simple habits:
- Keep the interior clean. Food splatters can melt onto the board’s heat‑shield area, causing premature failure.
- Avoid power surges. Use a surge protector or a dedicated circuit for high‑draw appliances.
- Don’t force the door. A misaligned door can stress the latch switches, which feed back into the control board.
- Run regular self‑diagnostics. Many modern ovens have a “self‑test” mode that checks the board’s sensors and relays.
These practices can add several years to the lifespan of both the board and the oven itself.
Decision Checklist: Should You Replace the Board?
- Is the oven less than 10years old? New boards are usually worth it.
- Do you have the original model number and can you source an OEM part?
- Is the error code specifically pointing to the control board?
- Can you afford the combined parts+labor cost without stretching the budget?
- Do you have a qualified technician you trust, or are you comfortable with DIY?
If you answered “yes” to most of these, go ahead and replace the board. If the oven is nearing the end of its typical 15‑year lifespan, compare the total cost to the price of a new, more energy‑efficient model.
Frequently Asked Questions
How can I tell if the error code means the control board is bad?
Most manufacturers list error codes in the user manual. Codes that reference “board,” “communication,” or a specific “E‑” number usually point to the control board. Cross‑checking the code with the manual will confirm if the board is the suspect.
Can I use a generic control board instead of an OEM part?
A generic board may fit physically, but firmware differences can cause functionality loss or safety issues. OEM parts guarantee proper communication with the oven’s sensors and safety systems, so they are the safest bet.
What safety gear should I wear when replacing the board?
Wear insulated gloves, safety glasses, and ensure the oven is unplugged at the wall. If you must access the back panel, also turn off the circuit breaker to eliminate stray voltage.
Is it worth repairing a cracked solder joint on the board?
If the crack is isolated and you have soldering experience, a repair can cost as little as NZ$30. However, hidden damage is common, and a repaired board may fail again within months. We usually recommend a full board replacement for reliable long‑term performance.
How long does a professional repair usually take?
A qualified technician can diagnose, order the part, and install a new board within 1-2 business days. Same‑day service is possible for popular models if the part is in stock.