Oven Repair: How Easy Is It to Fix Common Issues?
Discover how to diagnose and fix common oven problems yourself, learn safety tips, costs, and when to call a pro. A practical guide for easy oven repair.
Continue reading...Got an oven that won’t heat, bakes unevenly, or shows strange error codes? Before you call a pro, try these easy checks. Most oven faults are caused by a bad heating element, a faulty thermostat, or a simple wiring glitch. With a screwdriver, a multimeter and a bit of patience, you can often solve the problem and save a few pounds.
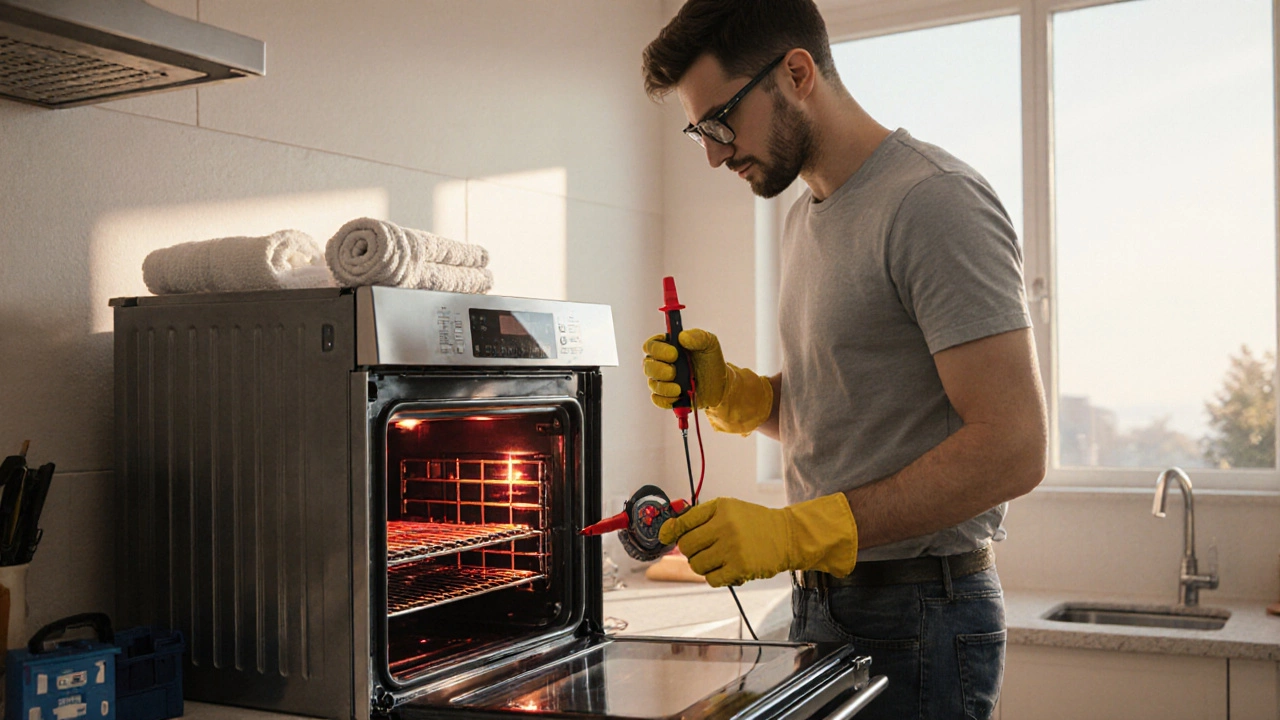
Start by turning the oven off at the mains. Safety first – a live oven can give you a nasty shock. Open the back panel (usually a couple of screws) and look for obvious signs: burnt wires, loose connections or a broken heating coil.
If everything looks okay, grab a multimeter. Set it to the resistance (Ω) mode and test the heating element. A healthy element reads between 10 and 30 ohms. Anything higher or infinite means the coil is broken and needs replacing.
Next, check the thermostat. Most electric ovens have a temperature sensor that looks like a thin metal rod. Disconnect the sensor and test it with the multimeter. It should show around 1 kΩ at room temperature and drop as it gets hotter. A constant reading indicates a bad sensor.
While you’re at it, give the oven’s control board a quick visual once‑over. Look for burnt spots or swollen capacitors. Those are clear signs that the electronics need a professional’s touch.
If the heating element is bad, order the exact part using your oven’s model number. Replacing it is straightforward: unscrew the old coil, disconnect the wires, slot the new one in, and tighten the screws. Re‑assemble the back panel and test the oven on a low bake setting. You should feel the heat within a few minutes.
A faulty thermostat is just as easy to swap. Most sensors clip into a socket, so you can pull the old one out and snap the new one in. Make sure the wires are securely attached; a loose connection can cause the oven to think it’s at the right temperature when it isn’t.
If the problem turned out to be a loose wire or a blown fuse, simply replace the fuse with one of the same rating. Tighten any loose connections with a screwdriver. A good connection will stop the oven from cutting out mid‑cycle.
After any repair, run a short test bake (180 °C for 15 minutes) to confirm the oven heats evenly. Check that the timer and display work as expected. If the oven still misbehaves, the control board or wiring may be the culprit – that’s where a certified technician should step in.
Overall, most DIY oven fixes boil down to three things: check the element, test the thermostat, and secure the wiring. Keep a small toolbox handy, note your oven’s model, and always unplug before you start. With these steps, you’ll know exactly what’s wrong and whether it’s a quick fix or a job for the pros. Happy cooking!
Discover how to diagnose and fix common oven problems yourself, learn safety tips, costs, and when to call a pro. A practical guide for easy oven repair.
Continue reading...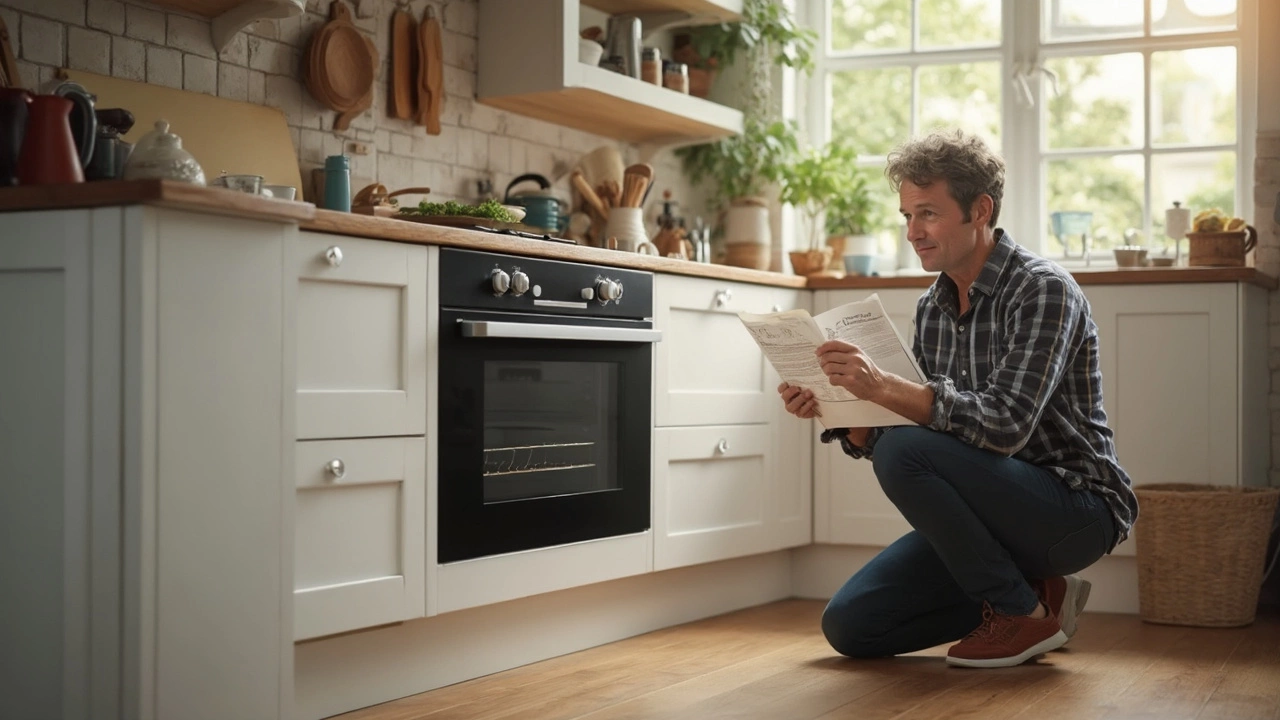
Curious if your electric oven is fixable? This article breaks down common problems, signs you need repair, and when to call a pro. Learn how to troubleshoot at home, spot warning signs, and extend the life of your oven with practical tips. Get clear advice whether you’re a DIYer or someone who prefers expert help. Save money and avoid kitchen chaos with smart, direct guidance.
Continue reading...