
Exhaust Fan Repair vs. Replace Calculator
Diagnostic Wizard
Fill in the details to see if you should repair or replace your exhaust fan.
Estimated Repair Cost:
Your bathroom smells like a damp gym locker, or your kitchen is filled with the lingering scent of burnt toast. You reach for the switch, and the exhaust fan sputters, groans, or does absolutely nothing. It’s frustrating. Before you call out a technician or buy a brand-new unit, ask yourself: can this thing actually be fixed?
The short answer is yes. In most cases, an exhaust fan a ventilation device that removes stale air, moisture, and odors from indoor spaces can be repaired rather than replaced. Whether it’s a clogged filter, a dusty blade, or a worn-out capacitor, many issues are simple fixes. However, there are times when the cost of repair outweighs the value of the unit.
Diagnosing the Problem: Is It Worth Fixing?
Before you unscrew any panels, you need to figure out what’s wrong. Most failures fall into three categories: airflow issues, electrical faults, or mechanical wear. Start by listening. Does the motor hum but the blades don’t spin? That’s usually a mechanical blockage or a bad capacitor. Does it make no sound at all? That points to an electrical issue-either the switch, the wiring, or the motor itself has failed.
If the fan runs but doesn’t move air, check the ductwork. A bird’s nest in the vent or a collapsed flexible duct can stop airflow completely. These are easy fixes if you have access to the exterior vent cap. If the noise is loud-screeching, rattling, or grinding-the bearings might be shot, or debris might be hitting the blades.
Ask yourself these questions before proceeding:
- How old is the fan? Units older than 10-15 years often have obsolete parts. Finding a replacement motor for a 20-year-old model can be harder than buying a new fan.
- What’s the cost of parts vs. replacement? A new basic bathroom fan costs between $50 and $150. If the repair requires a new motor ($80+) plus labor, replacement makes more sense.
- Do you have the tools? Basic repairs require a screwdriver, multimeter, and possibly a ladder. If you’re not comfortable working near ceiling joists or electricity, hire a pro.
Common Fixes You Can Do Yourself
Many people throw away perfectly good fans because they didn’t know how to clean them. Dust buildup is the number one killer of household ventilation systems. Here’s how to tackle the most common problems without spending a dime.
Cleaning the Blades and Housing
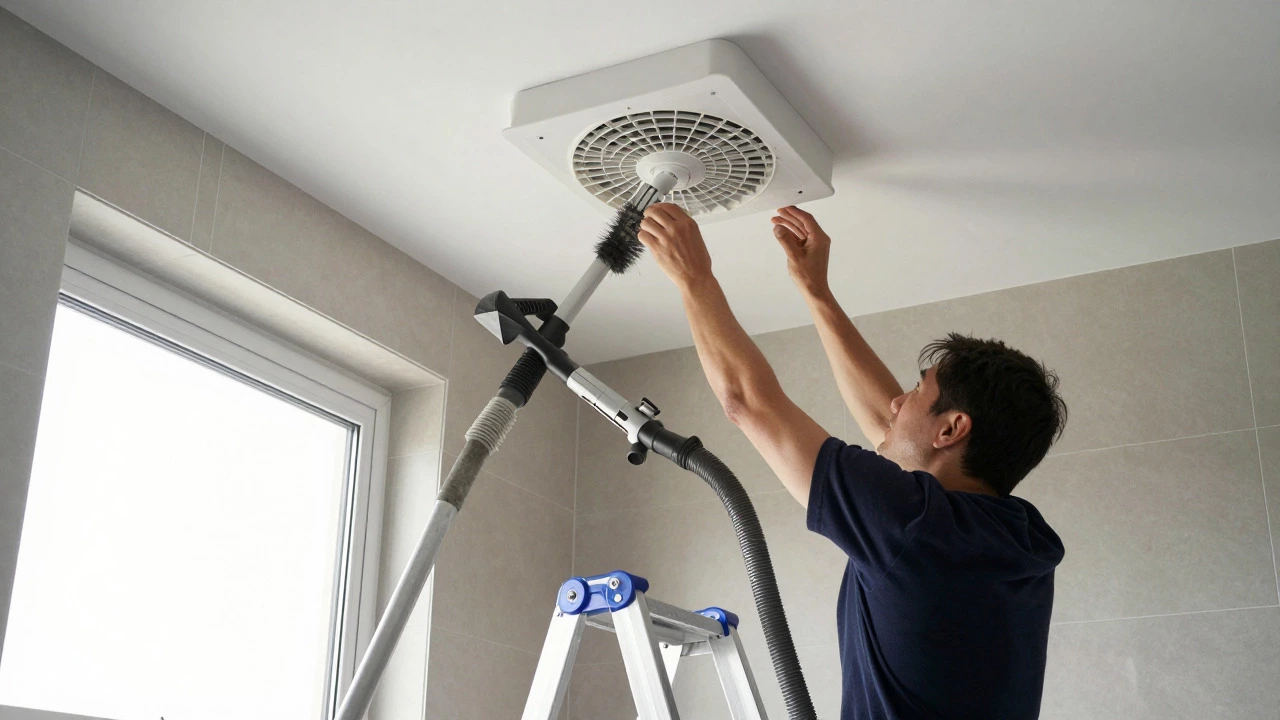
Over time, grease (in kitchens) and dust (in bathrooms) coat the fan blades. This adds weight and unbalances the rotor, causing vibration and reduced airflow. Turn off the power at the circuit breaker first-safety isn’t optional. Remove the grille or cover plate. Use a vacuum with a brush attachment to suck up loose debris. For stubborn grime, mix warm water with mild dish soap. Dip a soft cloth or sponge into the solution, wring it out thoroughly, and wipe down the blades and housing. Avoid getting water into the motor housing. Let everything dry completely before reassembling.
Checking the Ductwork
A clean fan won’t help if the air has nowhere to go. Go outside and locate the vent cap. Is it blocked by leaves, snow, or a spiderweb? Clear it out. If you have flexible aluminum ducting inside the wall or ceiling, inspect it for kinks or collapses. Crushed ductwork restricts airflow significantly. Straightening minor kinks can restore performance. If the duct is severely damaged, you may need to replace that section, which involves some drywall work.
Lubricating the Motor Bearings
Some older models have oil ports on the motor housing. If yours does, add a few drops of lightweight machine oil (not WD-40, which is a solvent, not a lubricant). Spin the shaft by hand to distribute the oil. This can quiet squeaks and extend the life of the motor. Note: Many modern fans use sealed bearings and cannot be lubricated. Check your manual.
When to Replace Components
Sometimes cleaning isn’t enough. If the fan still won’t run after a thorough clean, you might need to swap out a part. The most common replacements are capacitors and motors.
| Component | Symptoms of Failure | Difficulty Level | Estimated Cost |
|---|---|---|---|
| Capacitor | Motor hums but doesn't start; slow startup | Moderate | $10 - $30 |
| Motor | No sound; burning smell; complete failure | Hard | $50 - $150 |
| Switch/Wall Control | Fan works when bypassed; intermittent operation | Easy | $15 - $40 |
| Vent Cap | Pests entering; rain leaking; poor draft | Easy | $20 - $60 |
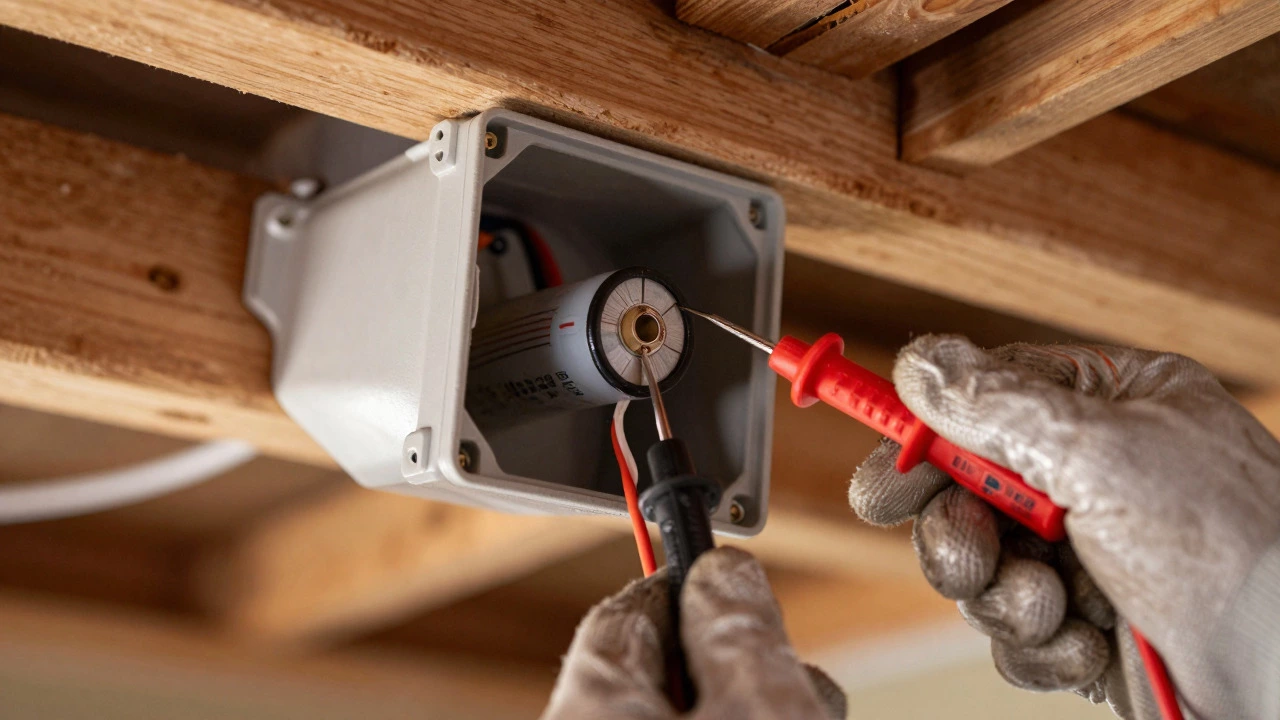
Start capacitor an electrical component that provides the initial torque needed to start the fan motor failure is surprisingly common. If you hear a humming noise but the blades don’t move, the capacitor might be dead. To test this, turn off the power, remove the old capacitor, and take it to an electronics store for matching. Install the new one carefully, noting the wire connections. It’s a cheap fix that can save you from replacing the whole unit.
If the motor itself is burned out, you’ll often smell burning plastic or see discoloration on the wires. Replacing the motor is more involved. You need to match the voltage, speed, and shaft size exactly. Mismatched motors can overheat or fail to pull enough air. If your fan is a proprietary brand, finding a direct replacement motor might be impossible. In that case, consider upgrading to a universal replacement kit or a new fan entirely.
Safety First: Working with Electricity
Electricity doesn’t care how careful you think you are. Always shut off the power at the main breaker box before touching any wiring. Use a non-contact voltage tester to confirm the power is off. Don’t trust the light switch alone-someone could flip it while you’re working.
If you’re unsure about wiring, stop. Electrical mistakes can cause fires or shocks. In Auckland, where humidity can affect insulation integrity, keeping circuits tight and secure is vital. If you see frayed wires, melted insulation, or corrosion, call a licensed electrician. It’s cheaper than a house fire.
DIY vs. Professional Repair: Making the Call
Knowing when to call a professional saves money in the long run. If the issue is simple cleaning or a capacitor swap, DIY is fine. But if you’re dealing with complex wiring, structural modifications to the ductwork, or a fan integrated into a smart home system, get help.
Professionals also offer warranties on their work. If you install a new motor and it fails in six months, you’re out of pocket again. A certified technician will guarantee both parts and labor. For high-value units like range hoods with heat recovery systems, professional service preserves the warranty and ensures efficiency ratings aren’t compromised.
Preventive Maintenance Tips
Fixing a broken fan is reactive. Preventing breakdowns is proactive. Set a reminder to clean your exhaust fan every six months. For kitchen hoods, do it quarterly if you cook frequently. Check the exterior vent cap annually for blockages. Listen for changes in noise levels-a sudden increase in vibration is an early warning sign.
Consider installing a timer switch or humidity sensor. Running the fan longer than necessary wastes energy and wears out the motor. A humidity sensor turns the fan on automatically when moisture levels rise and off when they drop, optimizing performance and extending lifespan.
Environmental Impact of Replacement
We often overlook the environmental cost of throwing away appliances. Motors contain copper and steel, materials that are highly recyclable. If you must replace your fan, check if local recycling centers accept small appliances. In New Zealand, many council facilities have e-waste programs. Proper disposal keeps hazardous materials out of landfills and recovers valuable resources.
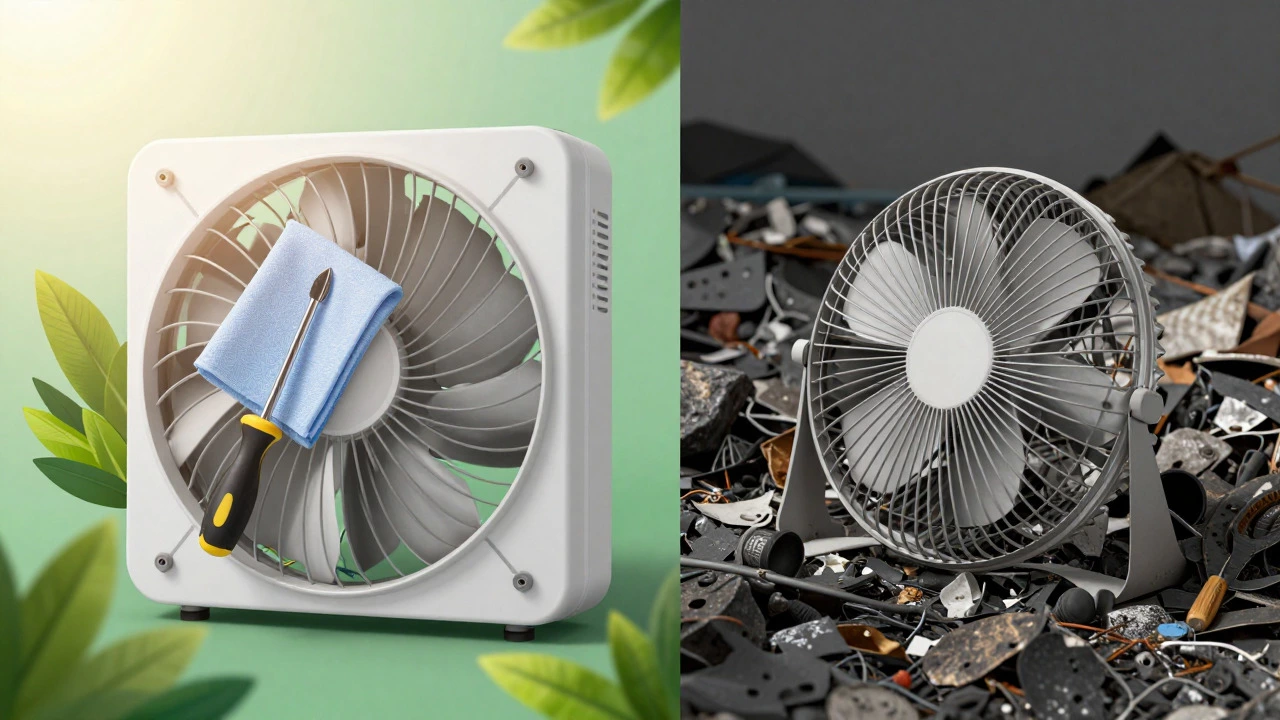
Choosing a repair over replacement reduces waste and carbon footprint. Even a partial fix, like cleaning and lubricating, extends the product’s life by years. Every month you delay buying a new fan is a win for sustainability.
Is it worth repairing an old exhaust fan?
If the fan is less than 10 years old and the issue is minor (like a dirty filter or bad capacitor), yes. For older units with motor failure, replacement is usually more cost-effective due to part availability and energy efficiency gains.
Why does my exhaust fan make noise but not move air?
This usually indicates a blocked duct, a jammed blade, or a failing motor. Check for obstructions in the vent pipe and ensure the blades spin freely by hand (with power off).
Can I replace just the motor in my exhaust fan?
Yes, if you can find a compatible replacement. Match the voltage, RPM, and shaft dimensions exactly. Universal motors are available for many standard models, but proprietary brands may require specific OEM parts.
How often should I clean my kitchen exhaust fan?
Clean kitchen exhaust fans every 3-6 months depending on usage. Grease buildup reduces airflow and increases fire risk. Bathroom fans should be cleaned every 6-12 months to prevent mold and mildew growth.
What causes an exhaust fan to burn out?
Common causes include overheating from blocked vents, electrical surges, worn bearings causing friction, and age-related degradation of internal components. Regular maintenance prevents most premature failures.