DIY Cooker Repair: Simple Steps to Get Your Cooker Working Again
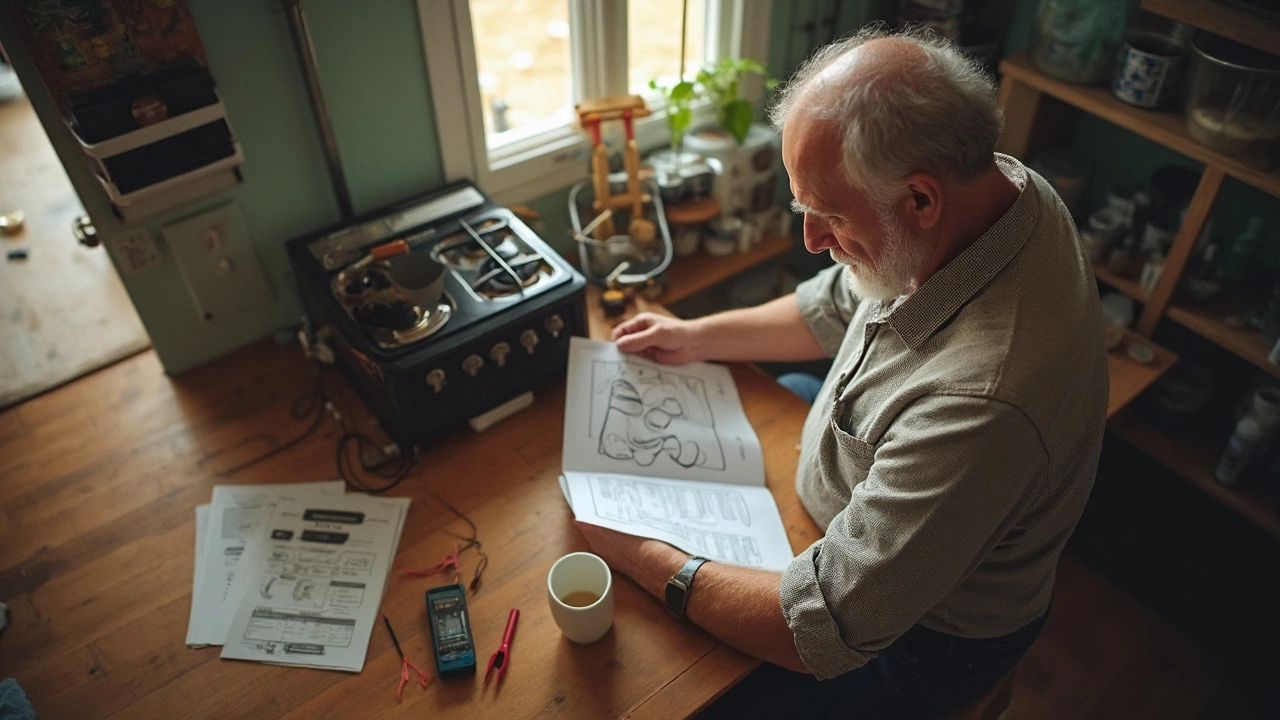
If your cooker suddenly stops heating or makes strange noises, you don’t have to panic. Most common cooker problems are easy to spot and fix with a few tools you probably already have. In this guide we’ll walk you through the basics, from checking power to swapping a faulty heating element.
Quick Safety Check Before You Start
First thing’s first – safety. Always turn off the cooker at the mains socket or circuit breaker. Unplug the unit if it’s a plug‑in model. Give the appliance a few minutes to cool down, especially if the oven was recently in use. Wearing dry gloves and using a sturdy screwdriver will keep you from accidental shocks.
Identify the Problem
Most cooker issues fall into three categories: power, heating, and control. Here’s how to narrow it down:
Power issues: If none of the burners or the oven lights up, test the socket with a lamp or a multimeter. A tripped breaker or a blown fuse is often the culprit.
Heating problems: One burner won’t ignite, or the oven stays cool? Remove the burner cap or oven element and look for cracks, discoloration, or broken wires. A visual inspection usually reveals a burnt-out part.
Control faults: The digital display flickers or the timer won’t set? Try resetting the cooker by turning the power off for a minute, then back on. If the problem persists, the control board may need professional attention.
Now that you know where the issue lies, let’s tackle the most common fixes.
Fixing a Faulty Burner
Most gas burners use a simple ignition electrode. If the flame won’t spark, clean any debris from the electrode tip with a soft brush. Check the ignition cable for loose connections. If the spark still won’t appear, replace the electrode – they’re inexpensive and snap right in.
For electric burners, the problem is usually a broken heating coil. Disconnect the cooker from power, remove the burner base, and test the coil with a multimeter. A reading of zero means the coil is dead. Swap it with a new coil, reconnect, and you’re good to go.
Replacing an Oven Heating Element
The oven element sits behind a metal panel at the top or bottom. After unplugging the cooker, unscrew the panel and pull the element out gently. Note how the terminal wires are attached – a photo helps. Replace with a matching element, reattach the wires, and secure the panel. Turn the power back on and run a short bake cycle to confirm heat.
If the oven still won’t heat, the thermostat or temperature sensor may be at fault. These parts are also easy to replace: locate the sensor, disconnect it, and slide in a new one. Most sensors cost under £15.
When to Call a Professional
DIY repair works great for simple parts, but don’t tackle anything that involves the main gas line, complex wiring, or a cracked control board. If you feel unsure at any step, it’s wiser to call a local Northampton appliance repair service. A professional can quickly diagnose hidden faults and keep you safe.
Remember, regular maintenance – cleaning burner caps, checking seals, and wiping spills – can prevent many breakdowns. Keep a small toolbox with a screwdriver set, multimeter, and spare burners or elements, and you’ll save time and money.
With the right safety checks and a bit of know‑how, most cooker hiccups are fixable at home. Give these steps a try, and enjoy a fully functional kitchen again without waiting for a repair call.
Got a broken cooker and not sure what to do next? This guide covers simple ways to diagnose what’s wrong, figure out if you can fix it yourself, and offers straightforward tips for safe repairs. You’ll learn how to spot common faults, which tools to grab first, and when it’s time to call a pro. Don’t toss your old cooker just yet—most issues are easier (and cheaper) to solve than you think. Whether it won’t heat up or just won’t switch on, you’ll find step-by-step solutions right here.