DIY Oven Replacement: A Hands‑On Guide You Can Follow Today
Thinking about swapping out your old oven yourself? You don’t need a degree in engineering—just a few tools, a bit of caution, and a clear plan. In this guide we’ll walk through everything you need, from unplugging the old unit to getting the new one wired up and ready for the next roast.
Tools and Safety Gear You Need
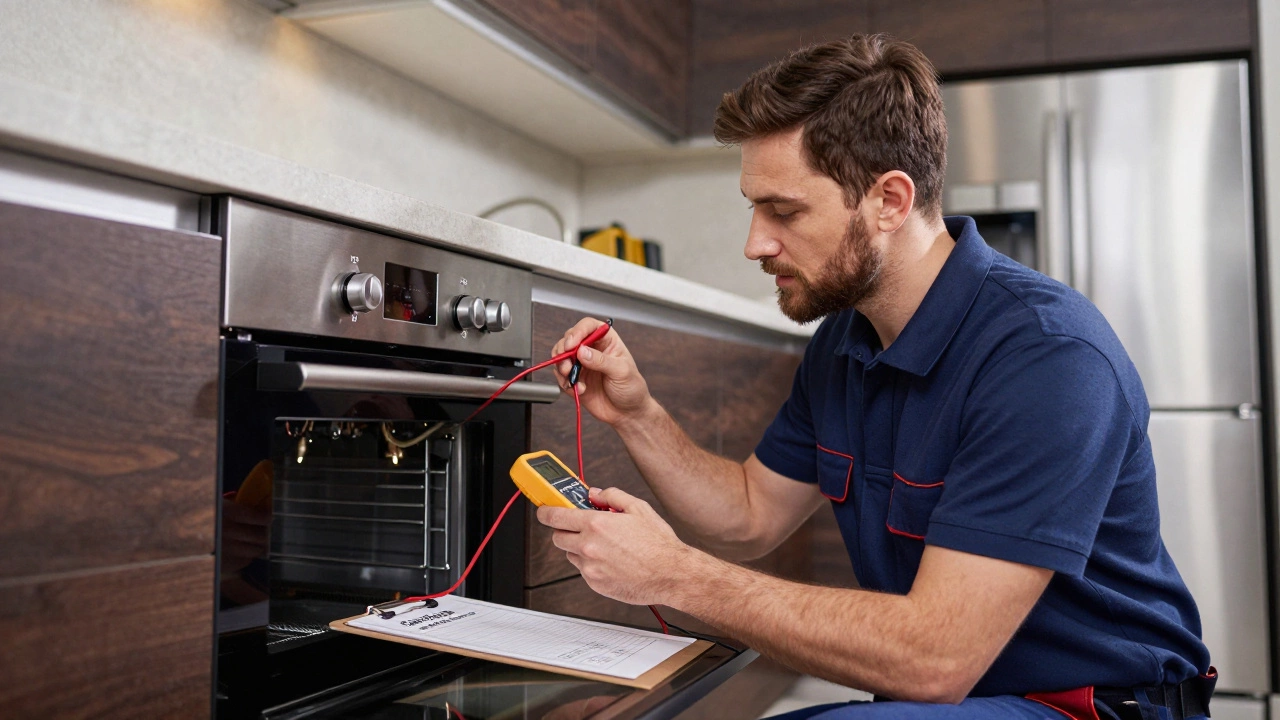
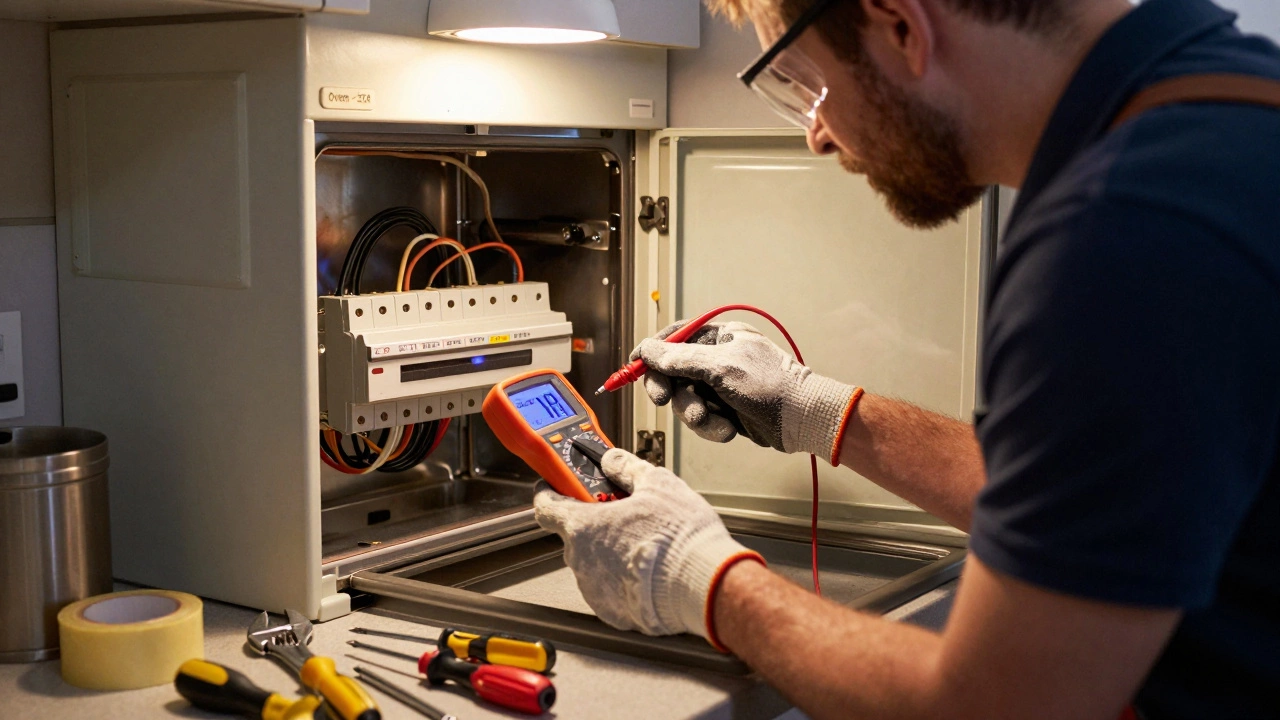
Before you lift a single screw, gather these items. A basic set of screwdrivers (flat‑head and Phillips), a socket wrench, a utility knife, a level, and a tape measure are must‑haves. You’ll also want a voltage tester to make sure the power is truly off, and a pair of safety gloves to protect your hands from sharp edges. If your oven is gas‑powered, you’ll need a pipe wrench and a small bucket for any leftover water from the shut‑off valve. A flashlight can be handy for the darker corners behind the cabinet.
Step‑by‑Step Oven Swap Guide
1. Turn off power and gas. For electric ovens, switch off the breaker at the consumer unit. Double‑check with a voltage tester – no buzz, no light, you’re safe. For gas units, close the shut‑off valve behind the stove and verify the knob is fully off.
2. Clear the area. Remove any removable parts – racks, trays, and the oven door if it’s removable. This gives you space to slide the oven out without scratching surrounding cabinets.
3. Disconnect the old oven. For electric models, loosen the terminal block screws and pull the wiring out gently. For gas models, use the pipe wrench to unscrew the gas line, then cap it with a safety plug if you’re not reinstalling immediately.
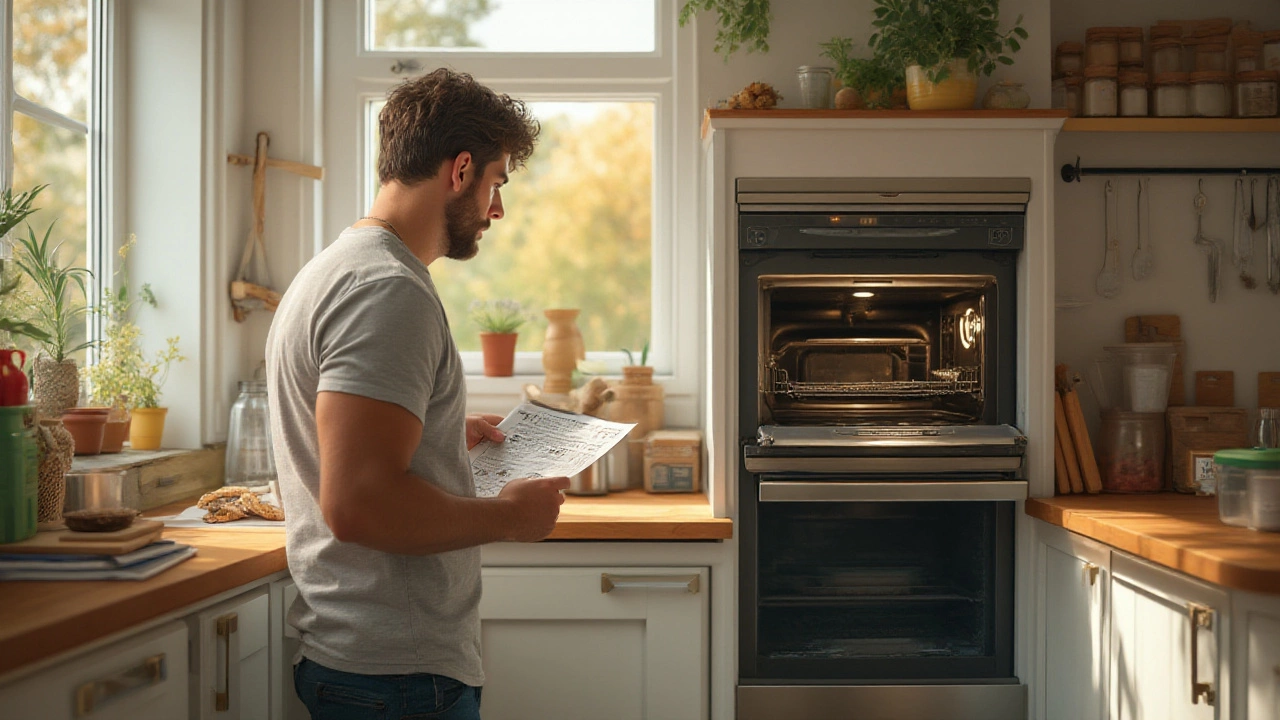
4. Measure the opening. Grab your tape measure and note the height, width, and depth of the cavity. Compare these numbers with the specifications on the new oven’s manual. Even a half‑inch difference can cause trouble later.
5. Prepare the new oven. If your replacement comes with a cardboard box, peel it off and lay the unit on a soft surface. Check that the wiring or gas connectors match the old setup. If you need an adaptor, now’s the time to install it before the oven goes in.
6. Slide the new oven in. With a friend’s help, carefully tilt the oven forward and guide it into the cavity. Keep the unit level – a wobbling oven can affect cooking performance and cause extra wear.
7. Connect power or gas. Hook the wiring to the terminal block exactly as it was on the old oven, tightening screws snugly. For gas, reattach the line, making sure the connection is tight and leak‑free. A quick soap‑water test (bubbles mean a leak) can save headaches later.
8. Secure the oven. Most models have brackets that attach to the cabinet sides. Use the supplied screws to lock the oven in place, ensuring it won’t shift when you open the door.
9. Test it out. Turn the breaker back on (or open the gas valve) and run a quick heat test – 350°F for 10 minutes is a good check. Watch for any odd noises or uneven heating. If everything looks good, you’re done.
Replacing an oven yourself can save you a hefty service fee and give you the satisfaction of a job well done. Just remember: safety first, measure twice, and don’t rush the wiring. If you ever feel unsure – especially with gas connections – calling a qualified professional is the smart move. Happy cooking!
Replacing an electric oven isn't a DIY job. In New Zealand, only a licensed electrician can legally and safely install one. Learn why cutting corners puts your home and family at risk - and what the real cost of skipping a pro really is.
Replacing an electric oven yourself is possible but risky. Learn the essential safety steps, tools needed, and common mistakes to avoid when installing a new oven at home.
Wondering if replacing your electric oven is tough? Find out step-by-step tips, must-know facts, and potential challenges before diving into oven replacement.