Feeling stuck with a stale bathroom? A well‑fitted fan clears moisture, stops mould and makes the space feel larger. You don’t need a massive budget or a pro for a basic install – just a clear plan, a few tools, and a bit of patience.
Pick the Right Fan and Gather Tools
First, choose a fan sized for your room. Measure the floor area, then look for a fan that moves at least 1 cubic foot per minute (CFM) for every square foot of space. Most homes are fine with a 50‑80 CFM unit. Make sure it has a built‑in light if you want extra illumination.
Grab these tools before you start: screwdriver, drill, wall‑chaser or hole‑saw (about 125 mm), fish‑tape for wiring, a voltage tester, and safety gloves. If you’re replacing an old fan, keep the existing wiring length handy – you’ll reuse it.
Step‑by‑Step Installation
1. Turn off the power. Switch off the circuit at the consumer unit and double‑check with a voltage tester.
2. Mark the cutout. Hold the fan housing against the ceiling, trace the outline, and drill a clean hole. A wall‑chaser makes a neat circle and leaves the surrounding plaster intact.
3. Run the duct. The fan needs a vent to the outside. Use a short, rigid duct and seal joints with foil tape. Keep bends to a minimum – each turn reduces airflow.
4. Wire the fan. Connect live (brown), neutral (blue) and earth (green‑yellow) to the fan’s terminals. Follow the colour code on the fan’s label. Tighten all screws and tuck the wires neatly.
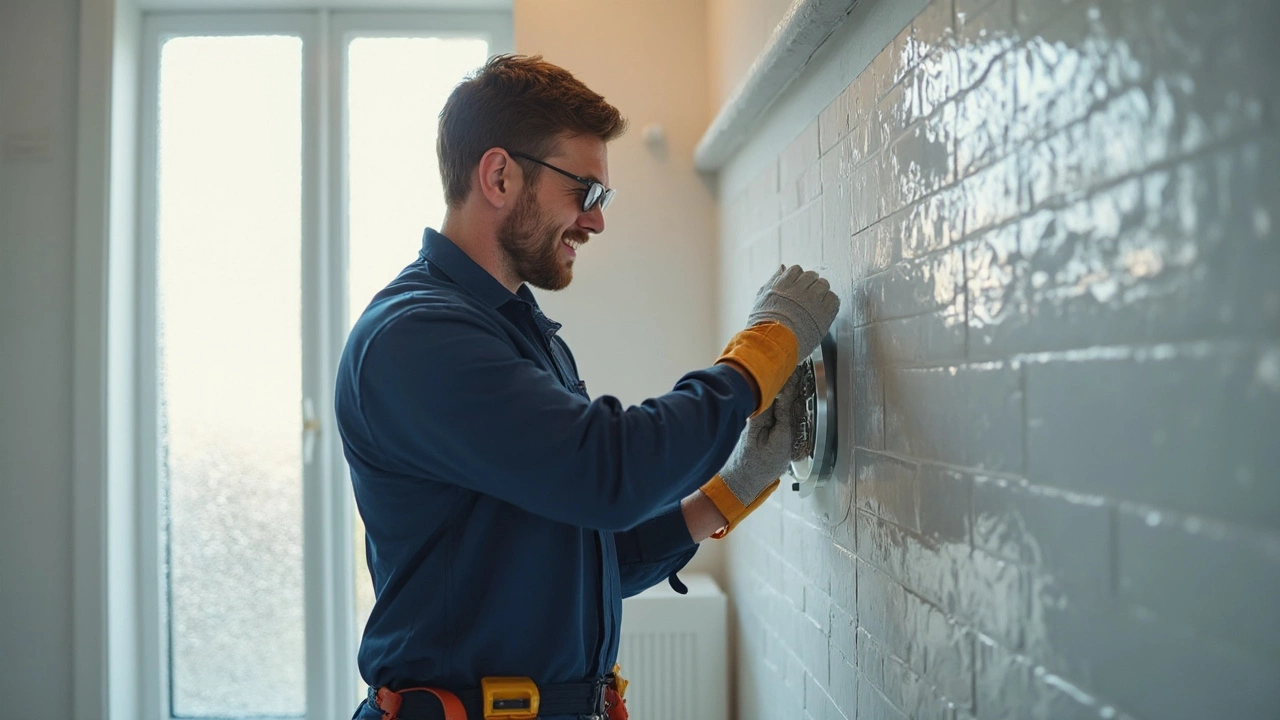
5. Secure the fan. Slip the housing into the ceiling hole, lock the clips, and make sure it sits flush. Attach the grille or cover and tighten the retaining screws.
6. Test it. Switch the circuit back on and turn the fan on. You should hear a steady hum and feel air moving through the vent.
If anything feels off – sparking, no power, or a loose fan – switch off immediately and double‑check connections. It’s better to spend a few minutes re‑checking than to risk a fault.
When to Call a Pro
Some situations are best left to a qualified electrician or a local repair service:
Old wiring that isn’t colour‑coded or looks damaged.
No existing vent – you’ll need a new pass‑through through the roof or external wall.
Complex ceiling structures, like plasterboard over joists, where cutting could weaken the roof.
In Northampton, a quick call to a trusted appliance repair service can sort these issues safely and quickly. They’ll have the right tools and experience to avoid costly mistakes.
After the fan is up, keep it running for a few minutes after every shower. It helps dry the room and stops mould before it starts. Clean the grille every few months – a damp cloth is enough – to keep airflow optimal.
Fitting a bathroom fan isn’t rocket science, but it does need a bit of preparation. With the right fan, a few tools, and careful wiring, you can enjoy fresher air in no time. If you hit a snag, don’t hesitate to call a local pro – it’s worth the peace of mind.
Curious about who installs extractor fans and what the process involves? Get a clear, detailed guide on who fits bathroom and kitchen extractor fans, legal issues, and expert tips.