DIY Water Heater Maintenance: Keep Your Hot Water Flowing
If your shower suddenly turns cold or the heater makes strange noises, chances are a quick DIY check could save you a call to a pro. Most water heaters need only a few simple tasks each year to stay in good shape. Below you’ll find practical steps anyone can do, plus safety pointers to keep the job safe.
1. Turn Off Power and Shut Off Water
Before you start, always turn off the electricity at the breaker or switch off the gas valve if you have a gas unit. Most modern electric heaters have a dedicated breaker, and flipping it removes the shock risk. Then close the cold‑water supply valve on top of the tank. This step prevents water from spilling while you work.
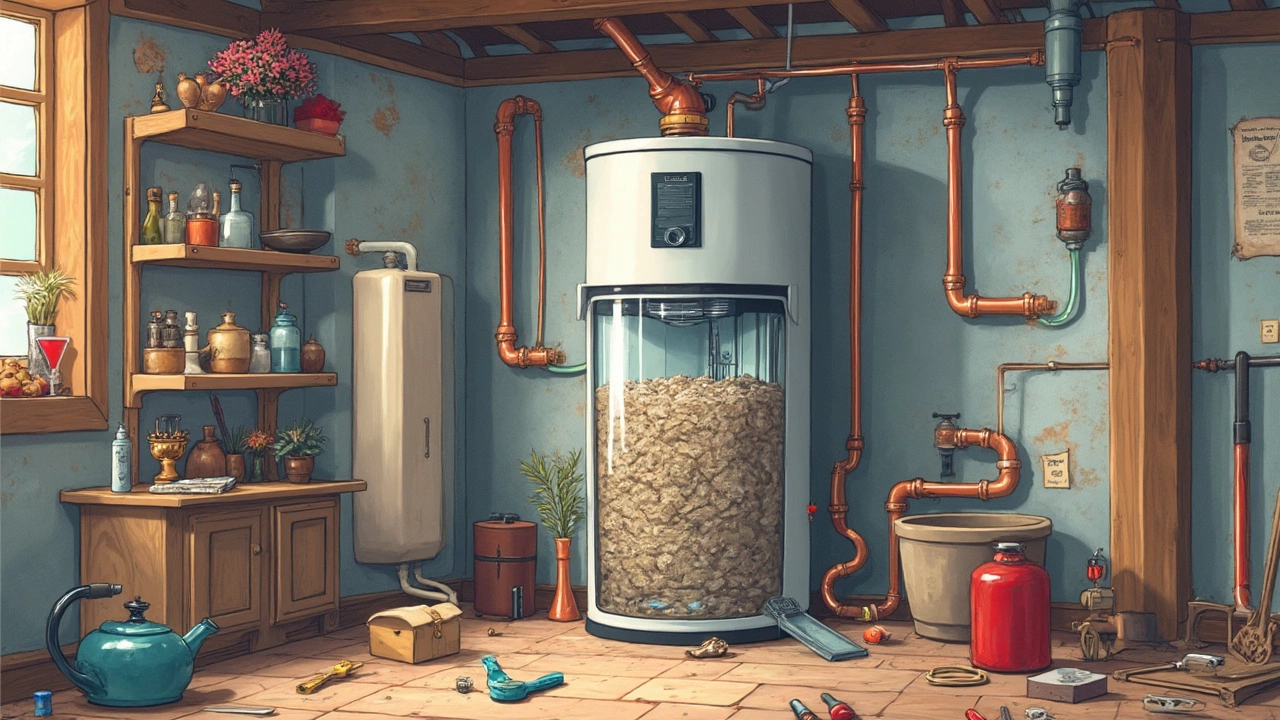
2. Flush the Tank to Remove Sediment
Mineral buildup is the #1 cause of reduced efficiency. Connect a garden hose to the drain valve at the bottom of the tank and run it to a floor drain or outside. Open the drain valve and let the water flow until it runs clear. If the water looks cloudy, let it run a few more minutes. While the tank is empty, briefly open the cold‑water valve to stir up any remaining sediment and let it flush out.
Flushing once a year—more often if you have hard water—keeps the heating elements or burner clean and helps the thermostat work accurately.
3. Check the Anode Rod
The sacrificial anode rod stops rust from forming inside the tank. Locate it on top of the heater; it looks like a big metal bolt. Use a wrench to remove it and inspect the metal. If it’s more than 50% corroded or covered in white, replace it. New rods are inexpensive and a quick swap can add years to the heater’s life.
4. Test the Temperature and Pressure (T&P) Valve
The T&P valve releases excess pressure to prevent a burst tank. Lift the lever on the valve; water should flow out and stop when you let go. If it leaks or won’t open, the valve needs a replacement. This safety part is cheap and crucial—don’t skip it.
5. Inspect for Leaks and Insulate
Walk around the heater and look for water pooling at the base, around fittings, or under the drain pipe. Tighten loose connections with a wrench, but avoid over‑tightening. Adding a pipe‑insulation blanket around the tank saves energy and reduces the risk of condensation.
6. Reset the Heater (If Needed)
If the heater stopped heating, you might just need to reset it. For electric models, locate the reset button near the thermostat; press it once. Some units require the breaker to be off while you press the button—yes, turn it off first, press reset, then turn the breaker back on. Gas heaters often have a similar reset switch near the pilot assembly.
After resetting, give the heater 30 minutes to fire up and check if hot water returns.
When to Call a Professional
You’ve handled the easy stuff, but if the heater still won’t heat, the pilot won’t stay lit, or you notice a strong smell of gas, it’s time to call a licensed technician. Trying to fix a gas leak yourself can be dangerous.
Regular DIY maintenance—flushing, checking the anode, testing the T&P valve—keeps most problems at bay. Spend an hour a year, and you’ll likely avoid costly service calls and enjoy steady hot water all winter long.
Flushing your water heater might seem daunting, but with the right steps and precautions, you can do it yourself. This guide explains why regular maintenance is crucial, how sediment buildup affects performance, and offers a step-by-step plan for draining and flushing your water heater. Useful tips and safety advice will help keep your system running smoothly, saving you from unexpected cold showers and costly repairs. Learn the dos and don'ts to make this DIY task manageable.