Extractor Fan Replacement: When & How to Do It Right
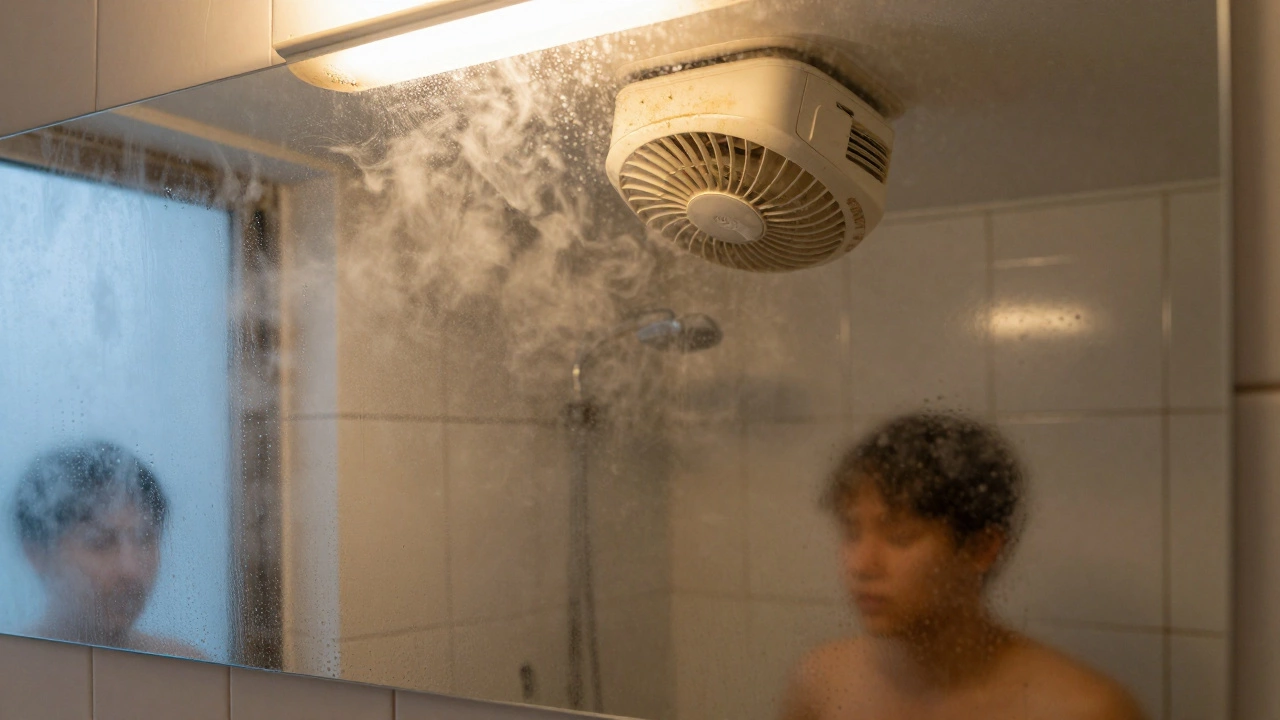
If your kitchen or bathroom fan is humming, rattling, or just not pulling air like it used to, it might be time for a replacement. A faulty fan can leave cooking smells hanging around, cause excess moisture, and even lead to mold. The good news? Swapping out an extractor fan is a straightforward job for most DIY‑savvy homeowners, and knowing the signs early can save you money and hassle.
Top Signs Your Fan Needs a New One
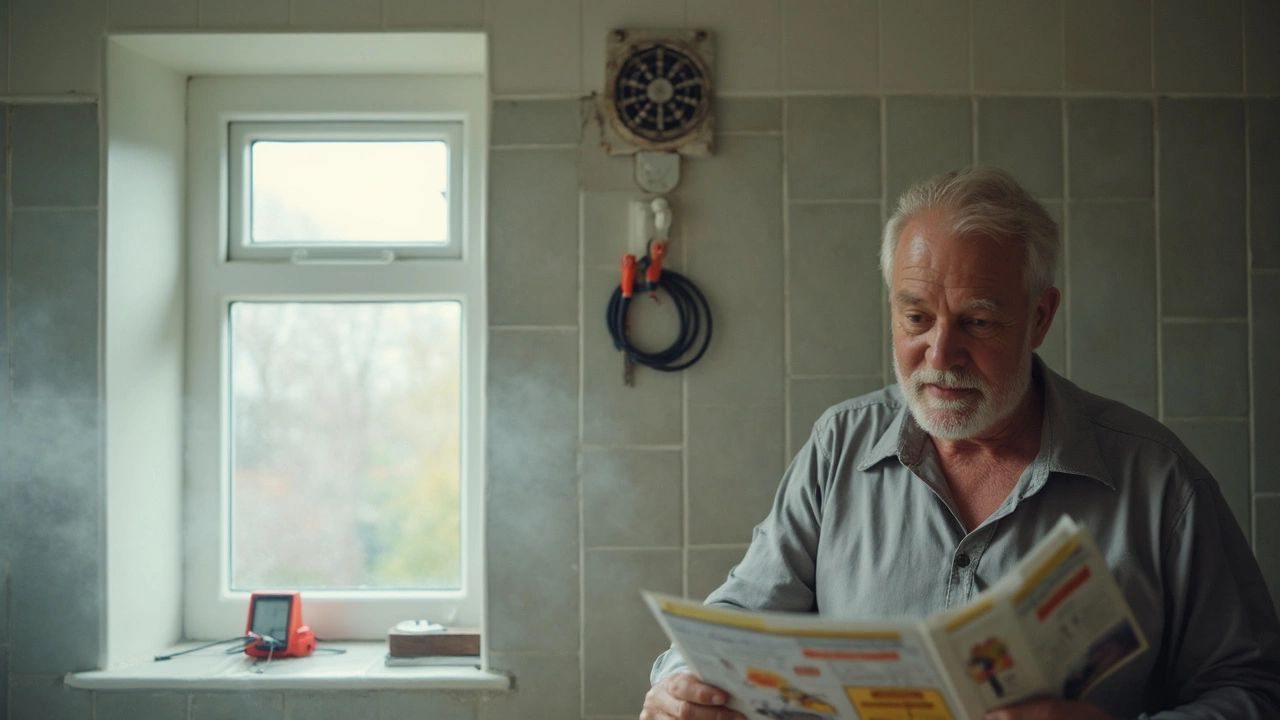
First, listen for unusual noises. A grinding or squealing sound usually means the motor bearings are worn out – something a repair can’t always fix. Second, check the airflow. Hold a piece of paper in front of the vent; if it barely moves, the fan isn’t pulling enough air. Third, look for visible wear: cracked housing, loose wires, or a burnt smell are clear red flags. Lastly, consider the fan’s age. Most kitchen and bathroom fans last 8‑12 years with regular cleaning; if yours is older, replacement is often cheaper than repeated fixes.
DIY vs Professional Replacement – What’s Best?
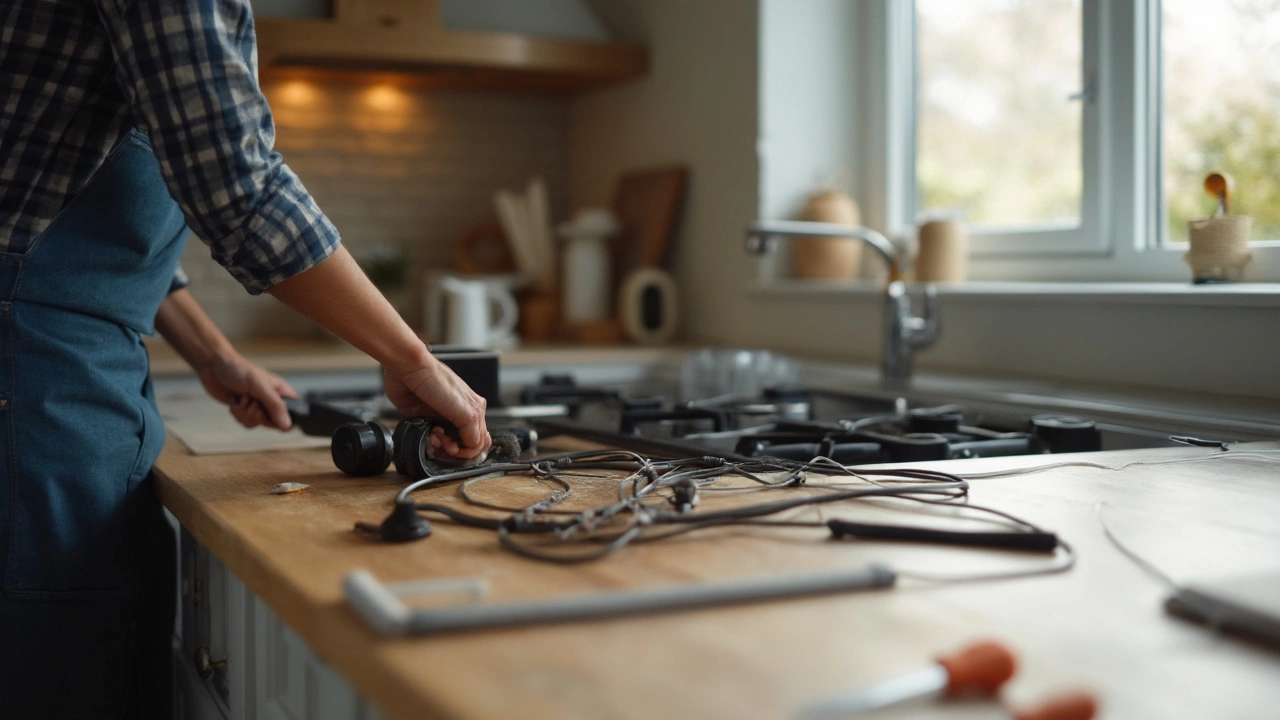
Doing the swap yourself can cost under £50 for a basic fan, plus a few tools you probably already own. The steps are simple: turn off the circuit breaker, remove the old unit, disconnect the wiring, mount the new fan, reconnect the wires, and test it. Make sure the new fan matches the old one’s size and voltage – most UK homes use 230V fans with a 12‑13 A rating.
If you’re not comfortable handling electricity, call a local expert. A qualified technician from Northampton Appliance Repairs Services can guarantee the job meets safety standards, and they’ll often spot hidden issues like damaged wiring or ventilation blockages that could cause future problems. Their rate includes a warranty, which means peace of mind if anything goes wrong within the first year.
When you decide to hire a pro, ask for a quick quote that covers labour, the fan unit, and disposal of the old part. Many companies offer a free on‑site assessment, so you know exactly what you’re paying for before any work starts.
Regardless of who does the job, regular maintenance extends the life of your new fan. Clean the grille and motor housing every few months, wipe down any grease buildup, and check the vent pipe for blockages. A quick 5‑minute clean each season keeps airflow strong and reduces wear on the motor.
Bottom line: if you hear strange noises, notice weak airflow, or your fan is over a decade old, plan a replacement. You can tackle it yourself with a few tools and a little caution, or you can rely on a local pro to get it done quickly and safely. Either way, a well‑working extractor fan keeps your home smelling fresh, your kitchen dry, and your peace of mind intact.
Discover who to call for extractor fan replacement in New Zealand. Learn the difference between electricians and specialists, compliance rules, and cost estimates.
Not sure if you need an electrician to replace your extractor fan? Get a clear answer, safety advice, DIY steps, and smart tips right here. Stay safe and keep your air fresh.
Extractor fans can seem tricky to tackle, but swapping one out isn’t always rocket science. This article breaks down what’s really involved when replacing an extractor fan, whether it’s for your kitchen or bathroom. We’ll look at common snags that pop up, figure out when you need to call in a pro, and share some handy tips straight from people who’ve done it. If your fan’s making weird noises or not clearing steam, here’s what you need to know before you pick up a screwdriver.
Replacing an extractor fan can seem daunting, but it's often doable with the right tools and tips. This guide breaks down the essential steps to safely and effectively replace your kitchen or bathroom fan. Learn about the tools you'll need, the precautions to take, and a few pro tips to make the process easier. Discover when it's time to call in a professional and how to tackle minor fixes on your own.